Associate a Part with a Vendor
Associating a part with a vendor can be easily done by following these few simple steps.
Instructions
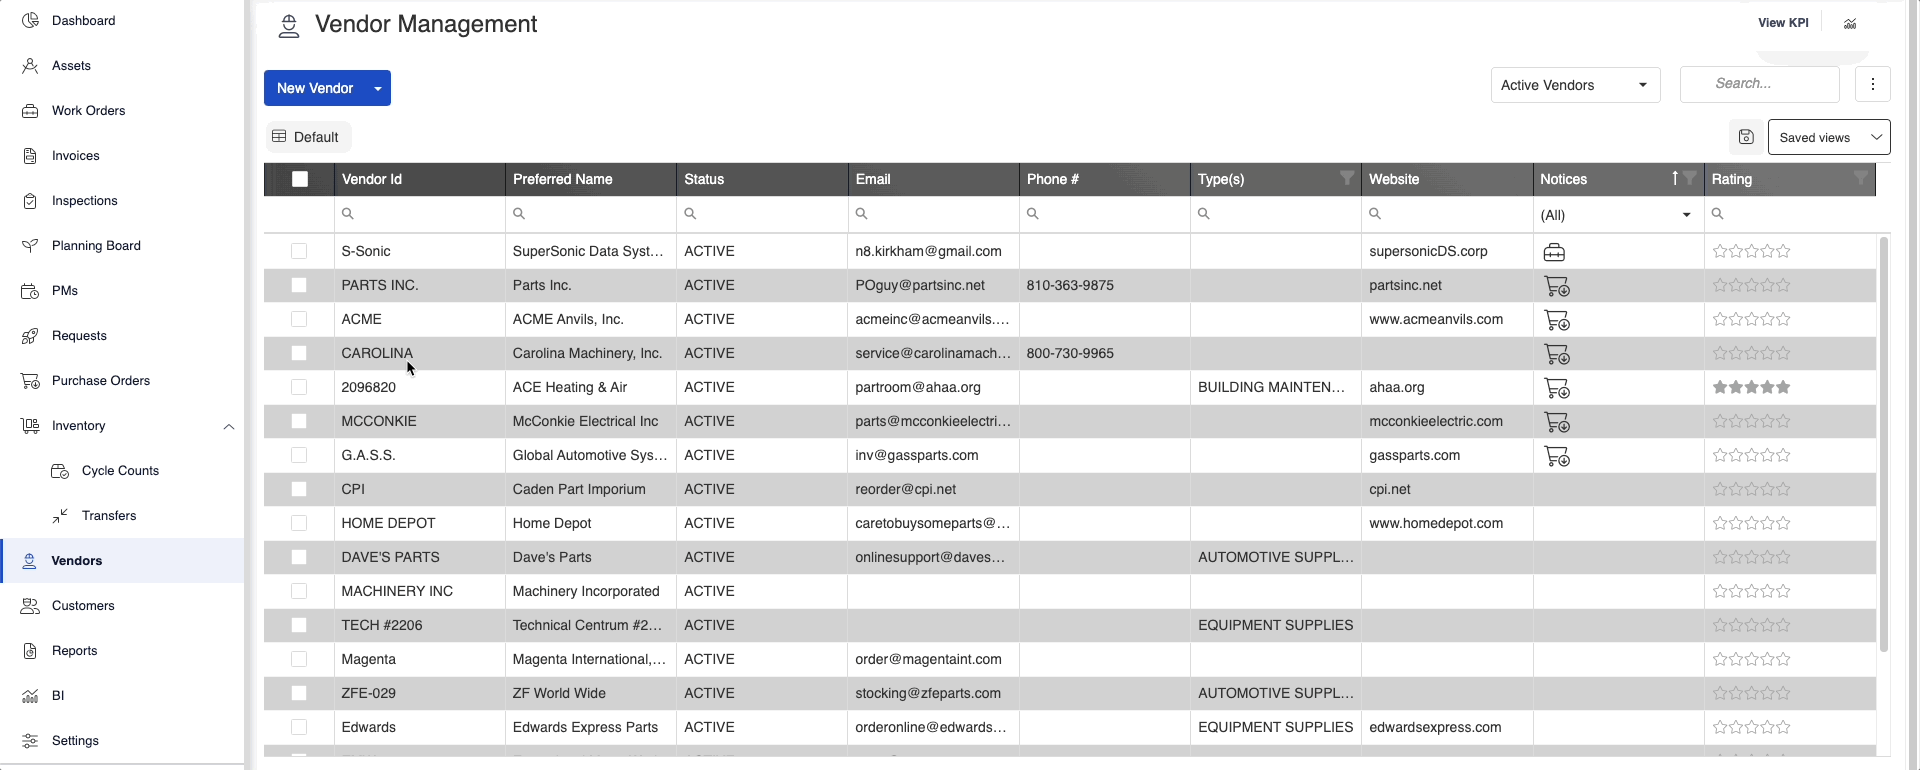
- Navigate to Vendors.
- Select the desired Vendor record to open the Vendor detail window.
- Select the third icon
 to view the Vendor Parts.
 - To add a new part click on the Add Part button, search for the desired part (three-character minimum), then click on the part you want.
- After the part has been selected and you have clicked OK, select the Save icon and you have then associated the part with the Vendor.
- If the Vendor identifies the part with a different Part ID then your organization does, click on the Vendor Part ID box and enter the information.
To Delete an existing part associated with a Vendor, click on the - icon on the left side of the part.