Create an Axle Schema for Tire Tracking
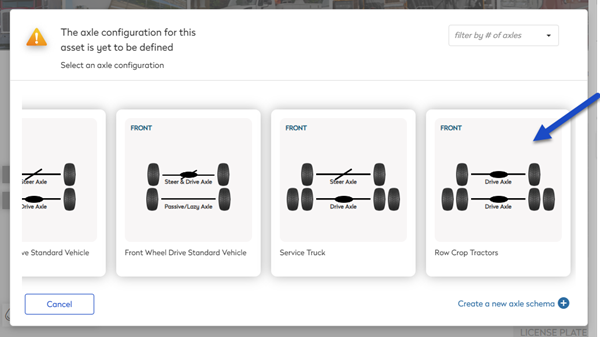
Eptura Asset includes commonly used axle schemas. If you need a new schema then you can quickly create a new one.
- Navigate to Settings > Module Settings > Assets.
- Click the Category Settings tab.
- From the Class drop-down, select a Class.
Tire tracking is only available for Categories under the FLEET or MOBILE EQUIPMENT Classes.
- From a Category drop-down, select a Category.
- Ensure tire tracking is toggled on for each desired Category under that Class.
- Click an existing sub-category or create a sub-category. In this example we clicked a sub-category and the form displays.
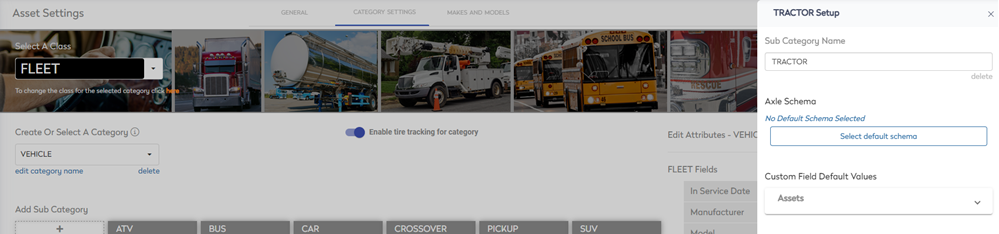
- Click the Select default schema button.
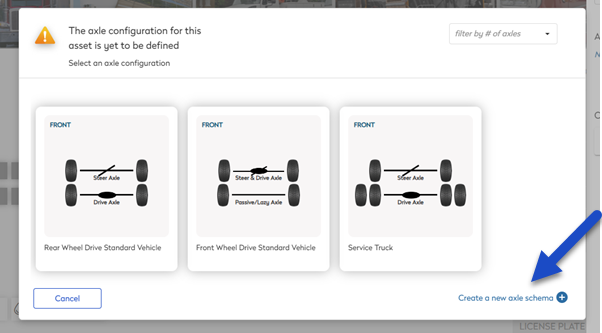
- Click on "create a new axle schema" to populate the new axle schema form.
The Create Axle Schema form displays.
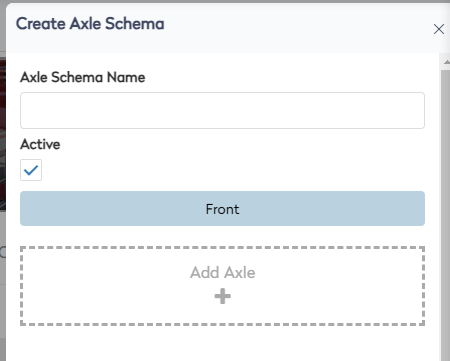
- In the Axle Schema Name field, enter the schema's name.
- Click Add Axle +. The axle types display.
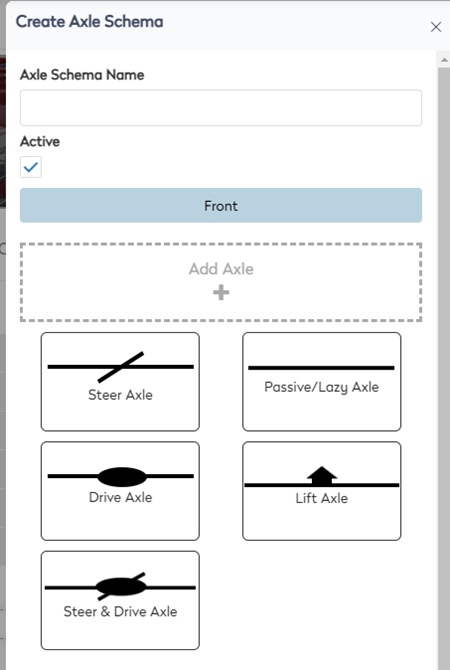
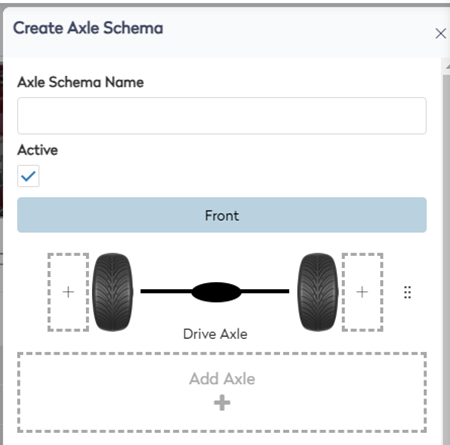
- Click on an axle type to populate the tire configuration.
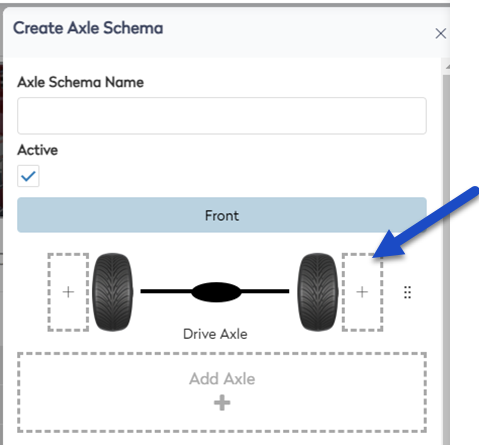
- To add another set of tires to the axle, click the + icon.
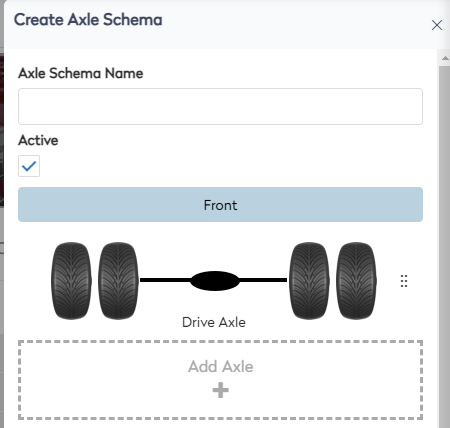
The additional tires display.
- Click the Save button. The new axle displays and can be selected.