Create an Email Notification
The creation of a notification is quick and easy.
Watch the Video
Audio: Sound Length: 04:58 mins
Watch the video in ...
Disclaimer: This video is translated from English using an AI tool; you may notice that the length of the speech may be slightly out-of-sync with the user interface recording.
Learn more
- Click the New Implementation button. The Notification Wizard dialog displays the Step 1: Select a template.

- From the Filter panel, select the filter and then select the email template.

At the bottom of this dialog, you will see the List or Merge drop-down where you can select either:
- List - This will send you one email containing all the Notifications.
- Merge - This will send you separate, individual emails for each Notification.
- Click the Next button and the Step 2: Criteria & Options displays.

This step will let you add search criteria and options (these are optional steps).
- Click the Add Search Criteria button.

- Complete the following criteria:
| Element | Description |
|---|---|
|
AND / OR |
Select either AND or OR. |
|
Fields |
There are fields for Parts, Vendors, or Warehouse available for selection. |
|
Equation
|
This option includes the following:
|
| Compare option | Select either Compare To Value or Compare To Field. |
| Value | Enter the value. |
- When you have finished, click the Save
 icon.
icon. - If you want to add another criteria, then click the + icon.

Delete Search Criteria
If you click the Delete icon, this will delete the specific search criteria or you can click the Clear All Search Criteria button to clear all search criteria.
- From the Sort By drop-down, select the field to sort the search results by.
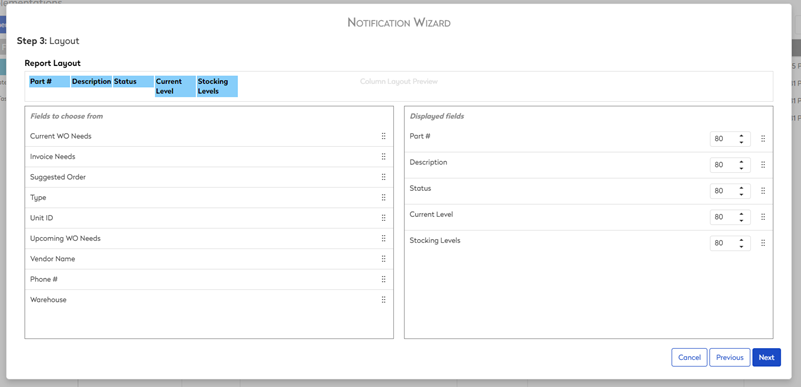
- Click the Next button and the Step 3: Layout displays.

- In the Report Layout section, you can drag and drop the items from the Fields to choose from to the Displayed fields section. Also, you can reorder the items in the list.
- Click the Next button and the Step 4: Security displays.

The Security allows you to limit the Notification Subscription to certain individuals or groups of people. If this is left blank, any individual can subscribe to the notification.
- From the Contacts drop-down, select a contact name and then click the Add Subscriber button.
- From the Role Restrictions, select the role(s) check box.
- Click the Next button and the Step 5: Scheduling displays.
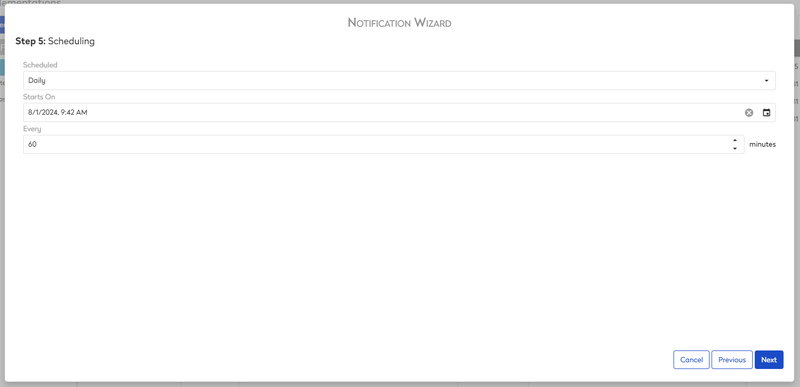
The Scheduling allows you to determine the frequency of the Notifications being sent out.
- From the Scheduled drop-down, you can choose from Daily, Weekdays, Weekly, Monthly, or Yearly.
When set to Daily, the maximum minutes is 1440.
- From the Starts On calendar pick, select when to start the notification.
- Click the Next button and the Step6: Name & Description.
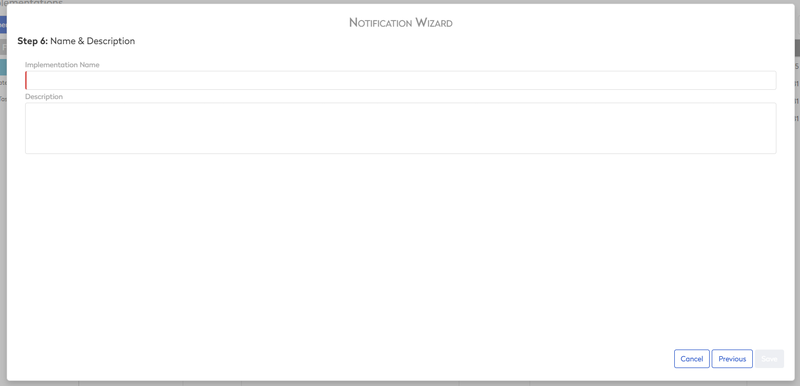
- In the Implementation Name field, enter the name of the notification.
- In the Description field, enter the short description.
- Click the Save button.
The notification is saved.