Update a PM Details
The PMs Details panel lets you update the following:
Remember, the details below can also be updated from the Asset Module; see Manage Maintenance Plans in an Asset.
PMs Details
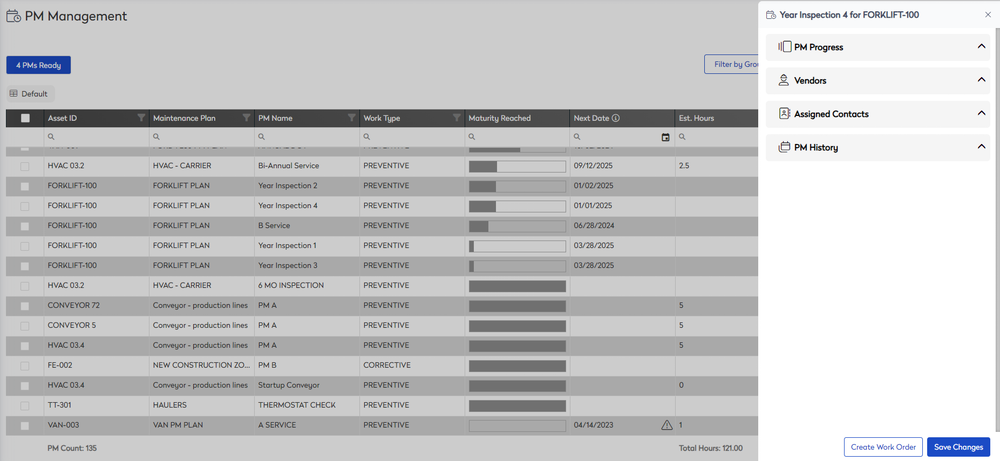
- From the menu, click PMs and the PM Management screen displays.
- From the list view, click a PM. The PM Details panel displays.
PM Progress
The PM Progress can be easily adjusted; here are a few examples:
- When you have an asset and know when the last maintenance/service was completed.
- When you find a recurring monthly inspection falls on a Sunday, you can adjust the day to the next working day.
Complete the following:
- Click the PM Progress expand icon.
- Click the Adjust Progress expand icon.
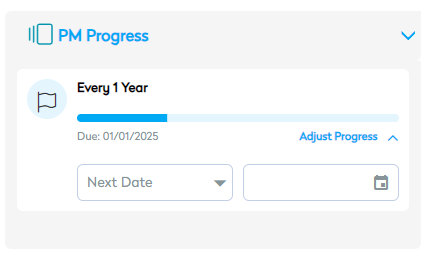
- From the drop-down, select either:
- Next Date - If you know when a PM needs to be completed, then you can select "Next Date" and then enter the future date.
- Last Done - If you know the date of when the last PM was completed, then you can select "Last Done" and then enter the date. For example, you know when the last service was completed on a vehicle.
- Click the Date picker, select a date.
PM Progress by Hours
Some plans may have hours as the measure of the PM's progress. This is where you can adjust the process by either Elapsed, Last Serviced, or Percentage Due.

Assign Vendor
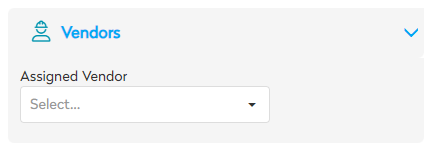
Add or Change the Vendor
- From the Assigned Vendor drop-down, select the vendor who will complete the work.
Remove Vendor
- From the Assigned Vendor drop-down, click the X icon to remove the vendor.
Assign Contacts
The contact is the person completing the work, so here you can assign a technician.
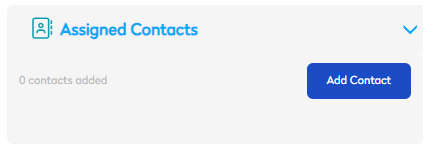
Add Contact(s)
- Click the Add Contact button and the Contacts dialog displays.
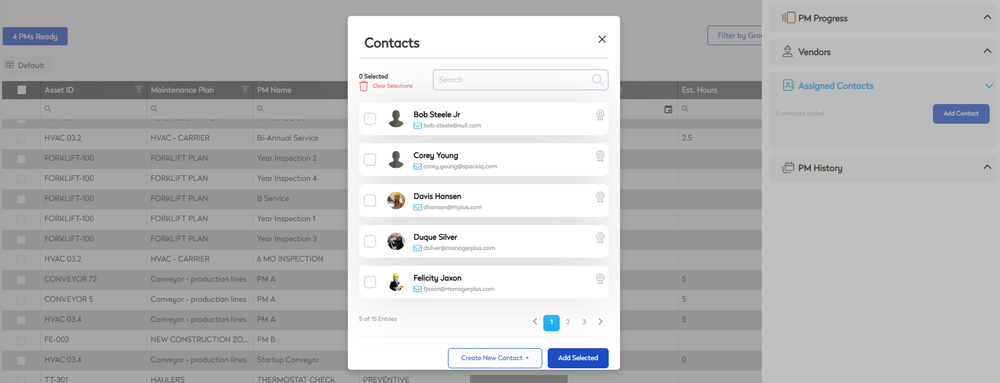
- Either search for or browse the list for to find the worker's name.
- Check the contacts's check box. The first assigned contact will be designated as Primary and a badge will display.
- Click the Add Selected button and the contact name is added.
- If you want a person to be the primary contact, then click the More Actions icon and then select Make Primary.
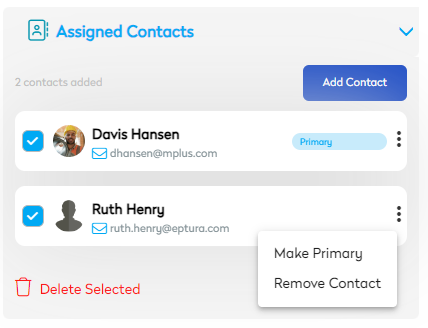
Remove Contact(s)
- For the contact you want to remove, click the More Actions icon and then select Remove Contact.
- If you want to remove all the contacts, then click Delete Selected.
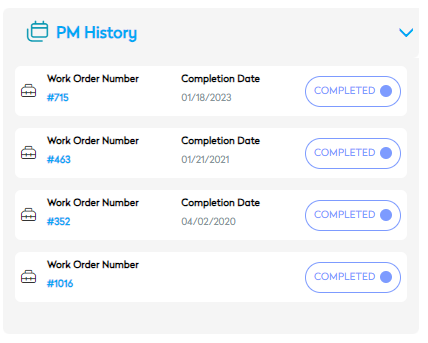
PM History and View Work Orders
This displays the history of the preventive maintenance. If needed, you can click the work order number to open the completed work order.