Projections by Floor
For the Floor, you can set the Seat Total value by either quarters or years.
- Navigate to Projections, from the menu click on the (A) Portfolio icon and then the (B) Projections icon.
- From the Projection drop-down select the (C) Projections by Floor.

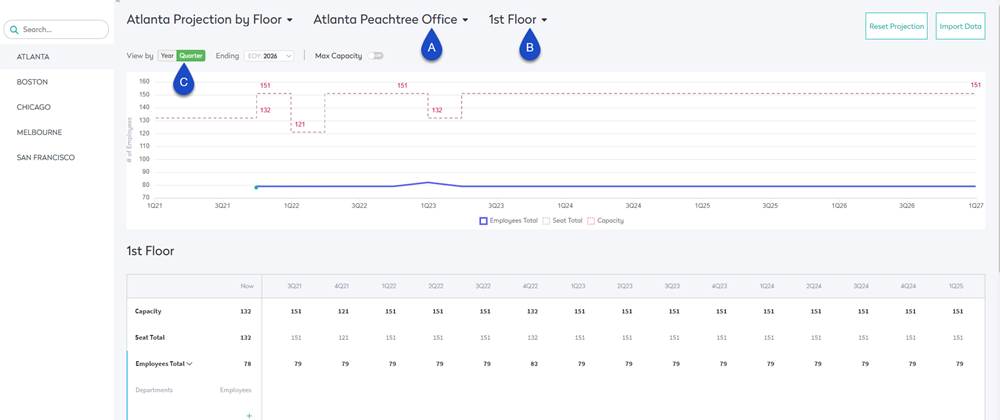
- Select the (A) Building, (B) Floor, and then click the (C) Quarter button.

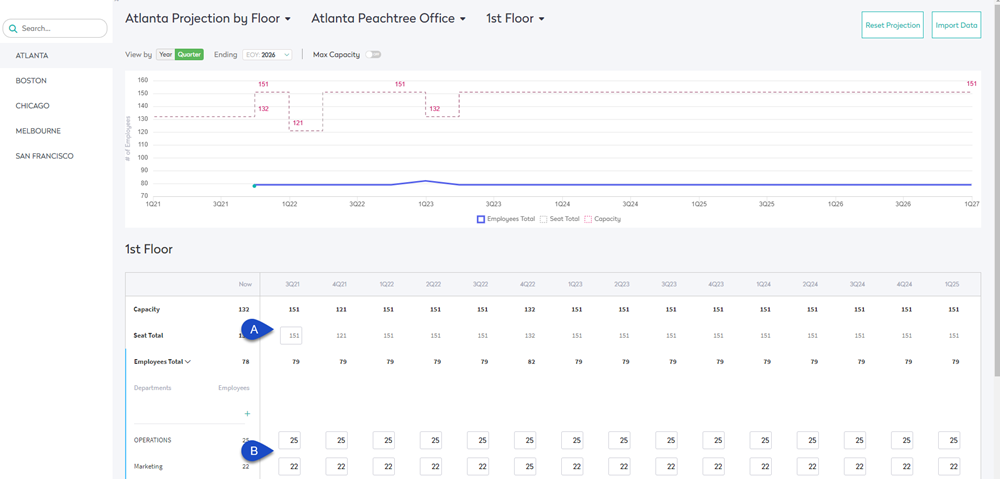
- Update the (A) Seat Totals or the (B) Department's values to see how the growth will affect the projection.

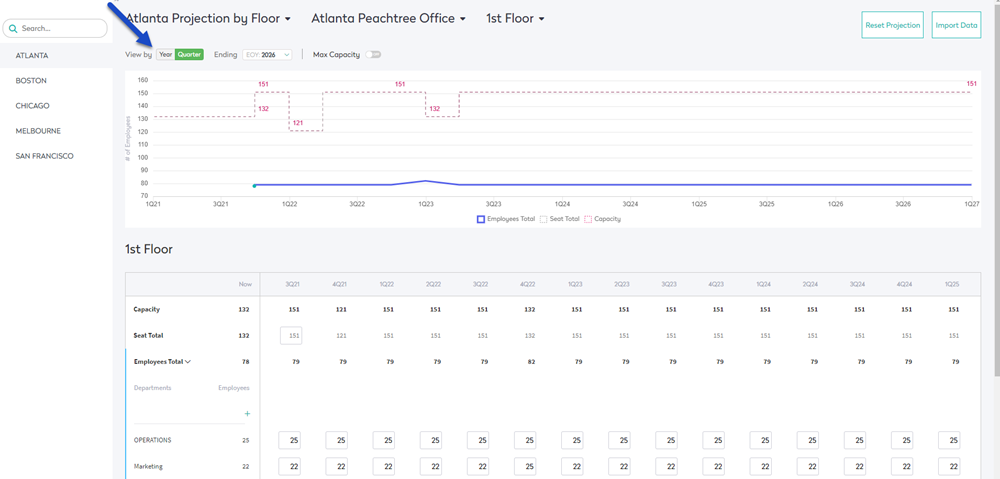
If you want to change the Year projection then, complete the following:
- Click the Year button and the message displays, "You are about to lose quarterly data if you switch to years."
- Click the Continue button.
- Update the Seat Totals and/or the Department's values to see how the growth will affect the projection.

Add or remove Departments from the Projection
If you want to include a Department in a future quarter or year, then you add the department to the projection.
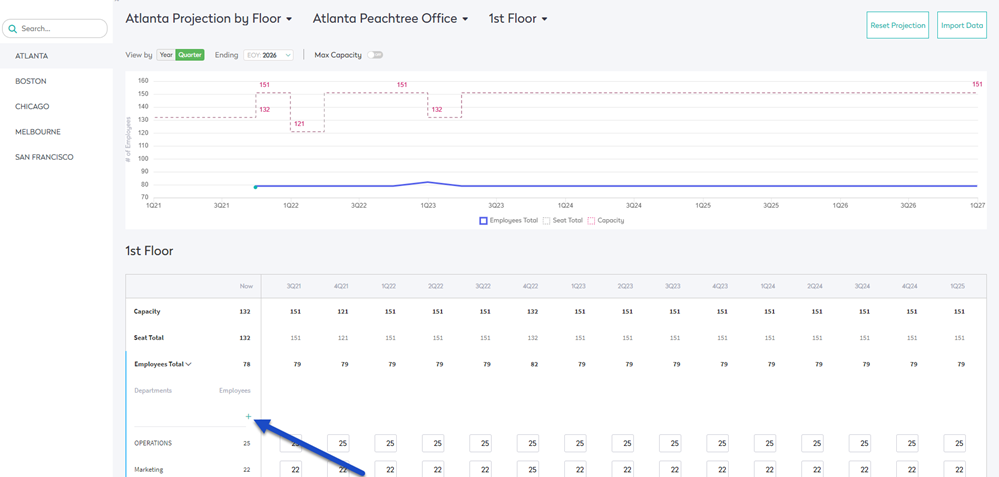
- Click the + icon.
- Select the department from the list.

- The department displays at the end of the list, and you can update the values.

Remember, if you want to remove the department, click the X icon.
Reset Projection
When you have been working on a projection, you may want to reset it.
- Click the Reset Projection button. The message displays, "Are you sure you want to reset data for this projection?".
- Click the Continue button.
The projection data is reset.
Import Data
You can import the values into the projection and you can add Departments into the projection.
- Click the Import Data button. The Import Building Projections dialog displays.

- Either download the years or the quarters .csv template.
Years
The projection_template.csv file downloads and this file contains the following columns.

Quarters
The projection_template.csv file downloads and this file contains the following columns.

- In the CSV file, complete the values and then either drop the file on the dialog or browse to select the file.
- After the file has loaded, click the Import button.
The values are populated into the projection.
If you want to see the Projections Import History, then this is found in the Manage > Projections area. See View Projections Import History.
