Manage Neighborhoods Overview
A neighborhood can be created to group a number of employees together that are not assigned to individual seats. On the floor map, you can define which seats belong to a neighborhood by using the Neighborhood usage type.
A neighborhood is created on one floor in one building; it cannot span across multiple floors or buildings. Neighborhood seats can be located anywhere on a floor, either in a single group or scattered in different locations on one floor.
This article will teach you about managing neighborhoods and provide links to related topics.
Content
View Neighborhoods on the Floor Map
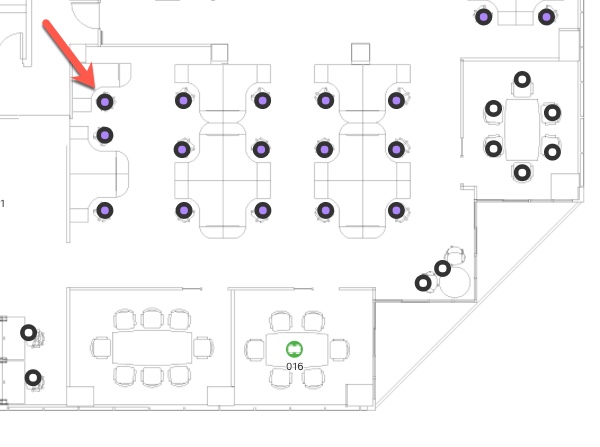
From the Floor Map, the seats with a purple-centered dot represent seats with the neighborhood usage type.
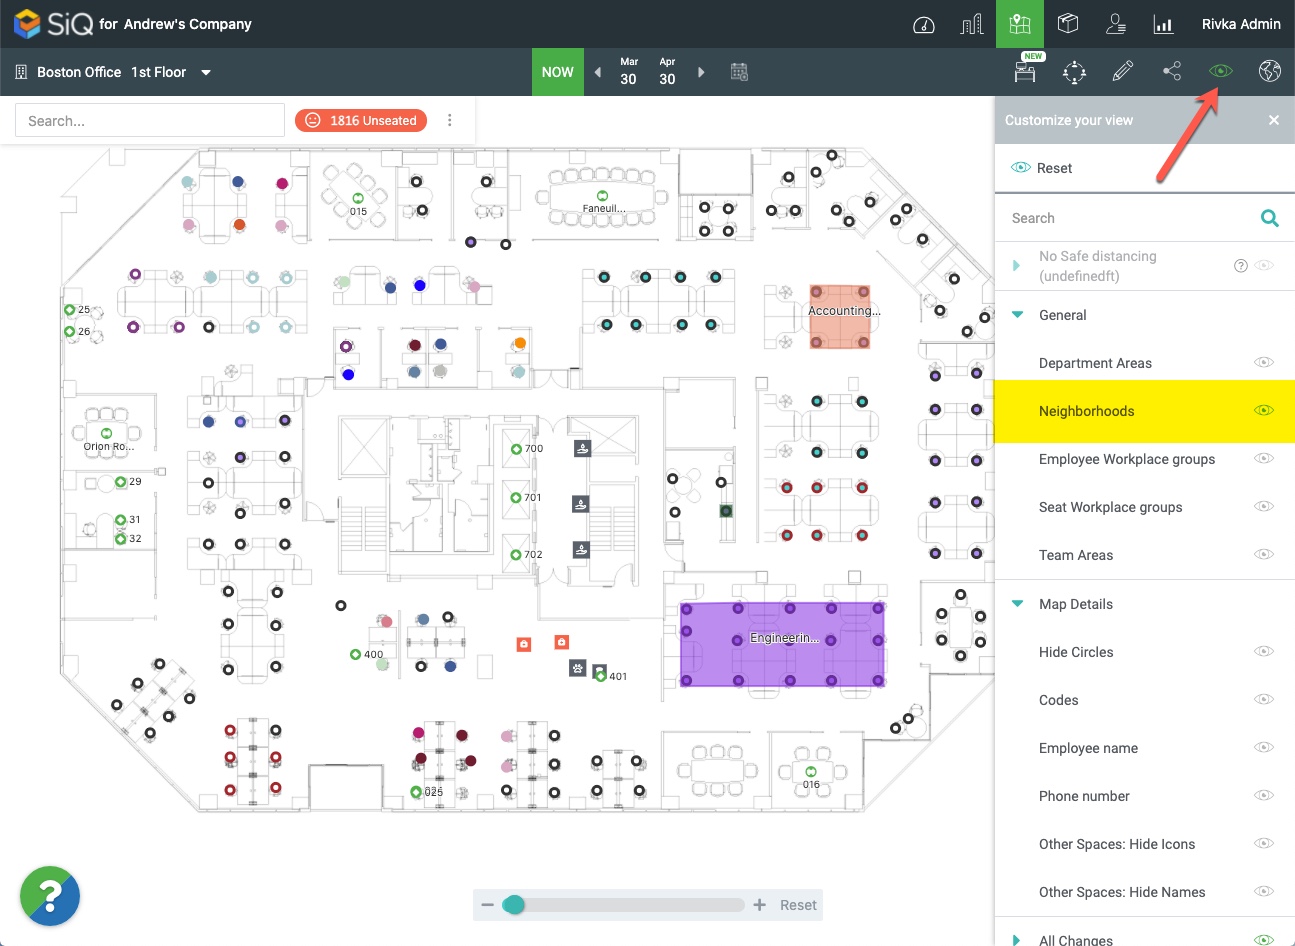
Click the View Filter ![]() icon select the Neighborhoods view to highlight neighborhoods on the floor plan.
icon select the Neighborhoods view to highlight neighborhoods on the floor plan.
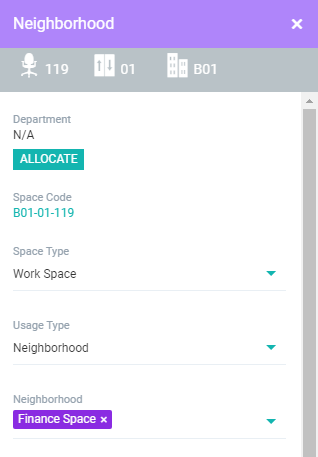
Clicking on a seat with a neighborhood usage type will show you the Neighborhood it belongs to onthe data drawer. A seat can only belong to one neighborhood at a time.
Navigate to Manage Neighborhoods
Neighborhoods can be partially managed from the Floor Map screen and fully managed from the Neighborhoods Management screen. You can access the Manage Neighborhood screen from the Floor Map or Manage screens.
From Floor Map screen
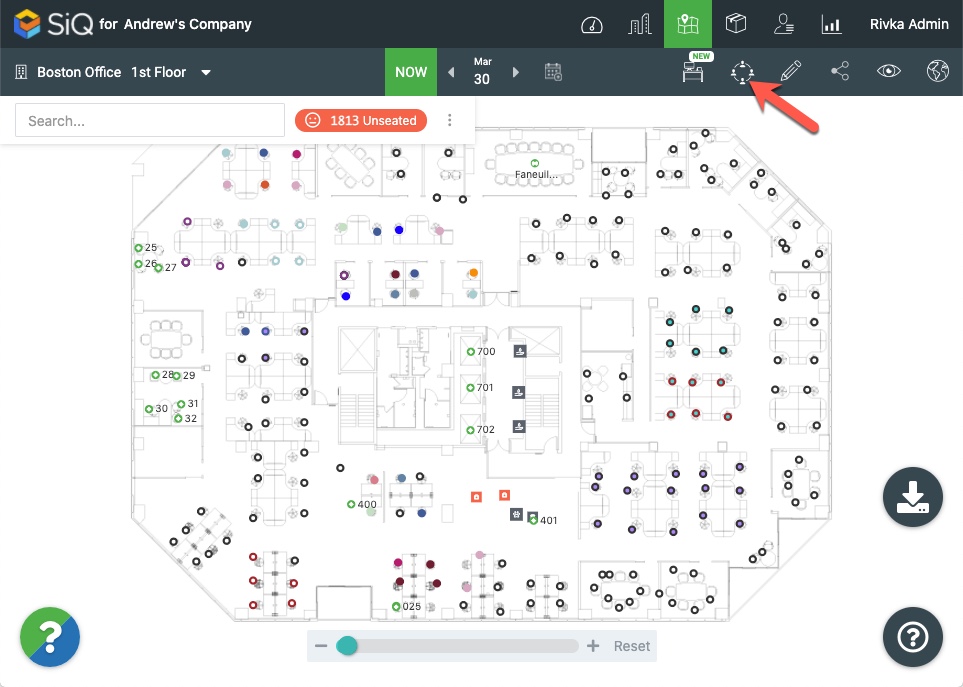
Click the Neighborhoods ![]() icon.
icon.
From Manage Module
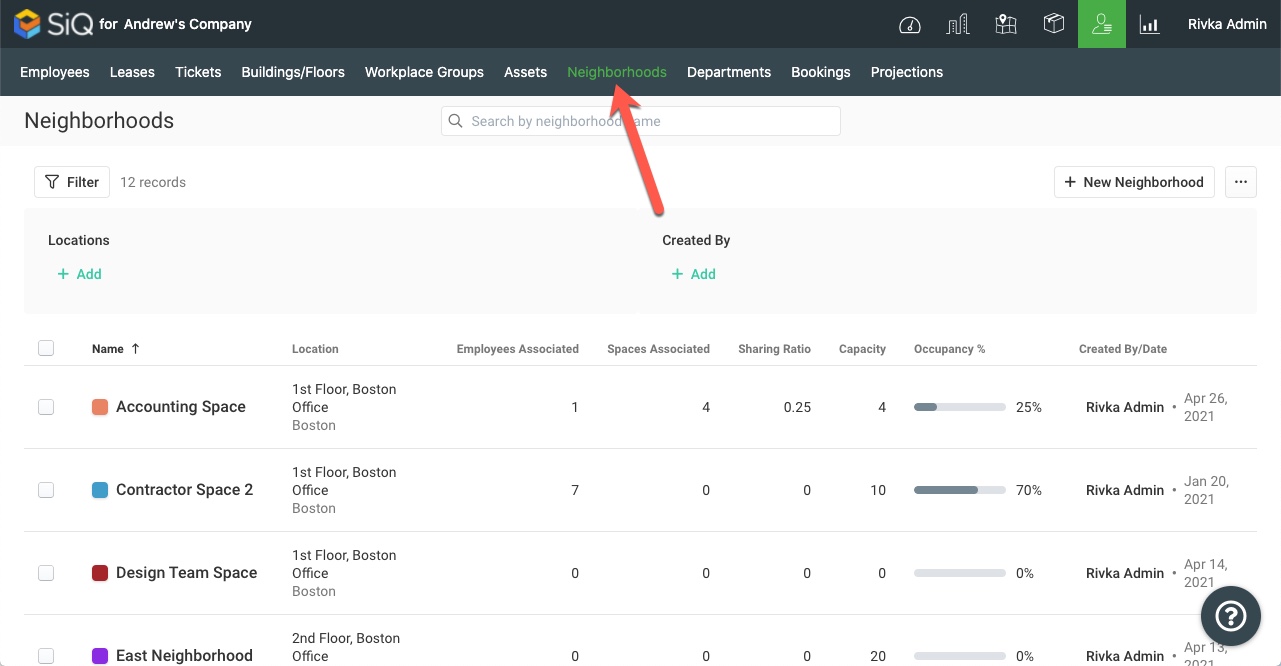
Click on Manage, and then select Neighborhoods.
Search
You can search within neighborhood data to locate specific information about neighborhoods. For example, search a person's name to find neighborhoods associated with that name, or search names of floors, buildings, or locations to view neighborhoods associated with those search terms.
To search, type directly into the search bar. As you type, results will auto-populate. You can click on one of those options.

Filters
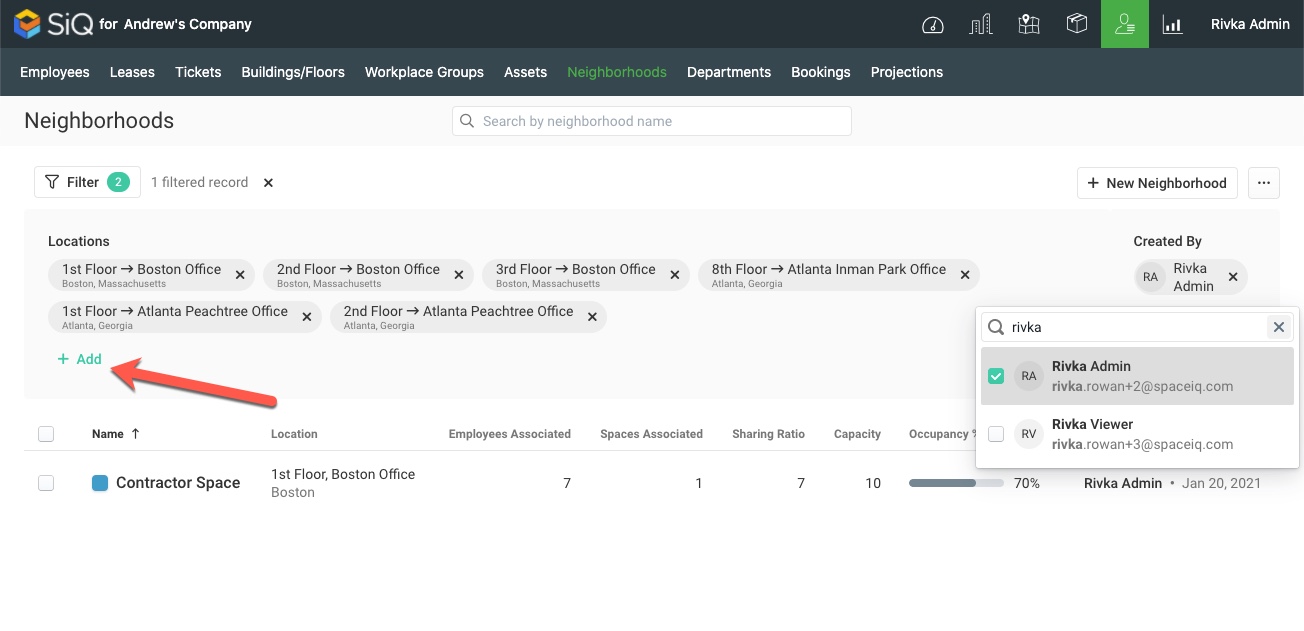
Filters allow you to view specific information about neighborhoods. For example, you can view information about neighborhoods created by a specific admin in Boston and Atlanta.
Click on Filter to expand your filter settings.
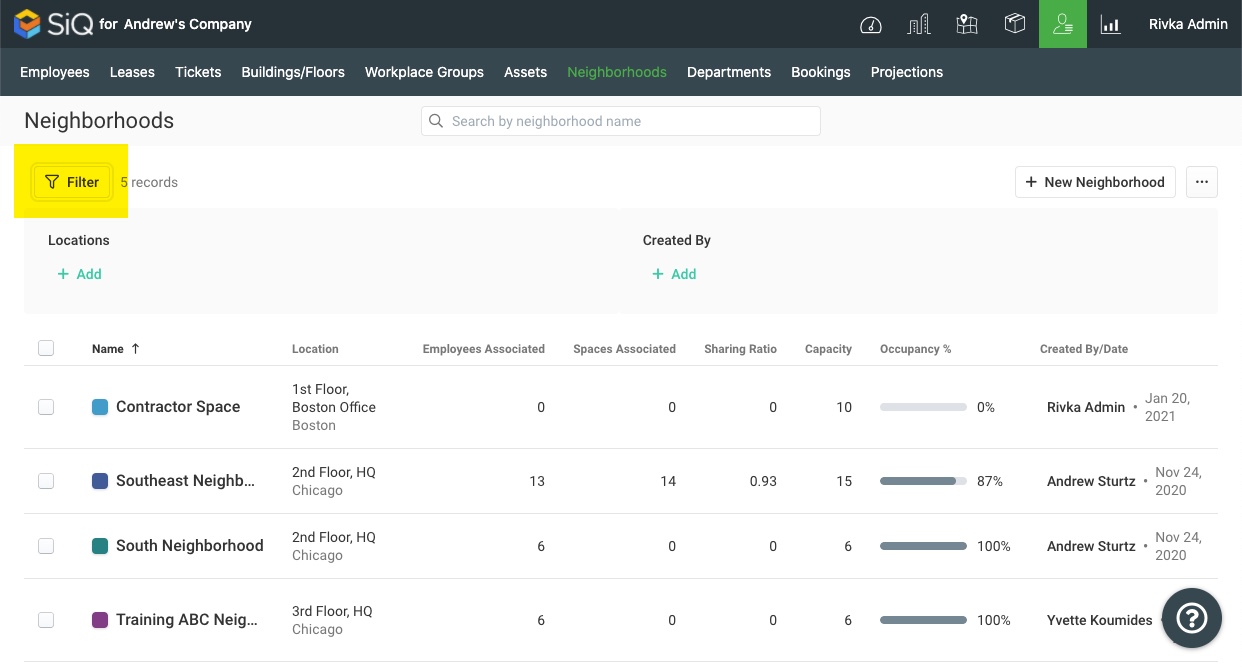
You can filter for neighborhood locations or people who created neighborhoods.
Click +Add to add additional locations and creators. Click x next to a filter to delete it.
Understanding Neighborhood Details
The neighborhood list displays unfiltered neighborhood data by default. Below is an example of a neighborhood list by default and you'll notice that there are no filter flags or search terms applied to the data.
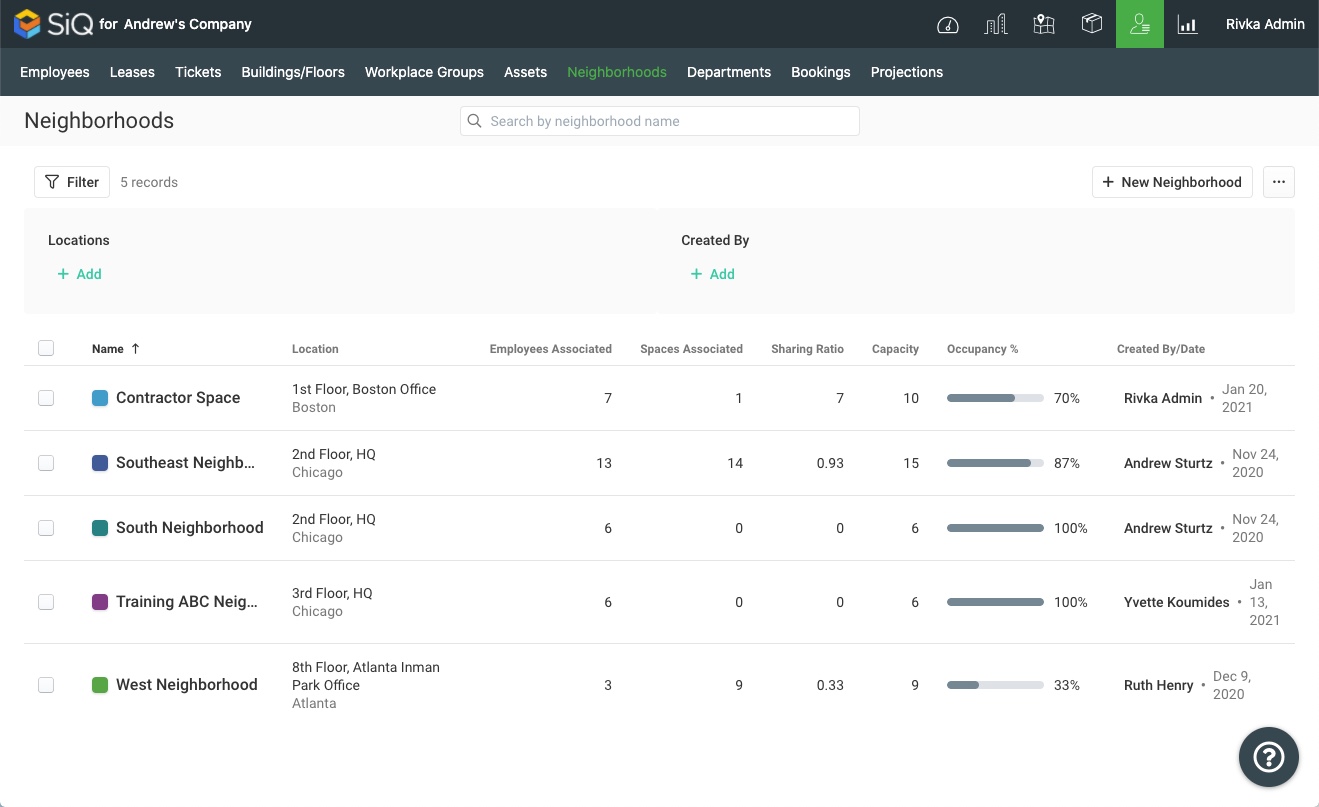
Hover over column names to display more information and if you click the column name you can sort the column.
These are the column descriptions:
- Location: The floor, building, and city for the neighborhood.
- Employees Associated: The employee count in this neighborhood. Can be added manually or by adding/removing departments.
- Spaces Associated: The physical count of seats assigned to this neighborhood. Can be less than the number of employees.
- Sharing Ratio: The number of employees divided by the number of seats. This value can be greater than 1.0
- Capacity: The maximum number of employees allowed in the neighborhood. Can be greater than the number of seats.
- Occupancy %: The number of employees divided by the capacity. The virtual or effective occupancy.
- Created By/Date: The employee who created the neighborhood
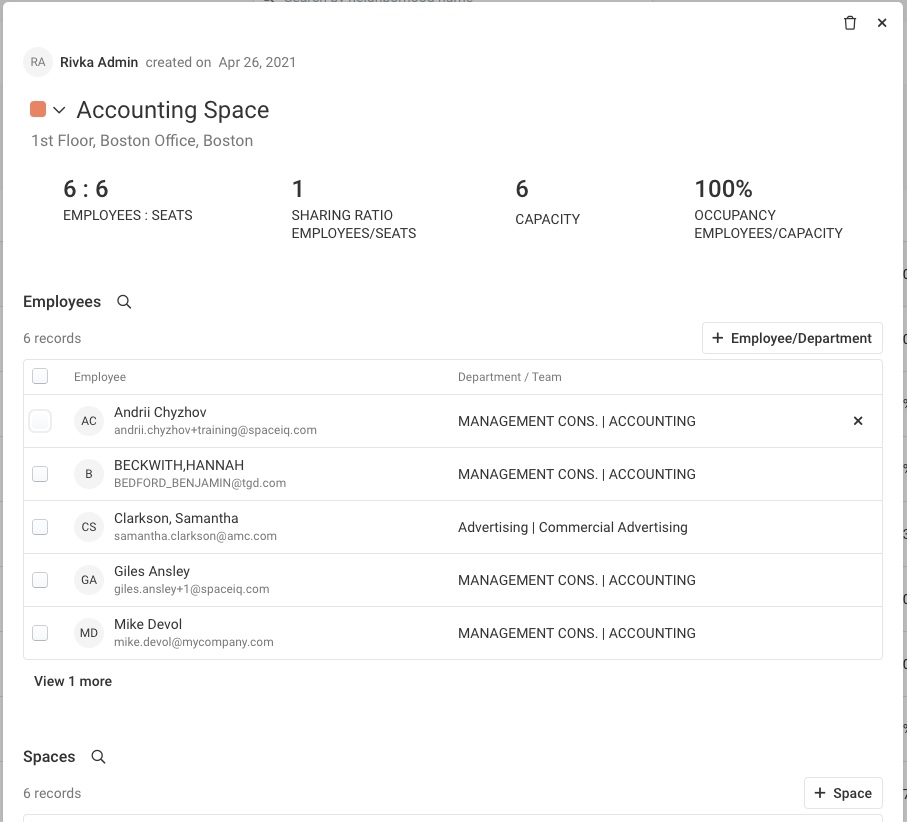
Click on the Neighborhood name to display the Neighborhood dialog. This displays the following:
- Employee to Seats ratio
- Sharing Ratio Employees/Seats
- Capacity
- Occupancy Employees/Capacity
- Employee/department that belongs to the neighborhood.
- Spaces assigned to the neighborhood.
Create a Neighborhood
Neighborhoods can be either created in Manage Manage Neighborhoods or from Floor Plan. The quickest way to create a neighborhood is from the Floor Plan. This way you can easily allocate the spaces to the neighborhood and afterward assign the employees, department, or workplace groups.
For more details, see Allocate a Neighborhood to Seats.
Edit a Neighborhood
When you edit a neighborhood you will have the ability to edit the Capacity, add or remove Departments or Employees, add or remove Spaces,
From the Manage Neighborhoods screen, click on a neighborhood to view the Neighborhood dialog.
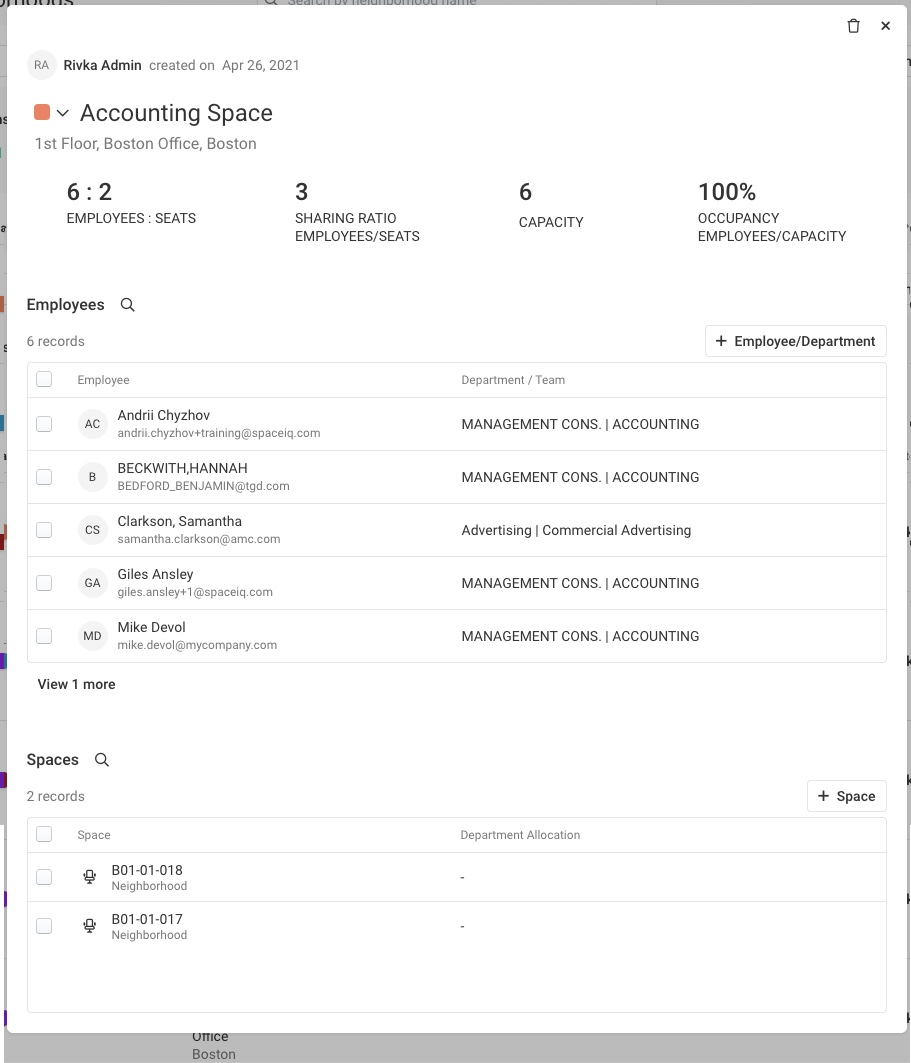
You can make these edits on a neighborhood screen:
Neighborhood Overview Report
You can navigate to the Neighborhoods Overview Report directly from the Neighborhoods Management screen. Click on the More Actions ![]() icon and then click on Neighborhoods Overview Report.
icon and then click on Neighborhoods Overview Report.

The Neighborhoods Overview Report provides summary information about neighborhoods.
