Allocate Seats to a Neighborhood for a Project Team
This is where you want employees to be allocated to seats but the employees have no assigned seats. Also, with a neighborhood, you can set up an employee-to-seat ratio.
Remember:
- If you want your employees to be able to book a desk then, see Change a Neighborhood to Hoteling Desks.
For Example
This can be used when you have a project team that consists of multiple employees from different teams and they require employee-to-seat ratio set.
This article describes the situation of when you want the Project Team X that consists of employees from marketing and advertising to be part of a neighborhood. Also, some of the team will work outside the office and infrequently come into the office. The ratio for these teams will be 8:6 ratio where there are 1.3 employees to 1 seat.
Follow the Steps
- Step 1. Add a Neighborhood for the Project Team
- Step 2. View the Neighborhood on the Floor Map
- Step 3. Add the Workplace Group to the Neighborhood
- Step 4. Add the Employees to the Workplace Group called Project X
Step 1. Add a Neighborhood for the Project Team
Navigate to the Floor Map, click on the Floor Map icon then select the floor you want to manage.
Select multiple spaces by holding the Shift key down while you click-and-drag over spaces.
The data drawer displays.
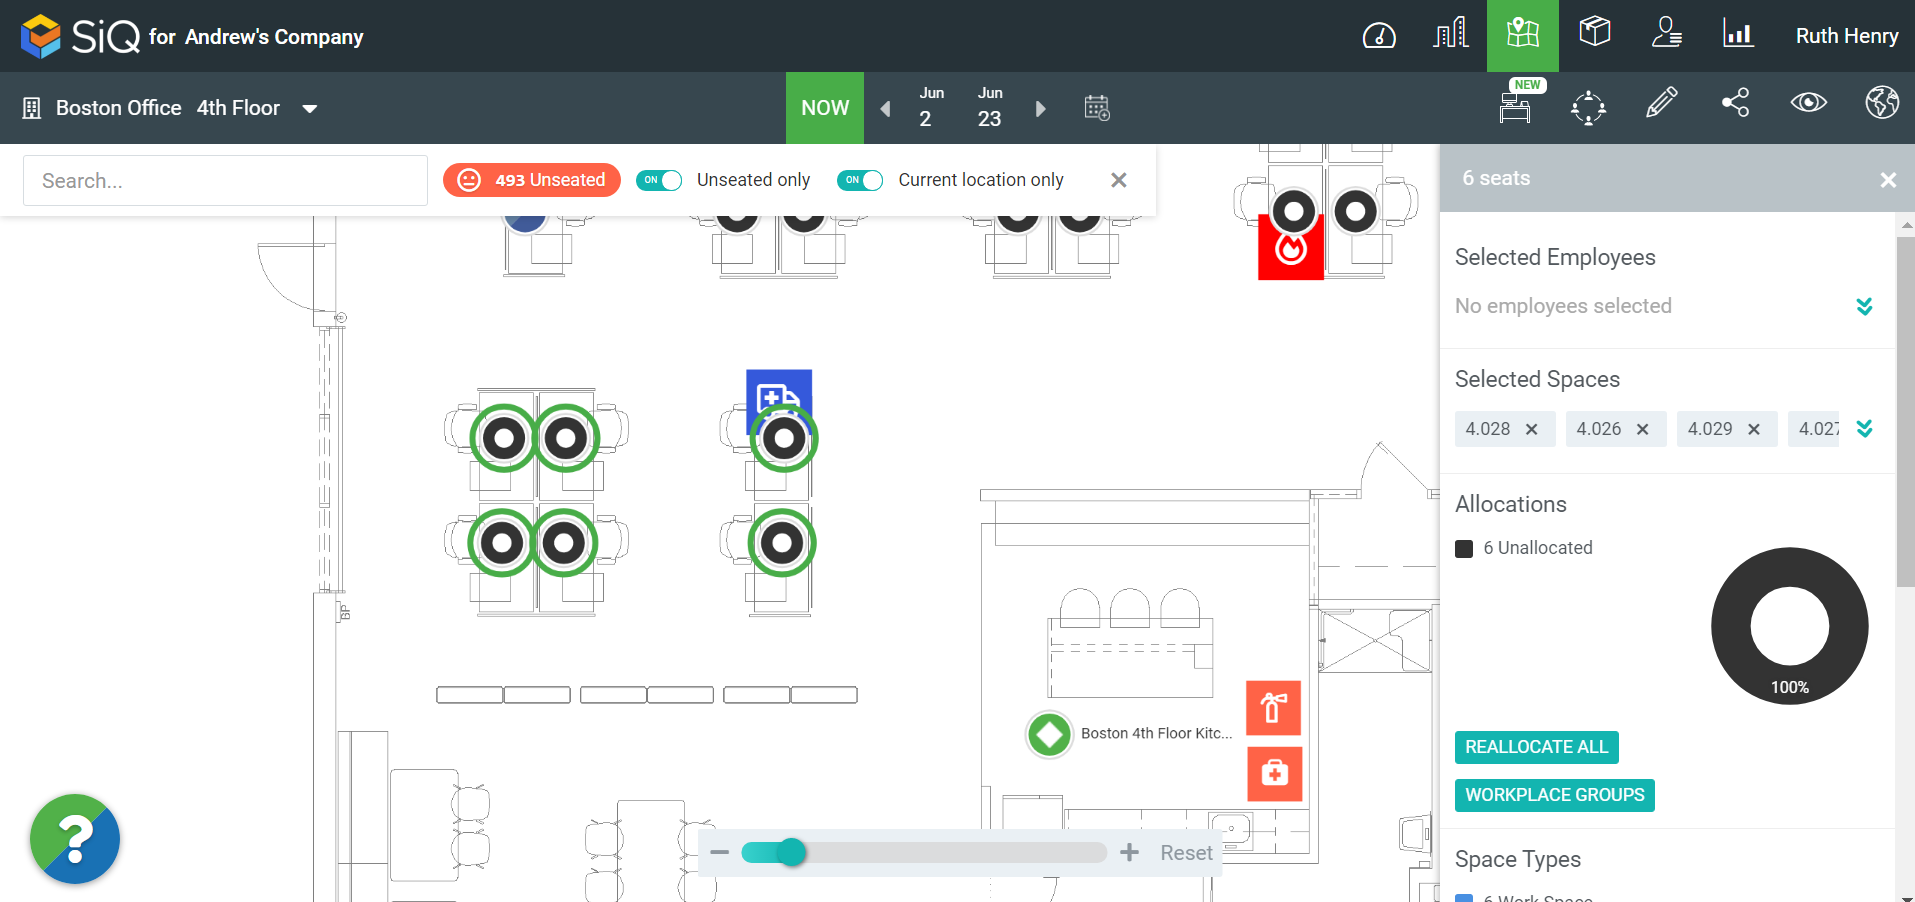
Click the UPDATE USAGE button. The Space Usage Types dialog displays.
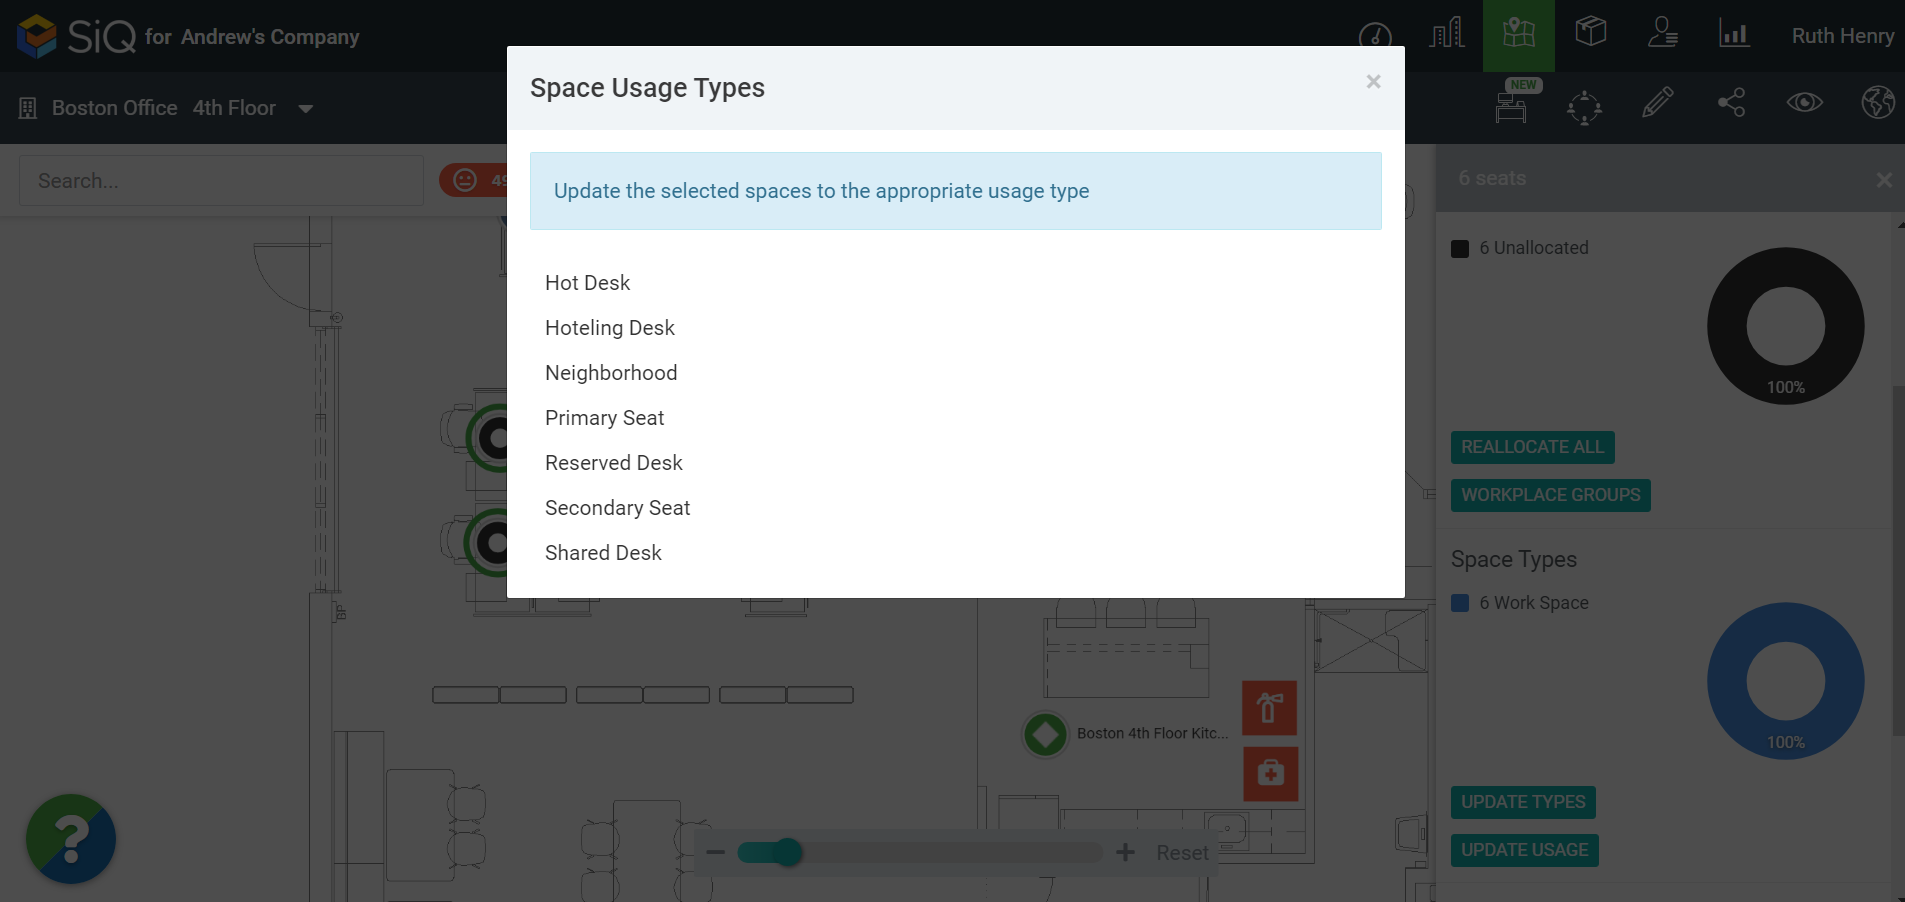
Click the Neighborhood usage type.
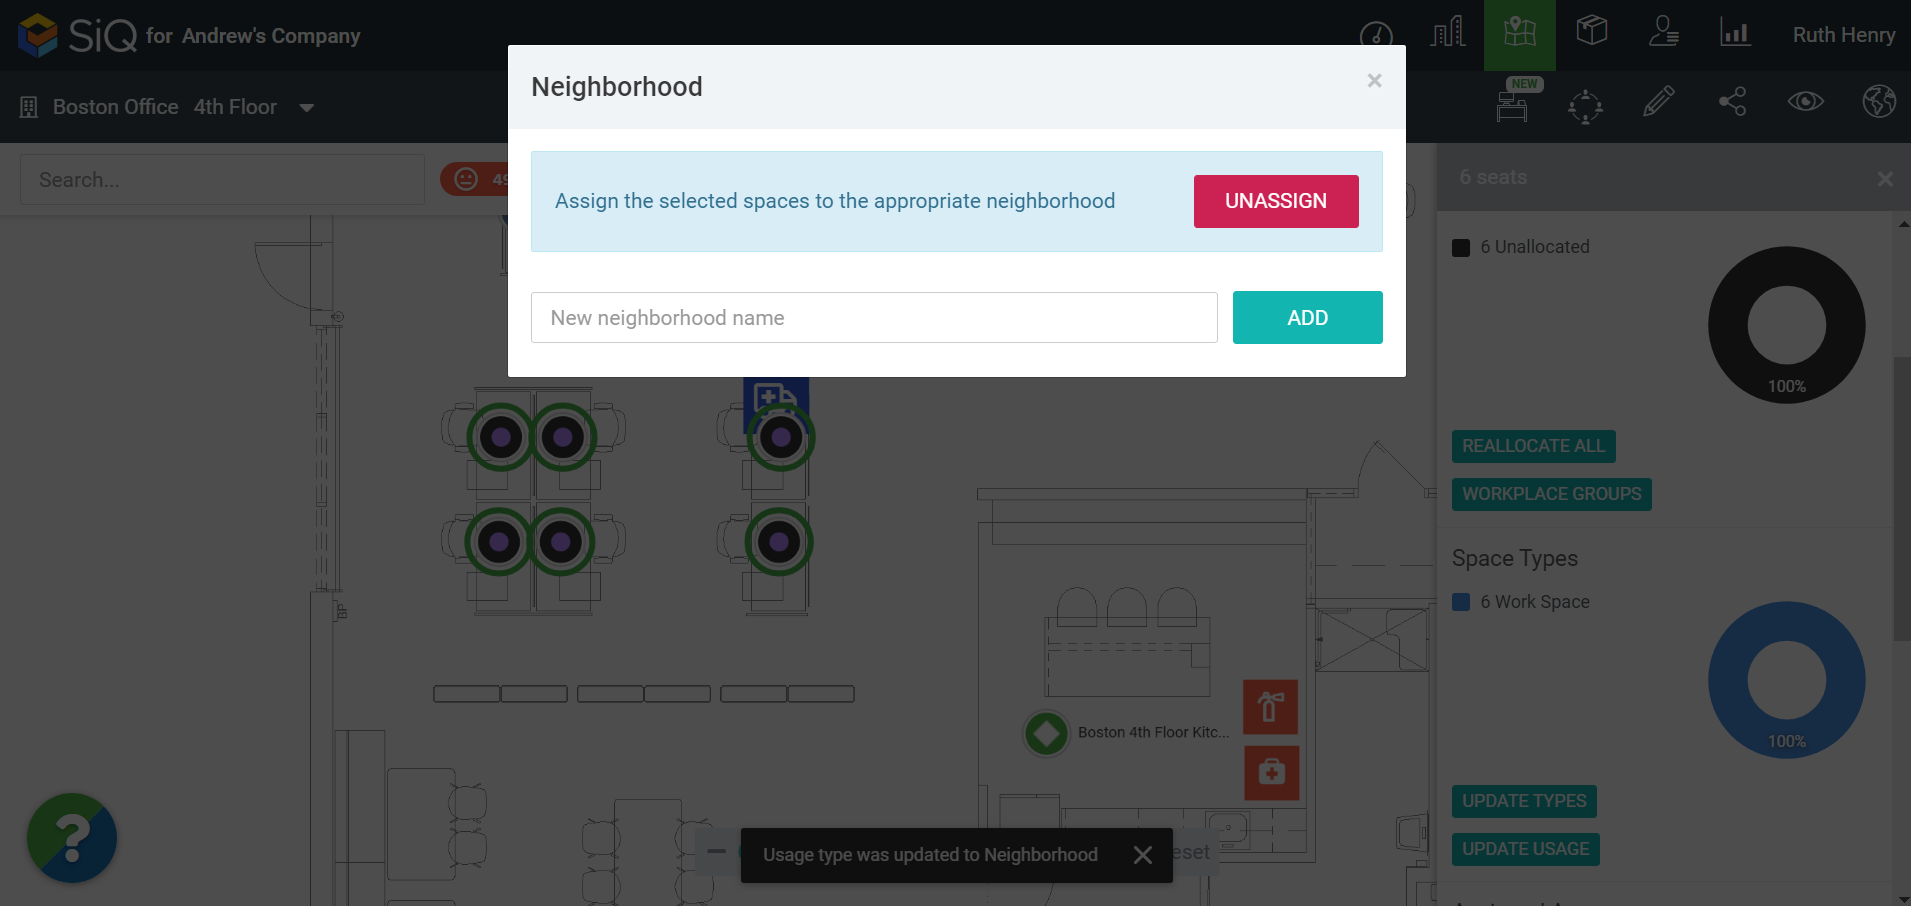
Either:
- Select an existing neighborhood and then select the name.
- Or in the New neighborhood field, enter a new neighborhood name. For example, Project X Neighborhood.
Click the ADD button. The new neighborhood is immediately added to the dialog.
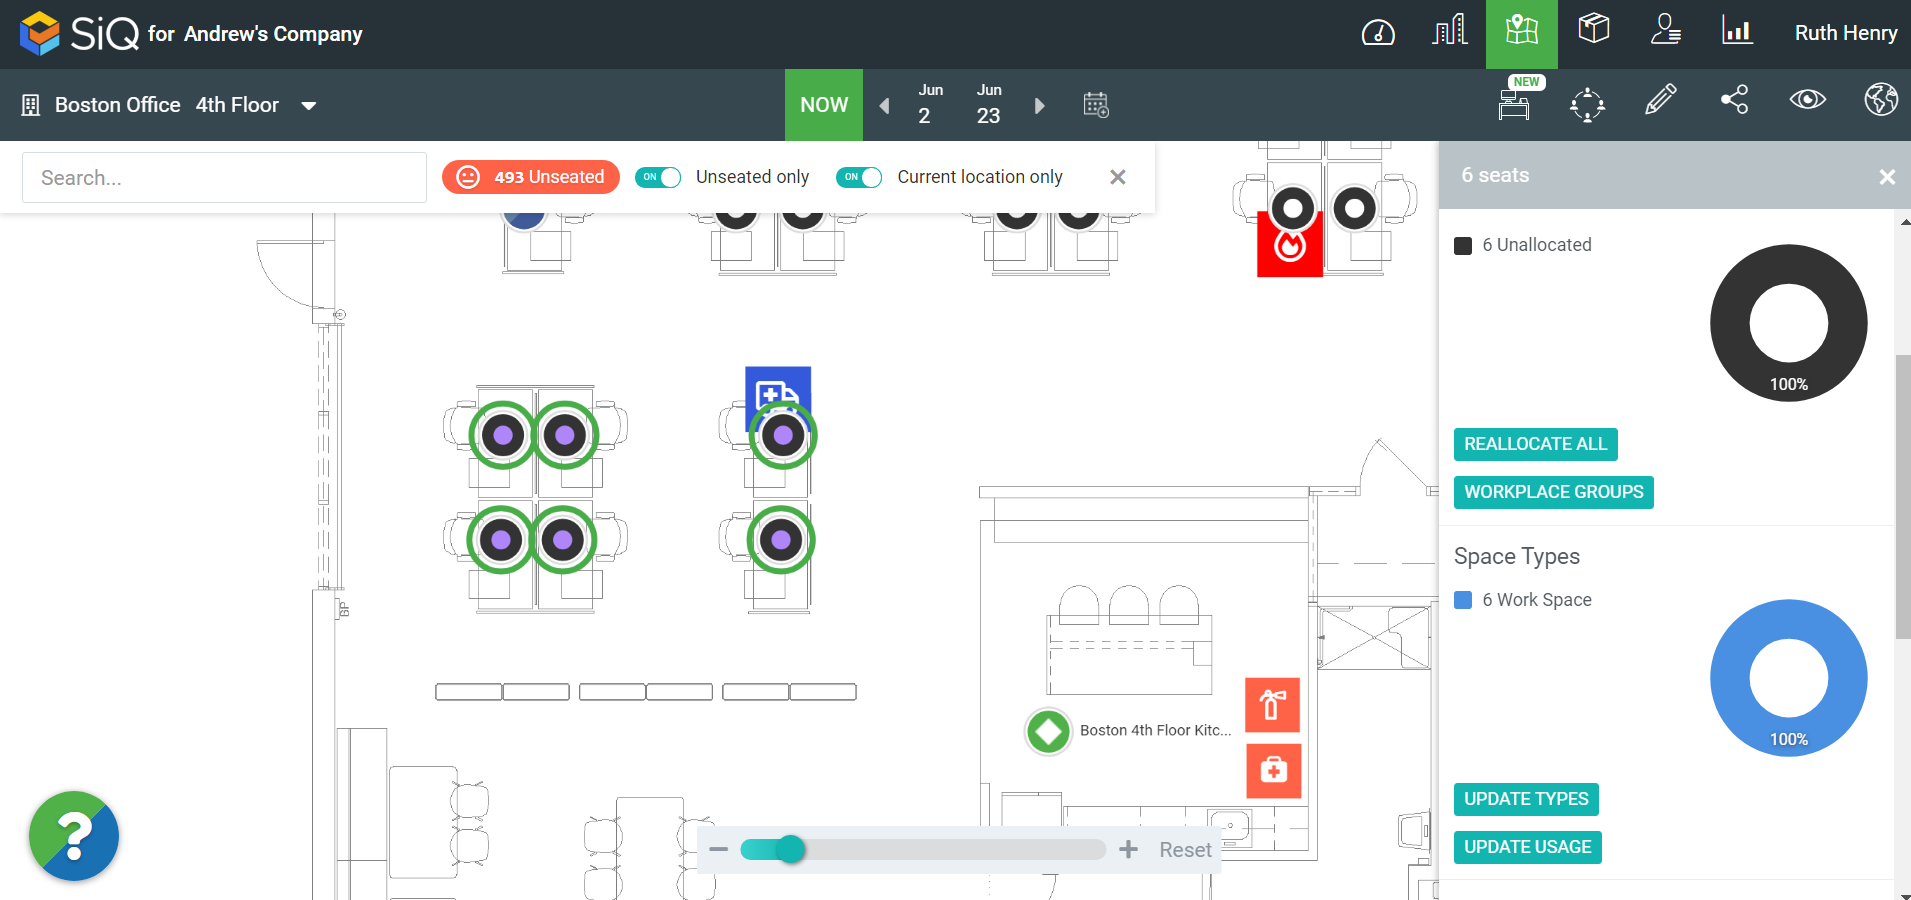
Click the new neighborhood name. The seats are allocated to the neighborhood.
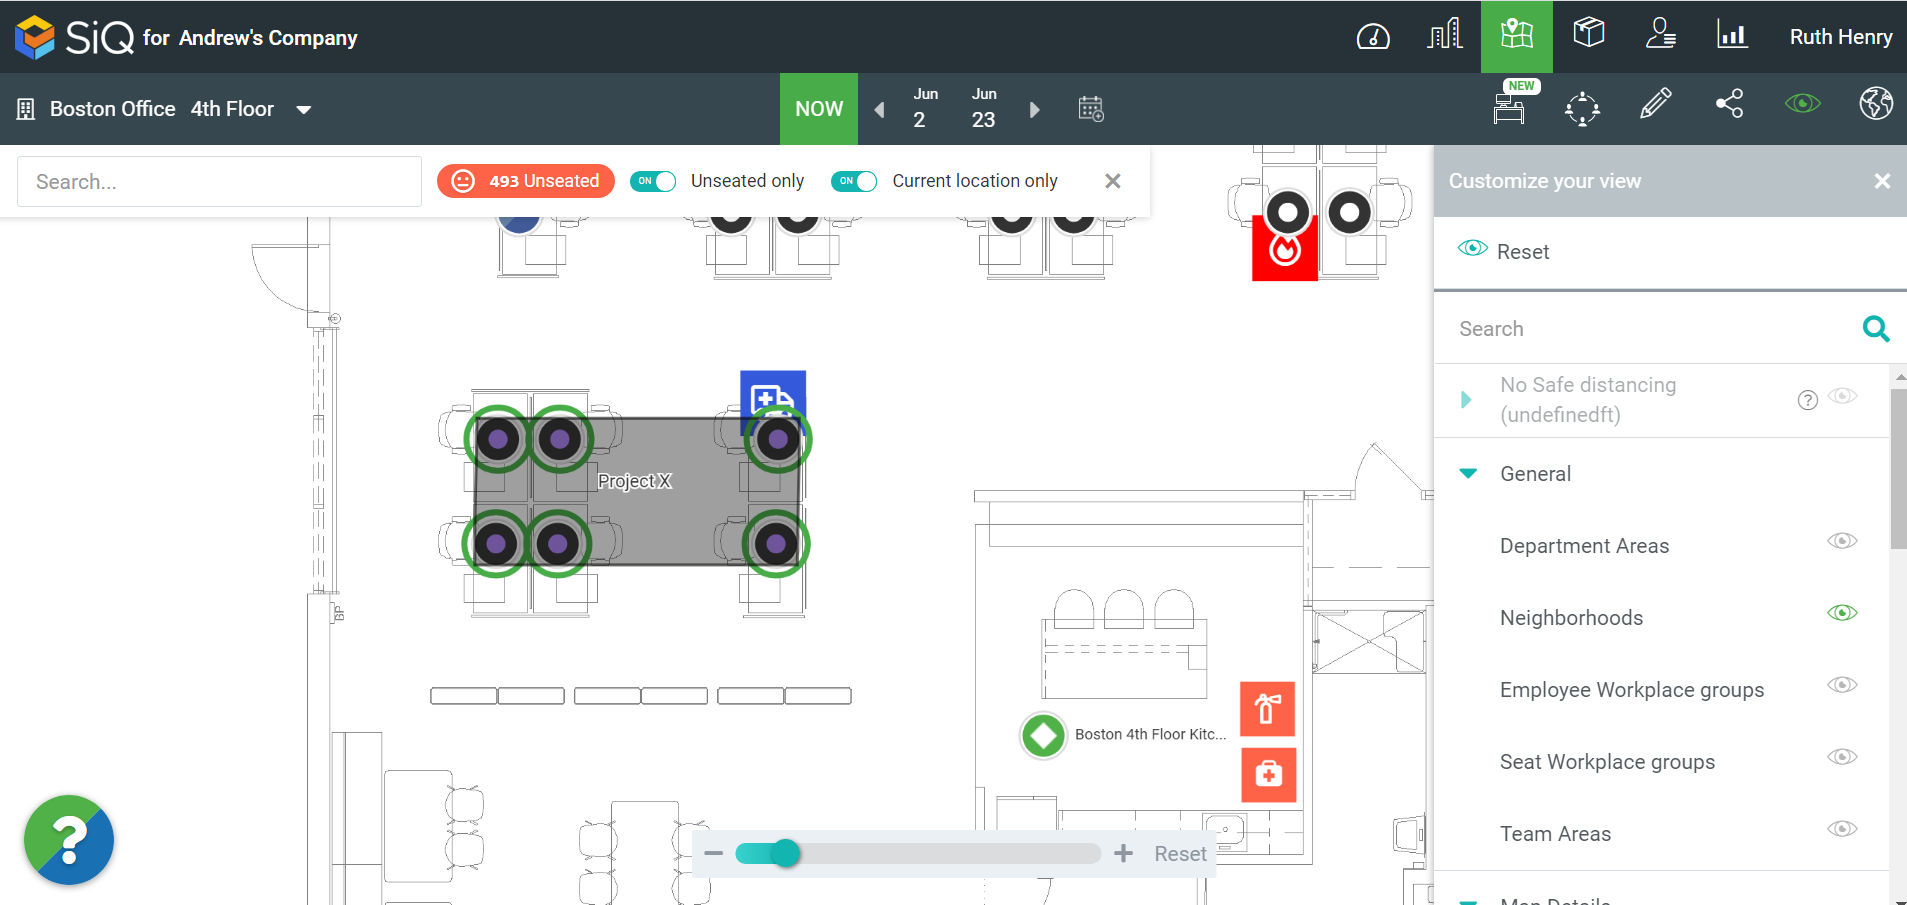
Step 2. View the Neighborhood on the Floor Map
Remember you can view the neighborhood on the Floor Map when you turn on the View Filter, see Customize Floor Map Views
Click the View Filter ![]() icon. The filters display.
icon. The filters display.
Click the Neighborhoods filter to turn it on.
Step 3. Associate the Employees to the Neighborhood
You will need to associate the employee with the neighborhood. This can be complete from the Floor Map.
- In the Search field enter the employee's name.
- When the employee's name displays in the search results, then drag and drop the employee to the seat.
Remember if you prefer the employees can be associated with the neighborhood from the Manage Neighborhood area.
Step 4. Adjust the Neighborhood's Capacity
Navigate to the Neighborhoods Management screen, click the Neighborhoods Management ![]() icon.
icon.
In the Search field, enter the neighborhood's name.
From the search results, select the neighborhood's name. The Neighborhood details dialog displays.
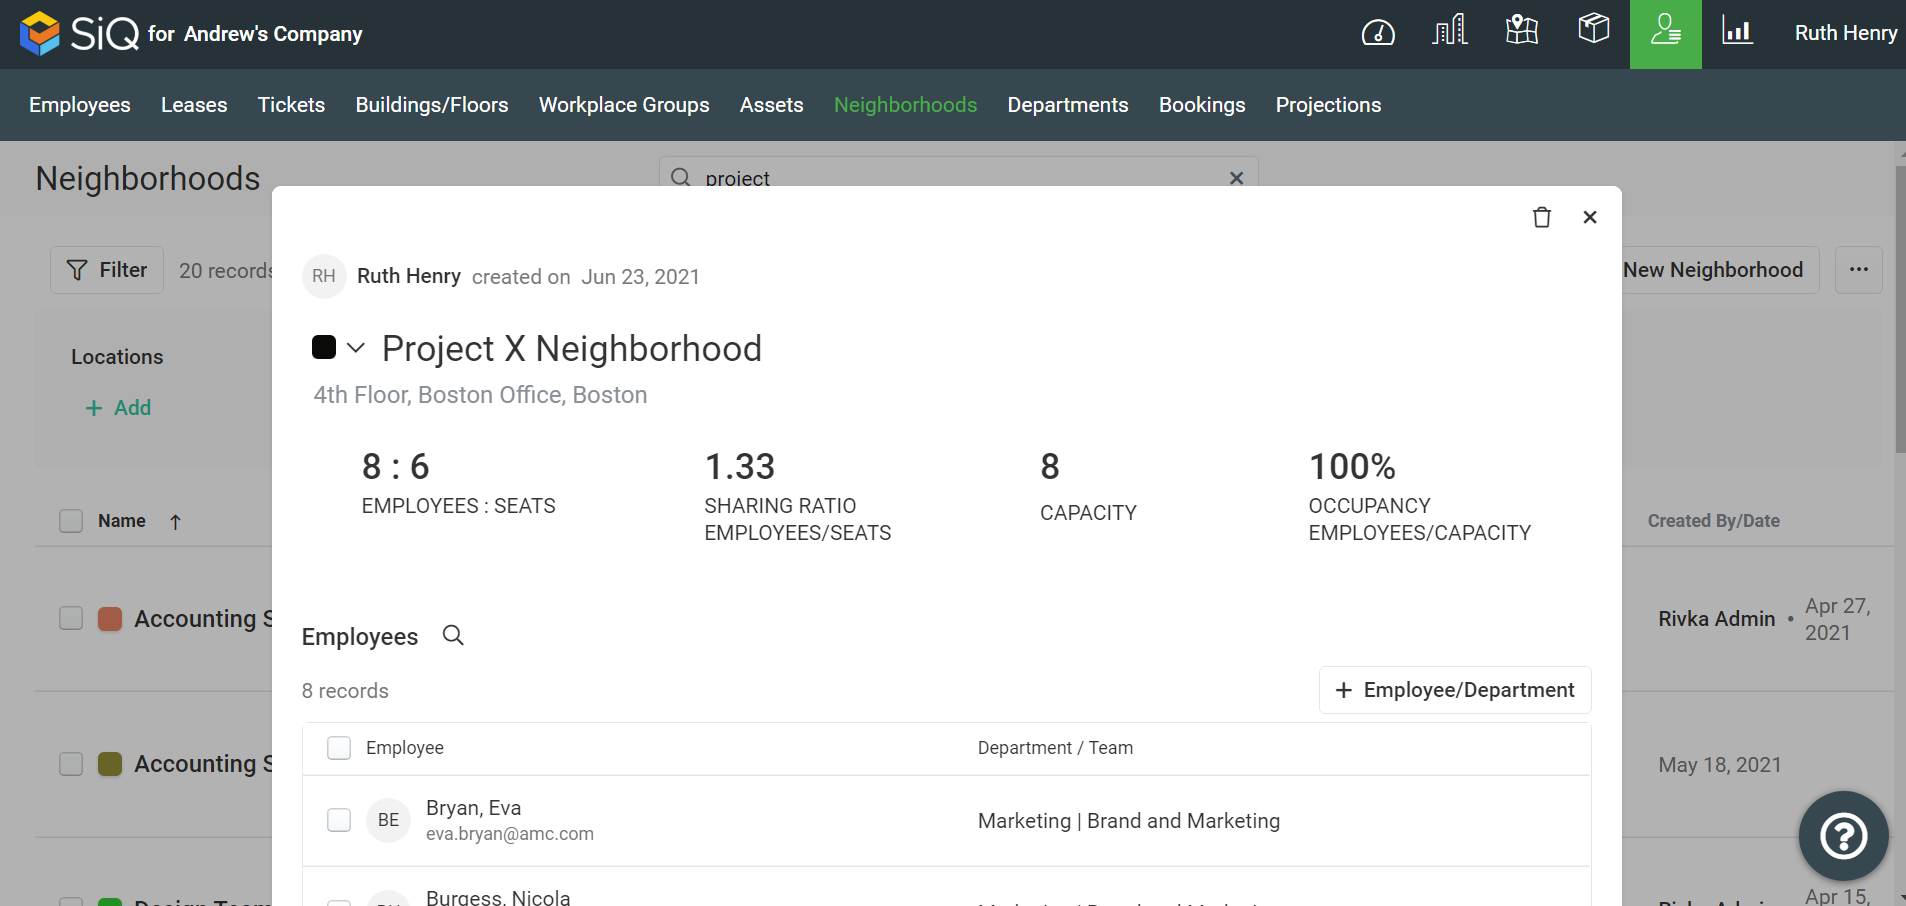
In the Neighborhood Details dialog, you will need to set the maximum number of people (capacity) for the neighborhood and this can be greater than the number of physical seats.
Click into the Capacity field, enter the capacity number. For example, the Project Team X Neighborhood has 6 seats and 8 employees so you would set the capacity to 6.
When you change the number, this is automatically saved.