Visitor Checks-in with LobbyConnect
When your visitor arrives, they can check themselves into Visitor Management, which will alert the individual they are visiting by sending an email notification that they are in the lobby of that particular device.

Different options will be available under the Start button depending on how Lobby Connect is configured.
To begin the check-in process, tap the Start button.
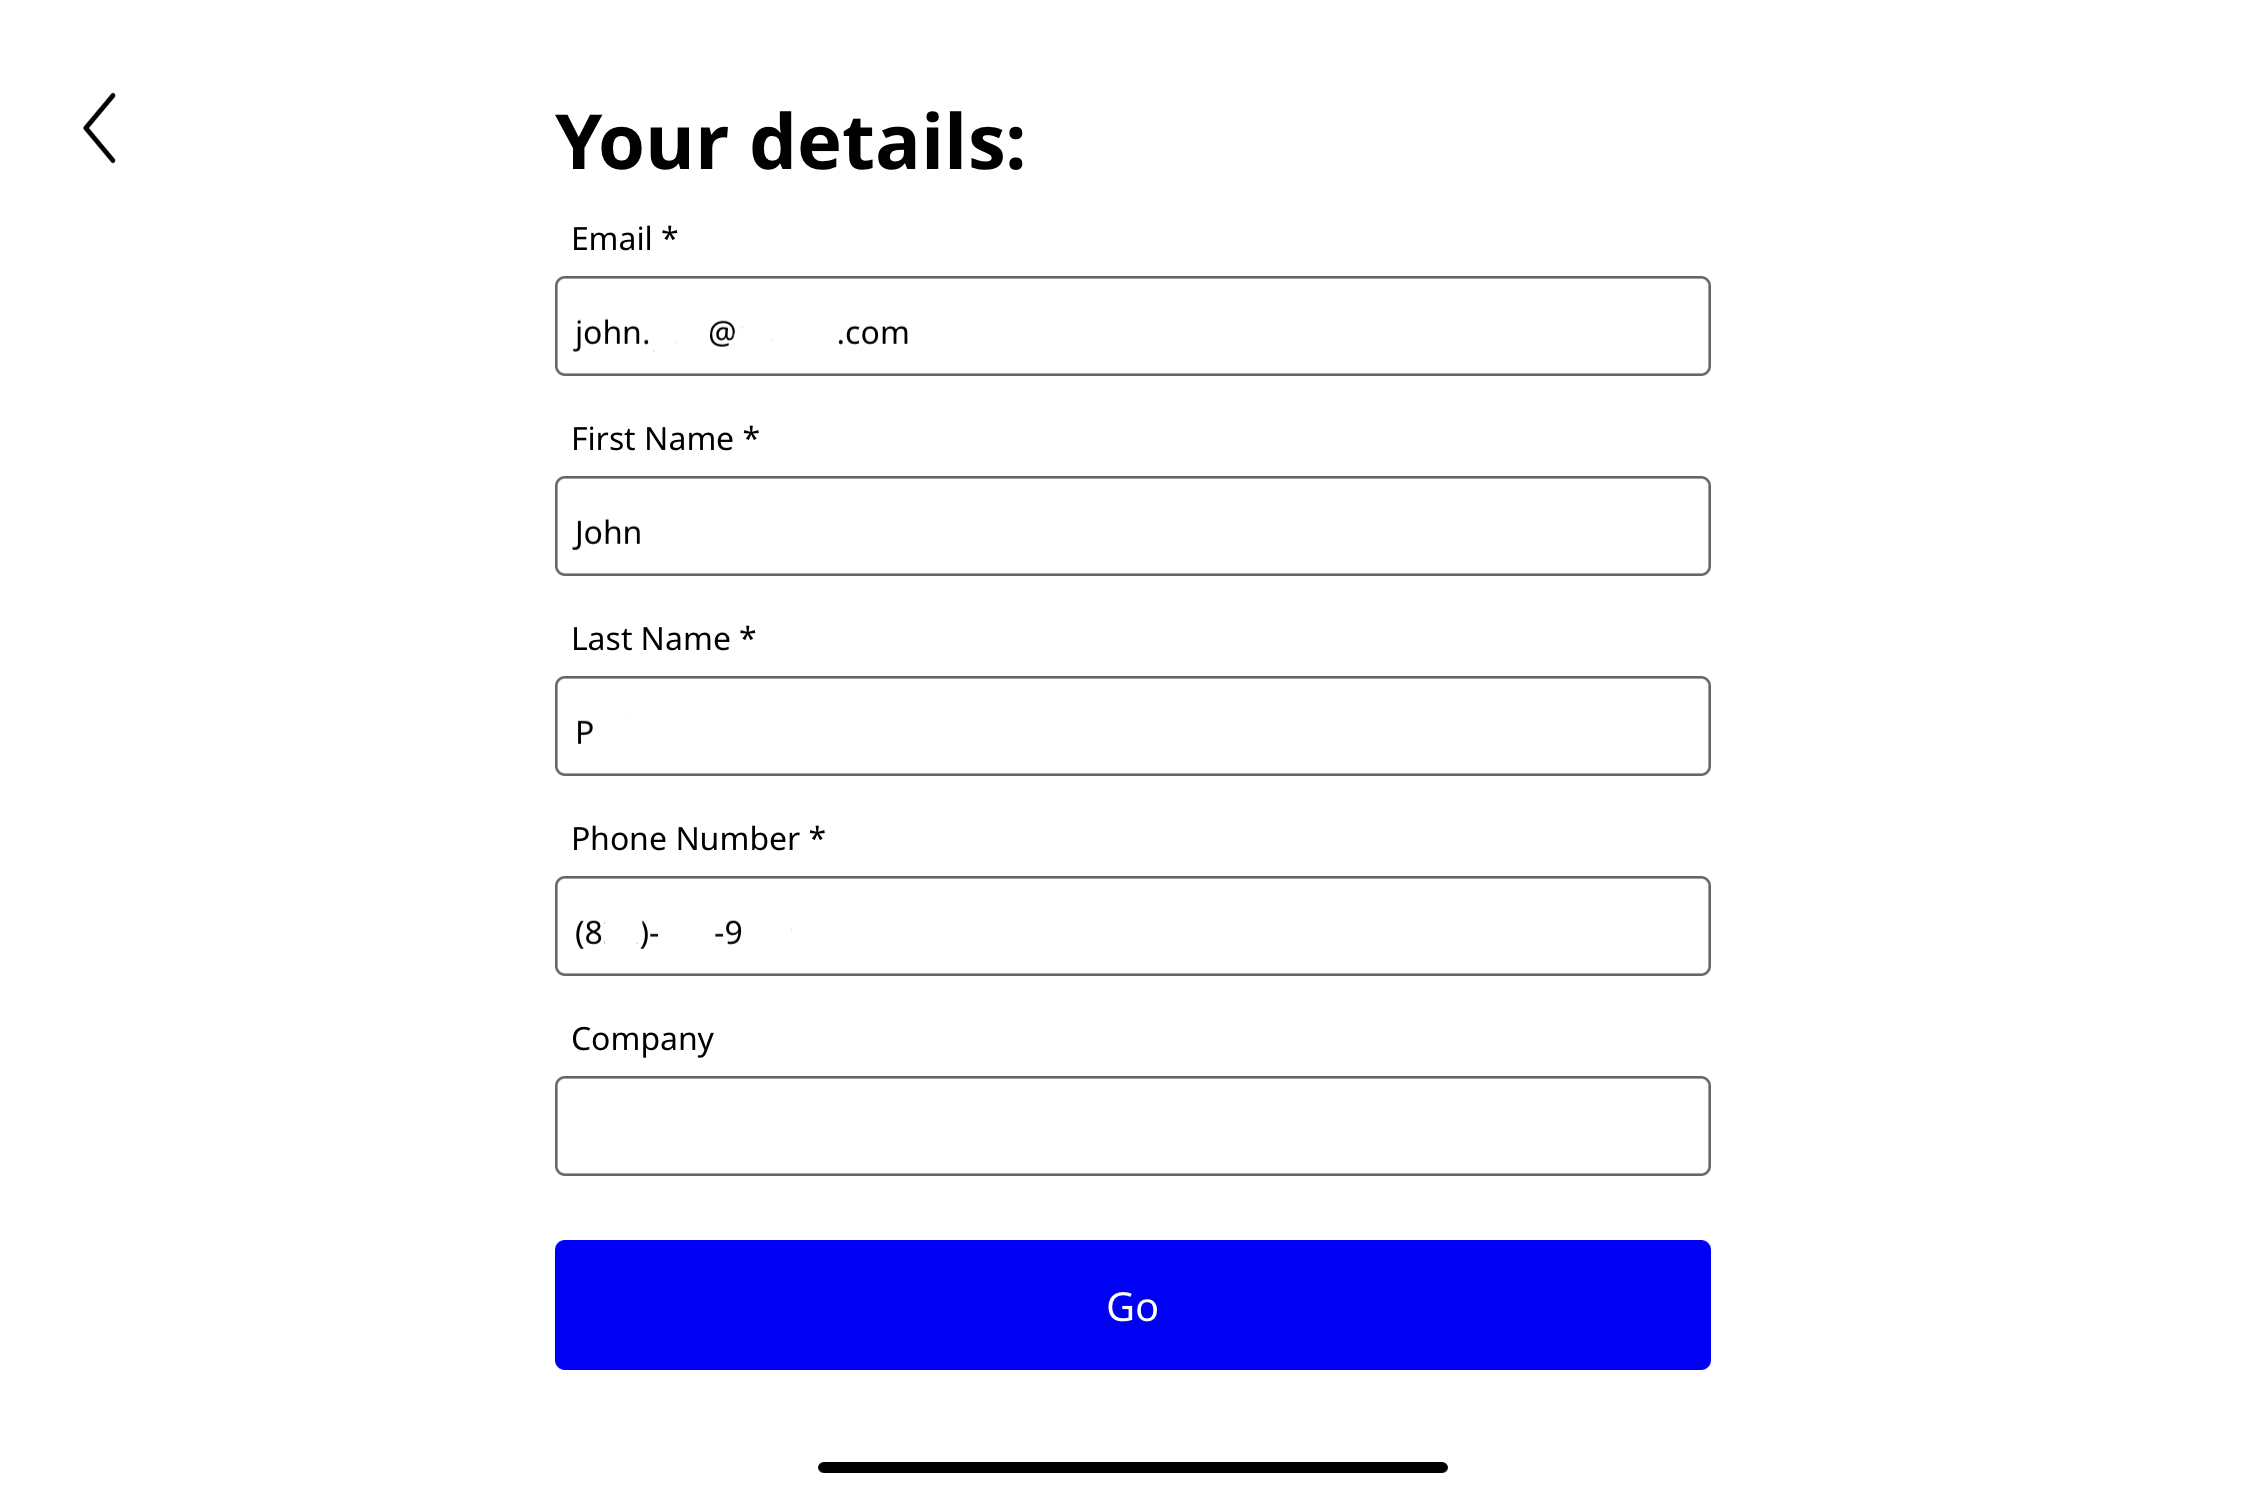
On the next screen, the following items need to be filled in before proceeding:
- First Name
- Last Name
- Phone Number
The company that the visitor is coming from is an optional field.
The Go button will not appear until the information is filled in the required fields.
Once the information has been filled in, tap the Go button.
The next screen asks for some additional details.
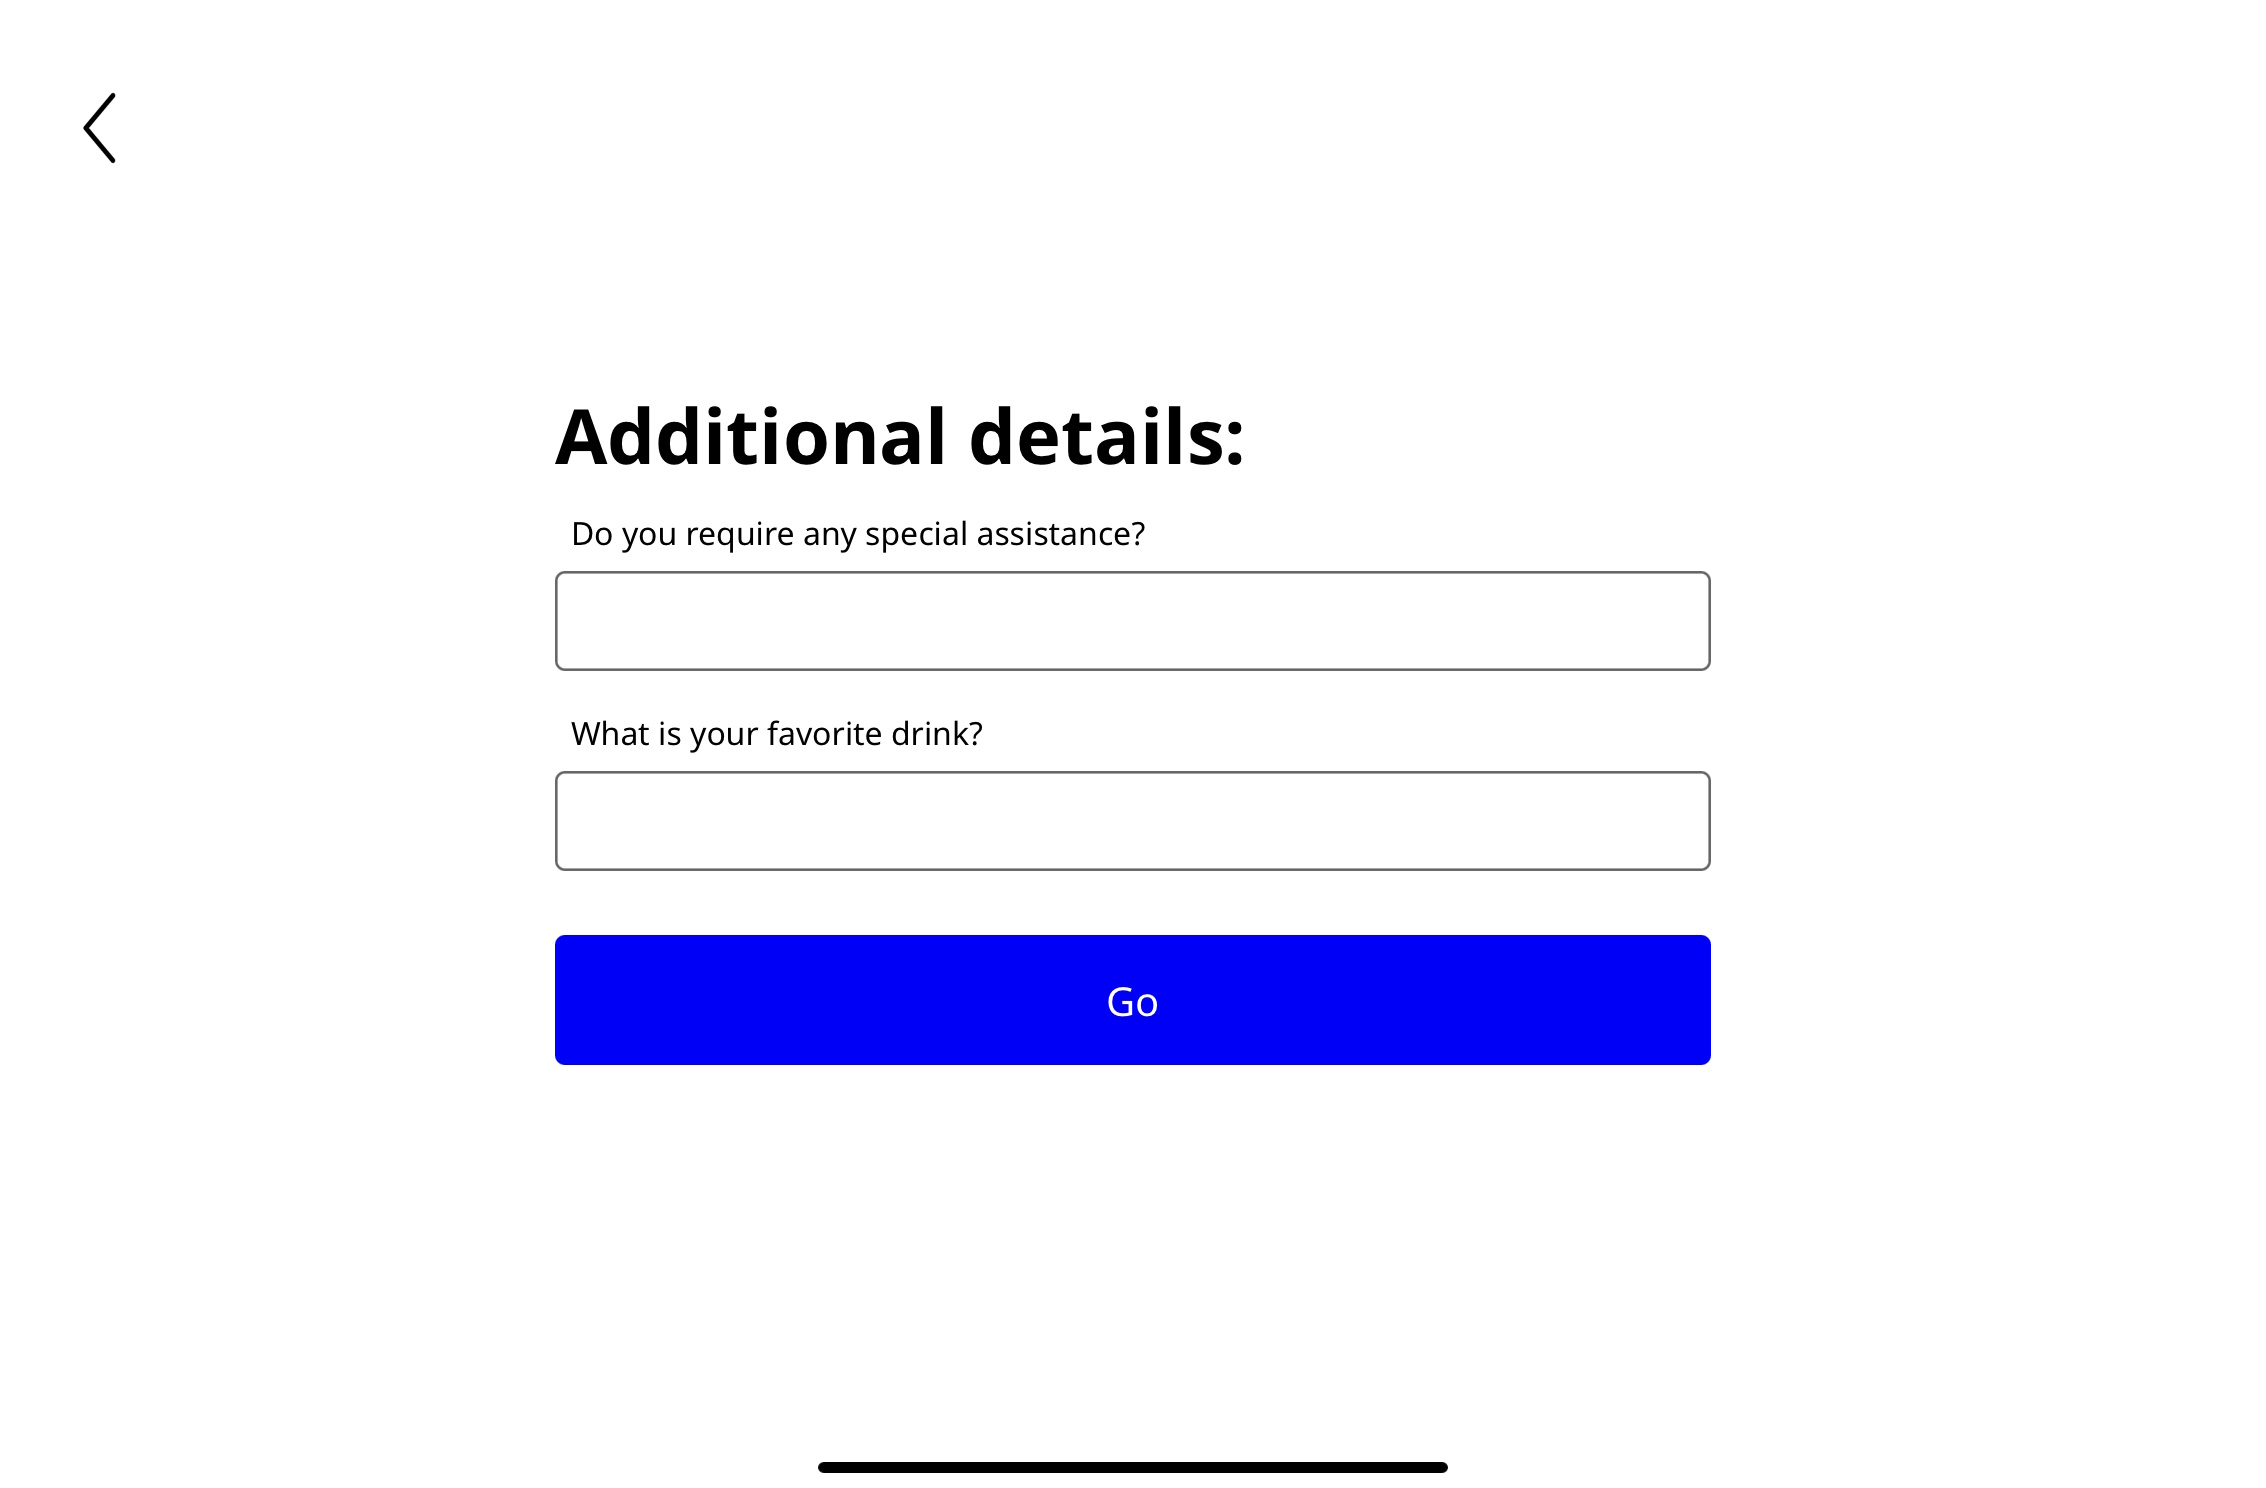
Next, enter the person's name and tap the Go button.
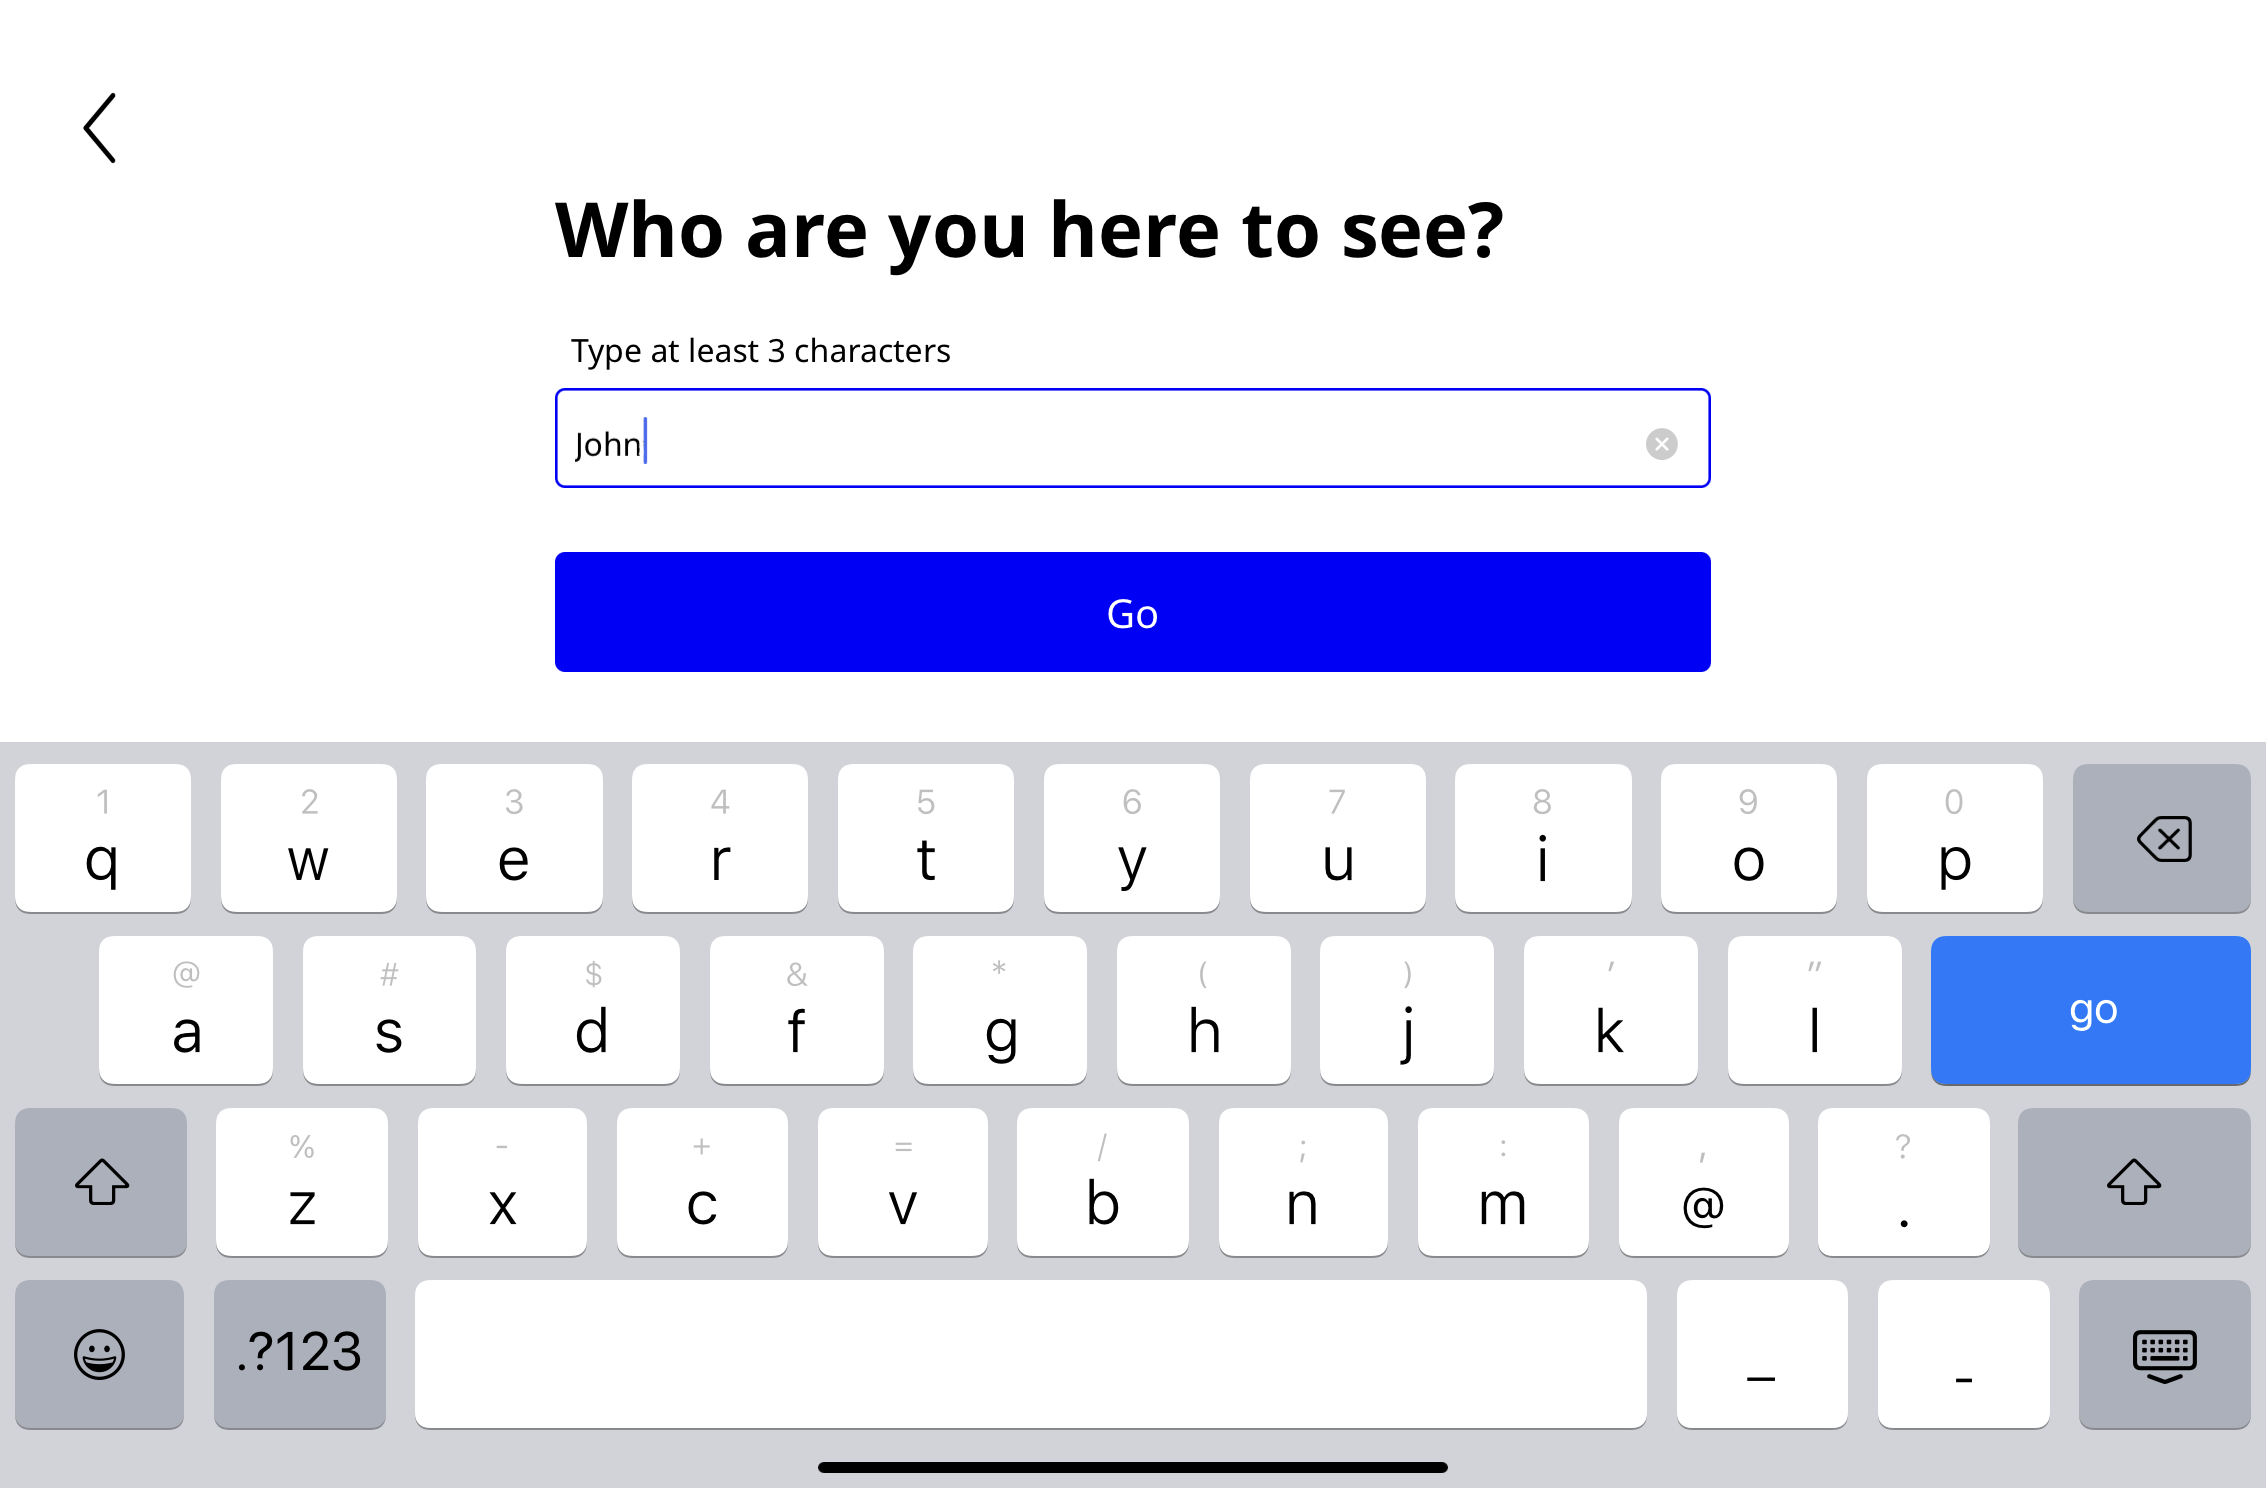
The name of the individual is populated by the Address Book within TEEM.
The Go button will not appear until the information is filled in the required fields.
When the Go button is tapped, the screen will change, and Lobby Connect will use the camera on the device to take a picture of the visitor.
The screen will show a text saying "Get Ready" and then count down on the screen. When the timer reaches 0, a picture will be taken. Manual control is not available for this process.
After the picture is taken, the user can retake the picture or continue by tapping the Go button.

On the next screen, if configured, the following may appear.
If your Admin has set up an NDA or another type of document for visitors to sign, this will display.
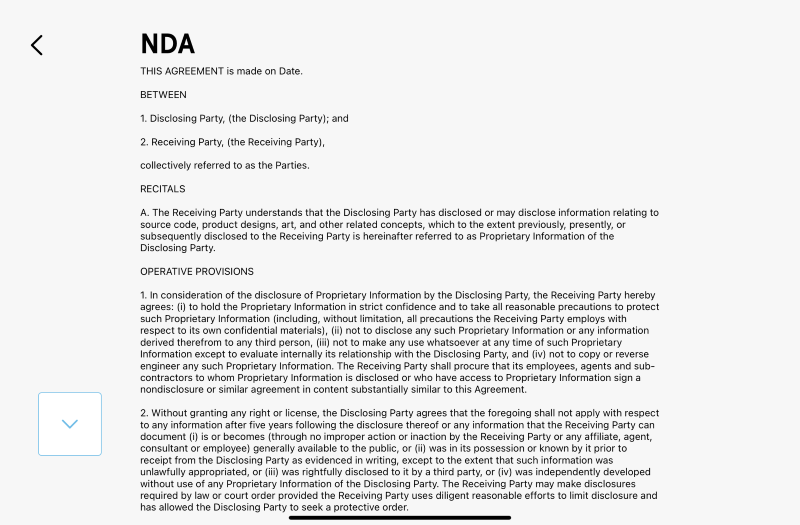
Read the document and then scroll down. The signature field displays ready for you to sign.
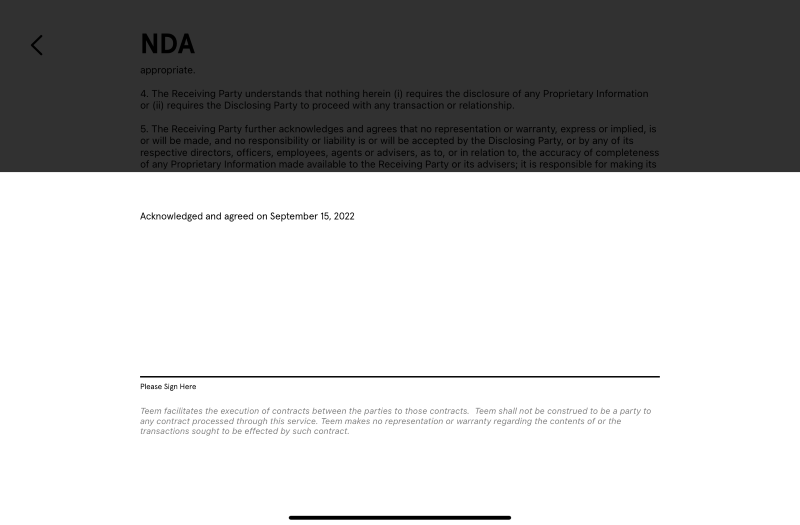
Use your finger to sign the document.
The confirmation screen displays and an email notification is sent to the host.
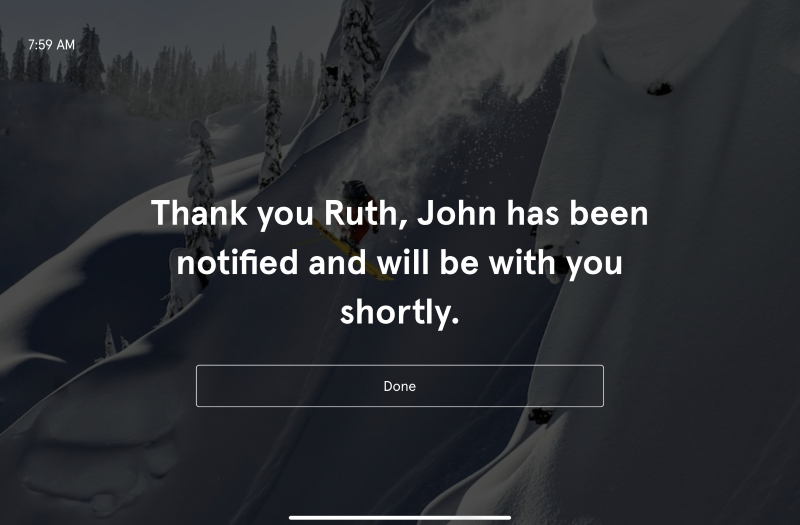
Tap Done to close the screen.
If you pause too long, the following screen may appear while filling in the information.
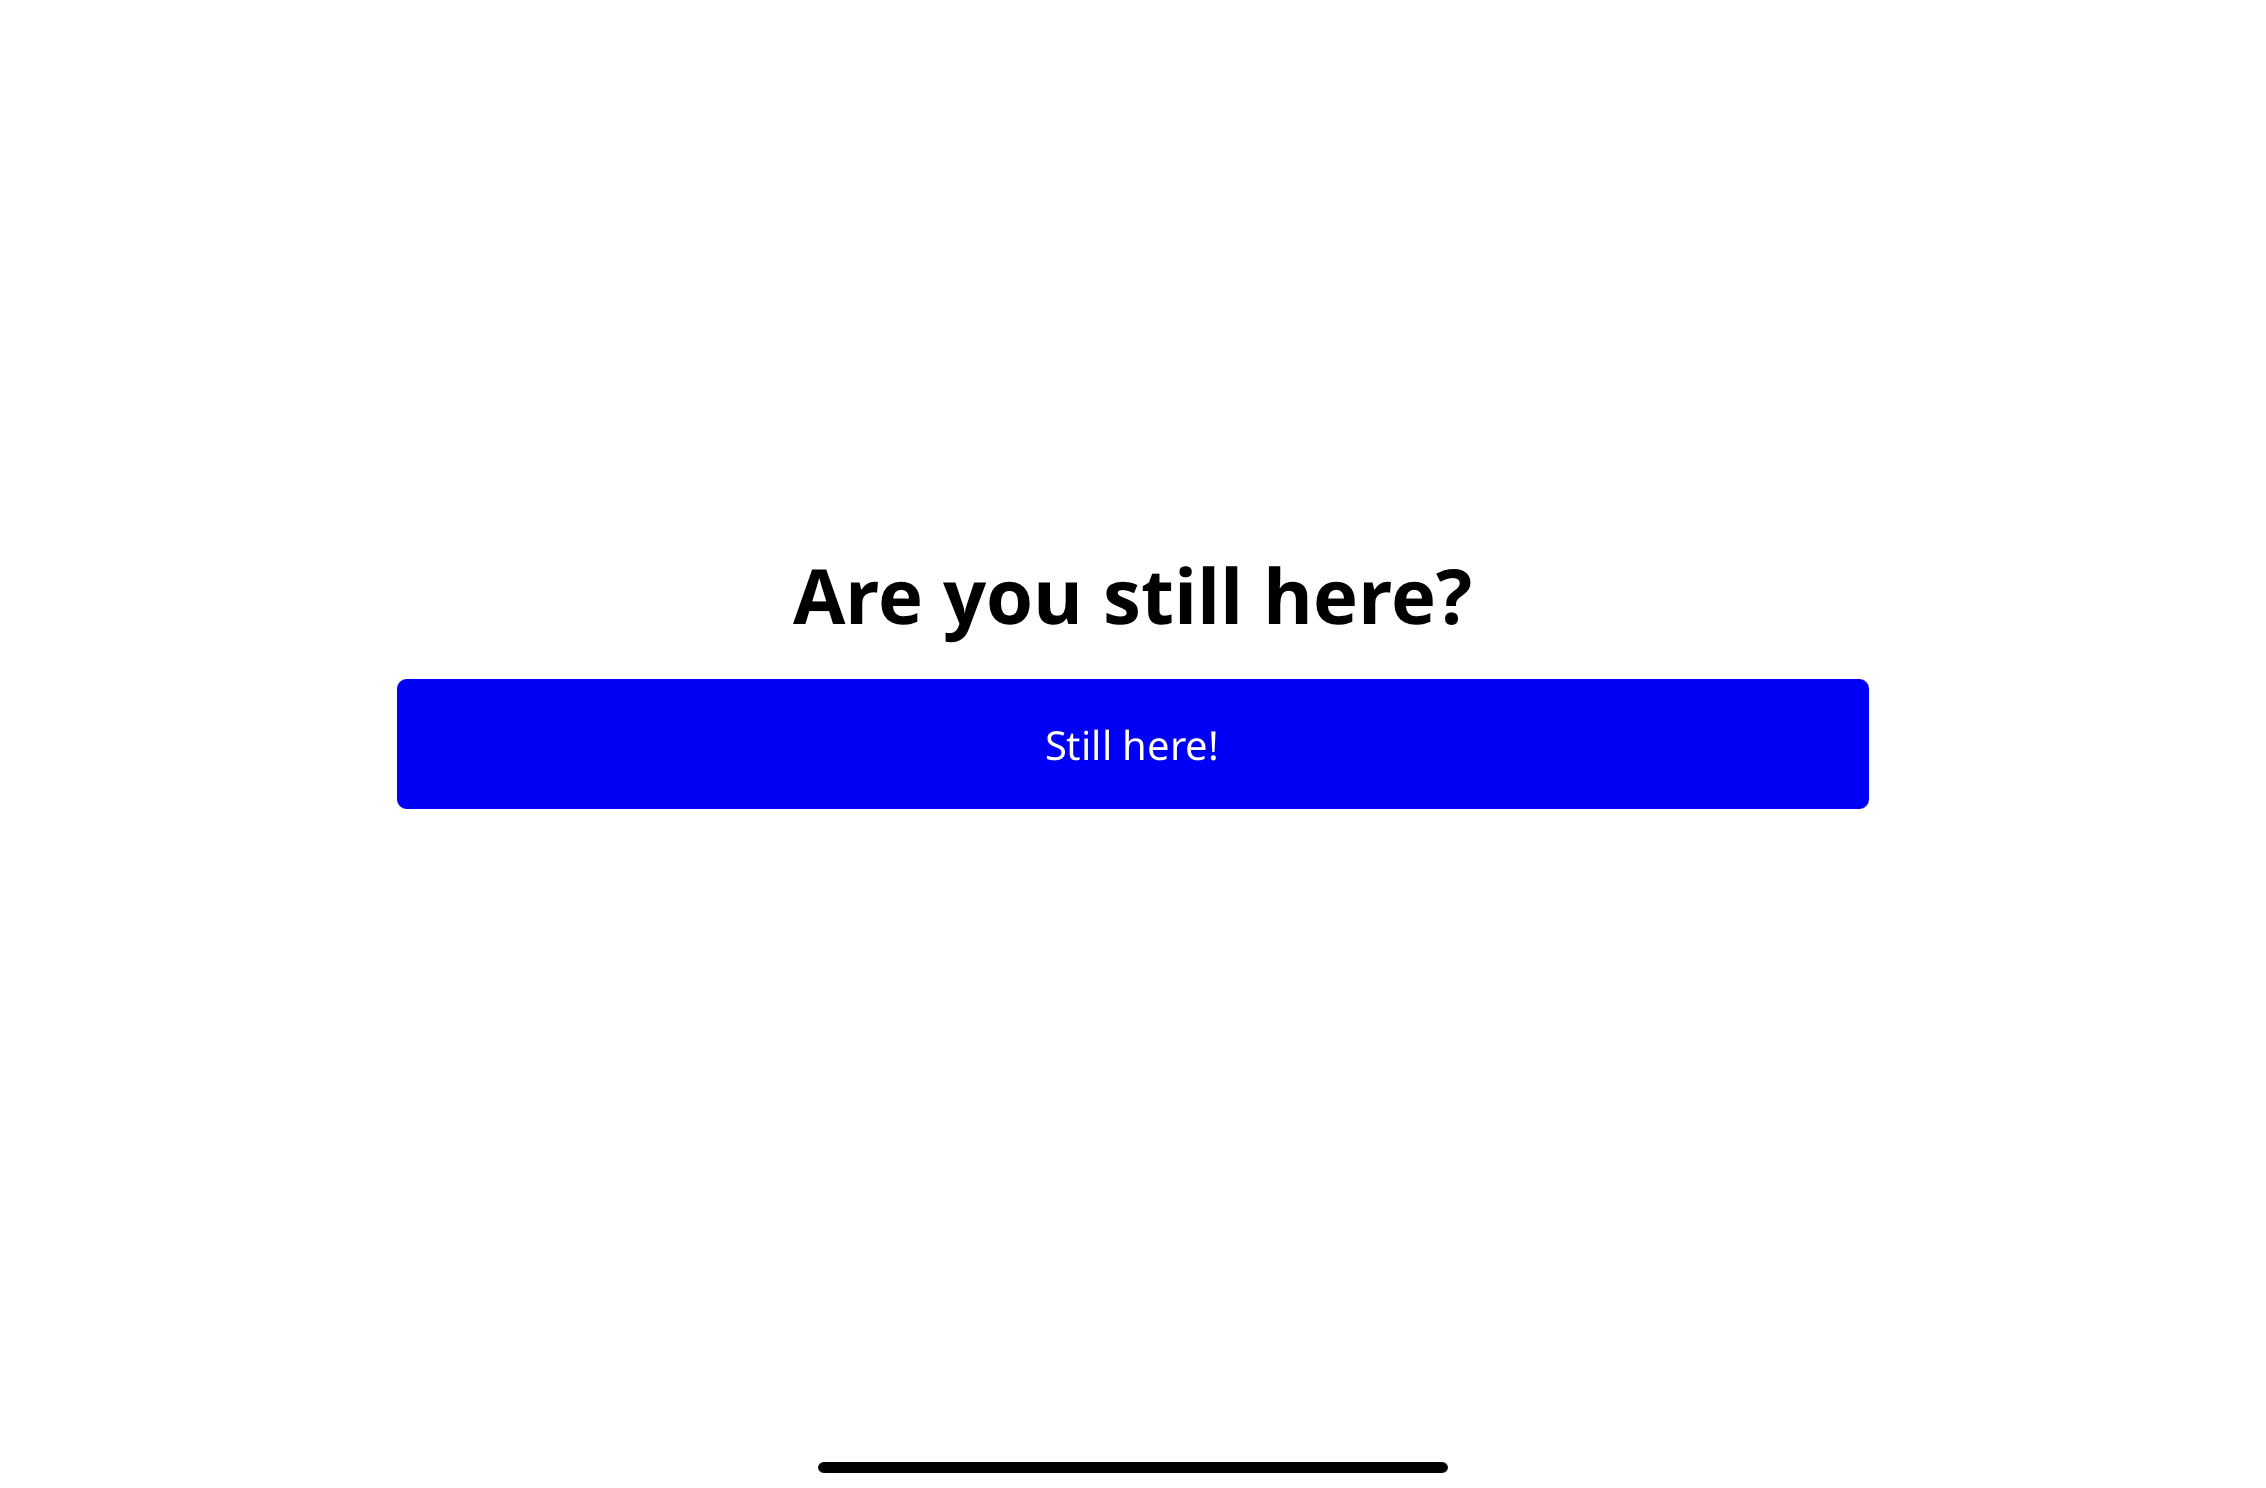
When the Still here! button is tapped, the user will be brought back to the initial Start screen and have to start the process over.
