Add a Desk or multiple Desks
You can add a Desk that your employees can book using the Booking Tool and the Teem mobile app.
Prerequisites
Before you add a space, it is important to understand the Teem space hierarchy and override settings. Space hierarchy is the space structure for your entire organization that defines where your rooms live. Teem’s Space Hierarchy’s various levels in order:
- Organization
- Campus
- Building
- Floor
- Space
It’s important to note that you don’t have to set all hierarchy levels’ settings. Many deployments can just set the Organization settings and be ready to go. However, you can override settings anywhere within the hierarchy. Overrides give you the ability to make an exception to any of the default settings you’ve made for your organization and have that exception apply to all levels below in the space hierarchy.
Learn more about space hierarchy and override settings as well as recommended EventBoard Room Display settings.
Step 1. Add a Desk
From Teem Web, complete the following:
1. From the Teem Dashboard homepage, select Manage > Locations > Directory.
2. Navigate to your building and select the floor.
3. Select the Desks tab.
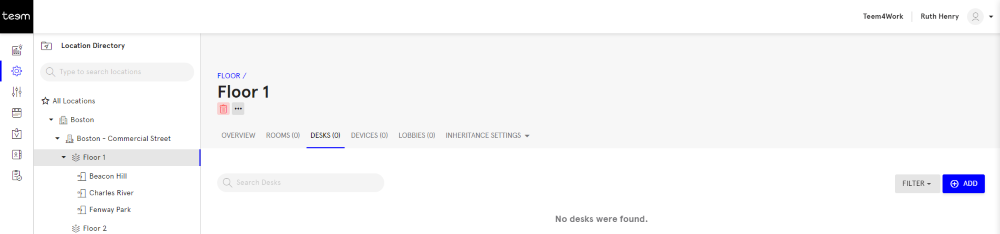
4. Click the ADD button. The Add Desk screen displays.
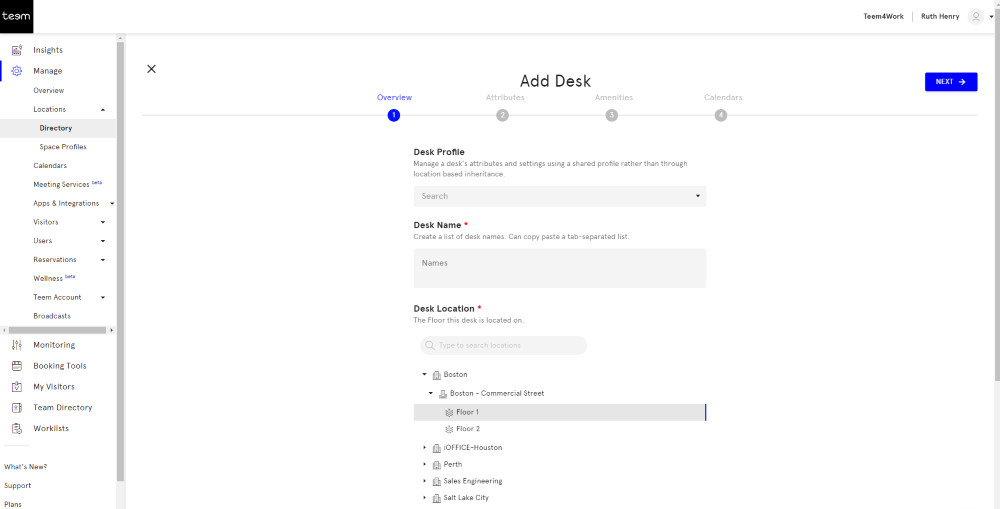
5. If you have Space Profiles set up, then from the Desk Profile drop-down, select a space profile for the room.
We recommend that you set up the space profile for the room as this will save you time. Learn more in Add Space Profile for a Desk. When you select the space profile this will populate the settings such as desk photo.
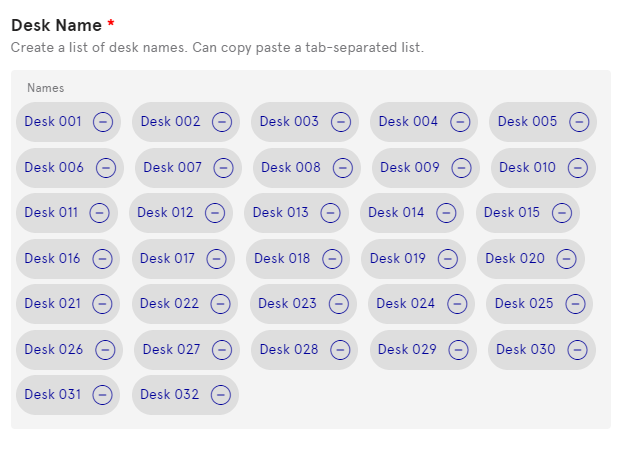
6. In the Name field, enter the desk's name(s).
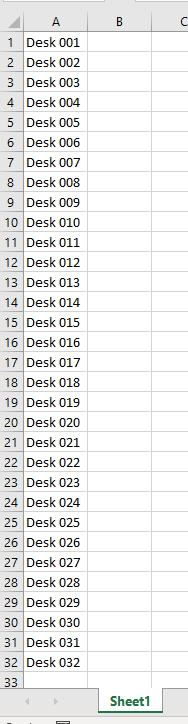
If you want to add multiple desks (up to 100 desks) then either enter the desk's name and press the Enter key OR you can copy the desk names from a Microsoft Excel spreadsheet and paste this into the field.
|
Microsoft Excel with Desk Names
|
Desk Name Field in Teem Web
|
7. For the Desk Location, use the selected location.
8. Click the NEXT button.
Step 2. Set up the Attributes
The Attributes screen display.
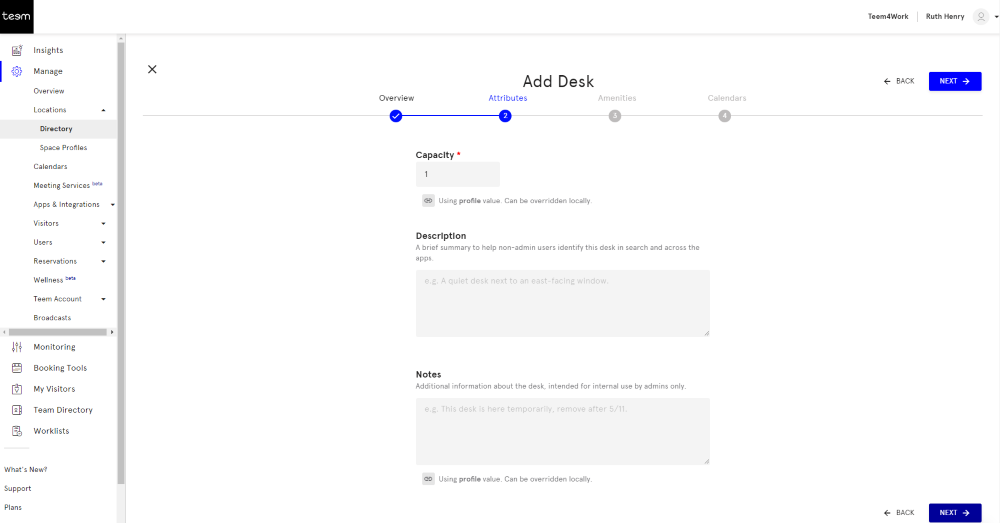
9. As you have selected a space profile the capacity will be populated either you can use this setting or override it.
10. In the Description field, enter a short description.
11. In the Notes field, enter additional information and this is intended for internal use by Admins only.
12. Click the NEXT button.
Step 3. Select the Amenities
The Amenities screen display.
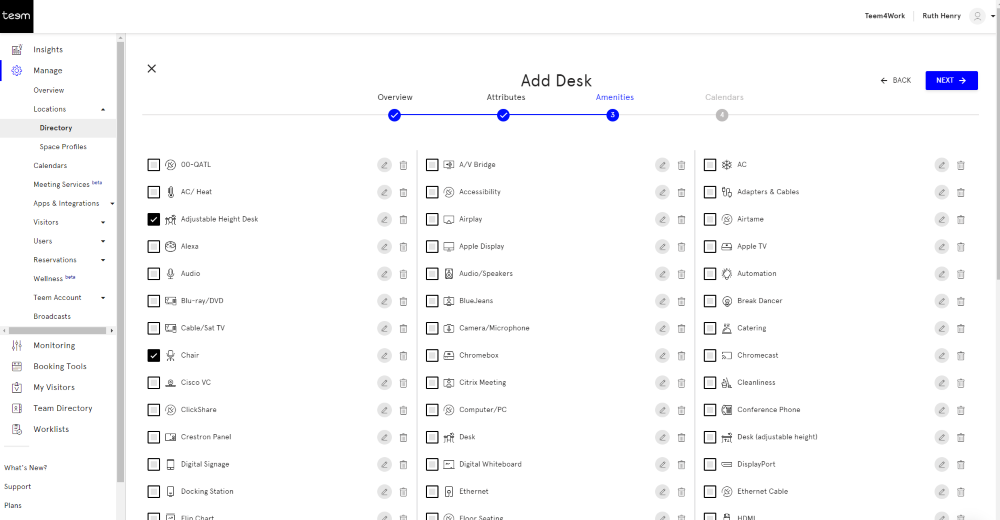
13. As you have selected a space profile the amenities will be populated either you can use this setting or override it. Note: These resources can be used to narrow your search parameters for room selections while booking and can be used for Work Requests.
14. Click the NEXT button.
Step 4. Select the Calendar
The Calendars screen displays.
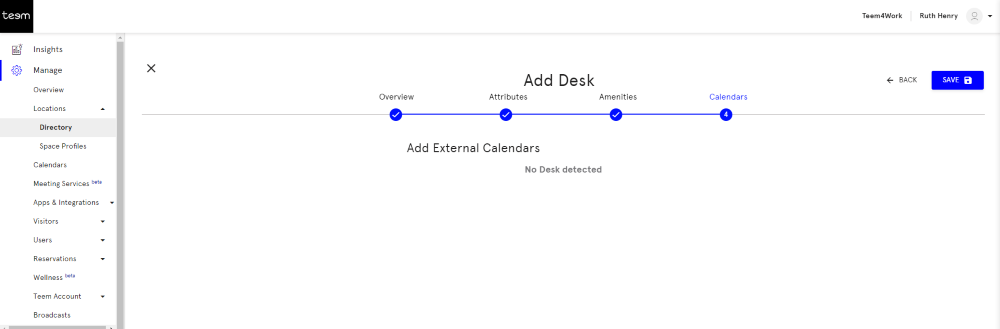
15. Click the SAVE button.
This will save the desk(s) and automatically create the desk's calendar.