Set up a Meeting Service
Meeting Services is a way for your employees to request assistance like catering, AV support, or room configuration for a meeting in advance. The services can be set up by your Teem Admin.
Step 1. Create the Meeting Service
From Teem Web, complete the following:
1. Navigate to Manage > Meeting Services.
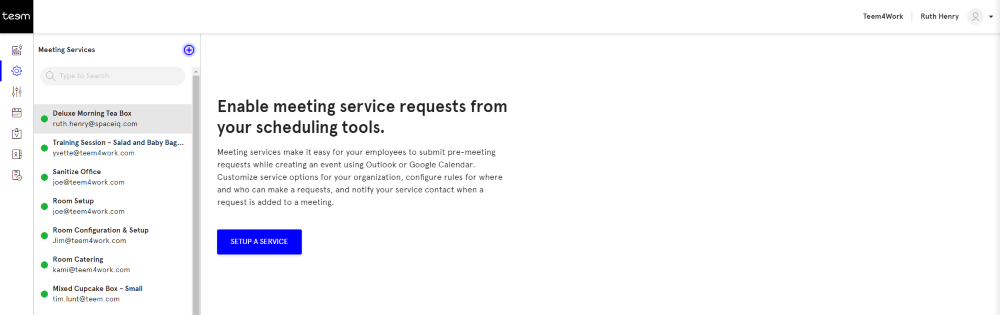
2. Click the SETUP A SERVICE button.
The New Meeting Service screen displays.
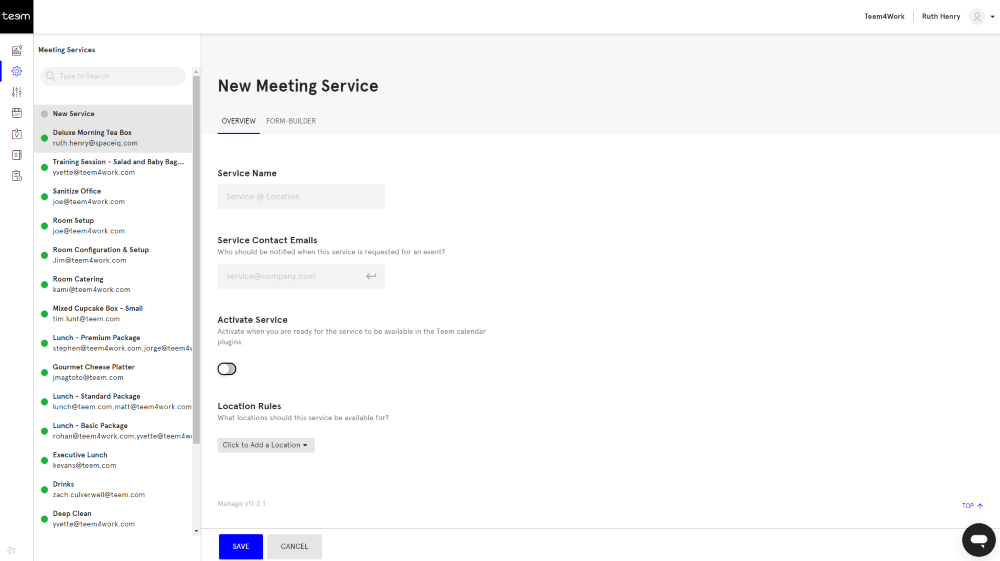
3. In the Service Name field, enter the name of the service. This will display when an employee books a desk or room, make sure it is easy for employees to understand what the service is.
4. In the Service Contact Email field, assign a contact/distribution email for service fulfillment. An email notification is sent when a Meeting Service is added and when it is canceled.
5. Toggle Activate Service to be either:
- ON - the Meeting Service can be booked through the Calendar Plug-in.
- OFF - it will display on the list of Meeting Services to the right with a red indicator.
6. From the Location Rules drop-down, select the location(s) where this is available. This can be anywhere from campus to room level. If no location is set, the Meeting Service will not be available through the Calendar plug-in.
Step 2. Add Instructions and Custom Fields
Also, you can add additional instructions and custom fields to the notification sent to the Service Contact.
7. Click the FORM-BUILDER tab.
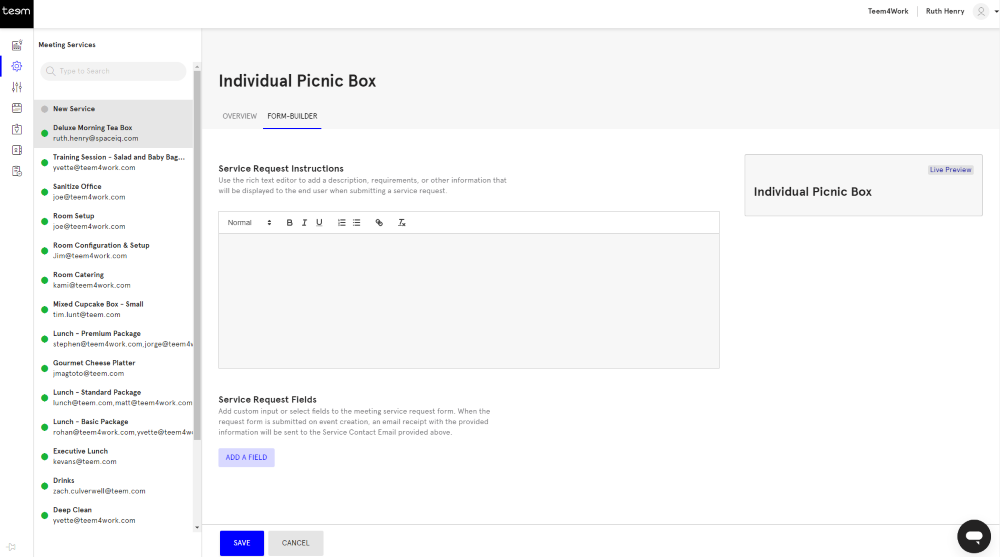
8. In the content area, add the instructions and you can apply formatting. As you add the instructions a Live Preview will display what the instructions will look like when it is sent to the Service Contact.
9. To add a custom field, click the ADD A FIELD button.
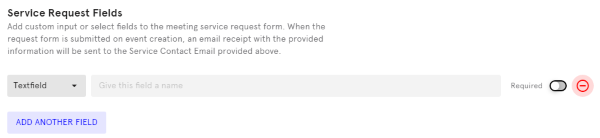
10. From the field type drop-down, select either Textfield, Textarea, Checkbox, Number, Dropdown, or Radio.
Textfield Example

This displays as:

Number Example

This displays as:

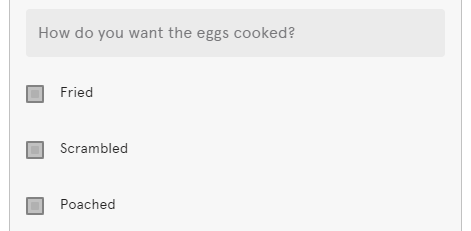
Checkbox Example
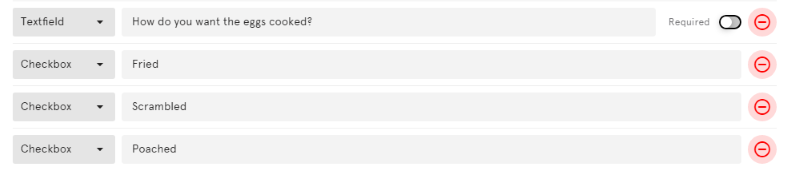
This displays as:
Dropdown Example
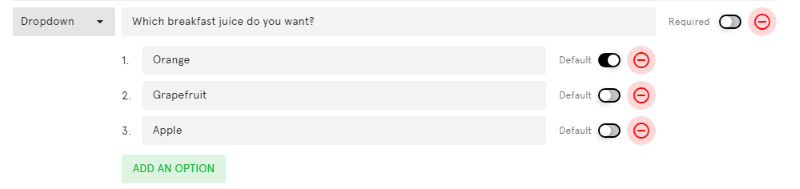
This displays as:

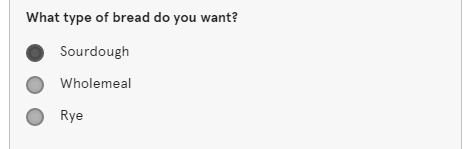
Radio Example
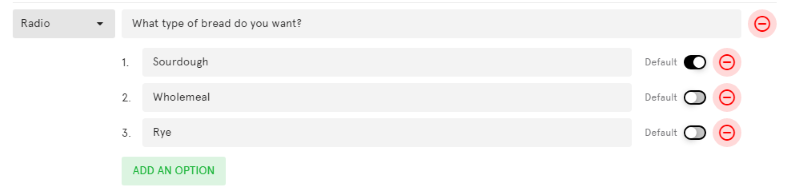
This displays as:
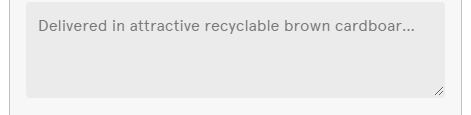
Textarea Example
The Textarea has a limit of 200 characters.

This displays as:
11. If you need more custom fields, click the ADD ANOTHER FIELD button and set up the custom field.
12. When you are finished, click the Save button and the meeting service will show up in a list on the left. When activated, a green indicator will display. When deactivated, a red circle will display next to this service.