View and Manage your Events
The Agenda screen is a one-stop shop to manage your upcoming desk and space reservations.
- Weekly Agenda - Use this screen to see today's events or verify spaces you have reserved for the rest of the week.
- Create and Manage Events - Whether you need space right now, later this week, or need to tweak details, do that here!
- Check in to Spaces - If your admin requires that you check into spaces so you don't lose them, you can easily do that here or mark that you might be late for a meeting.
View your Weekly Agenda
Tap the Agenda  icon.
icon.
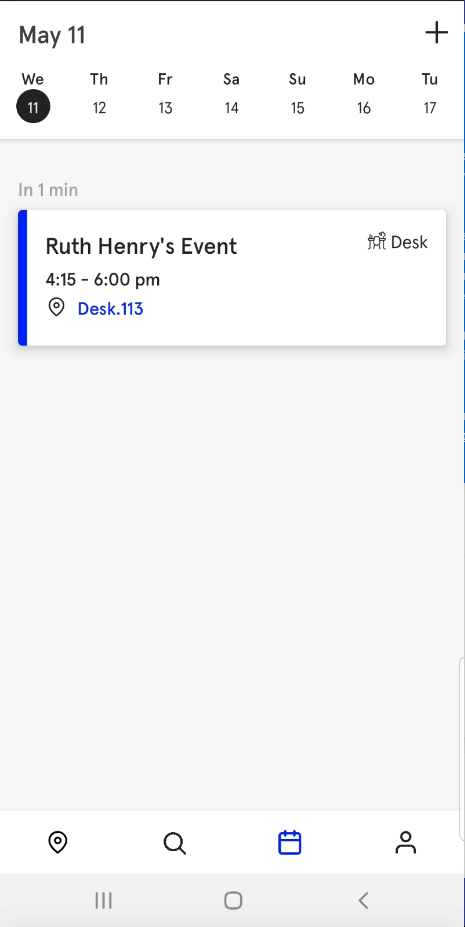
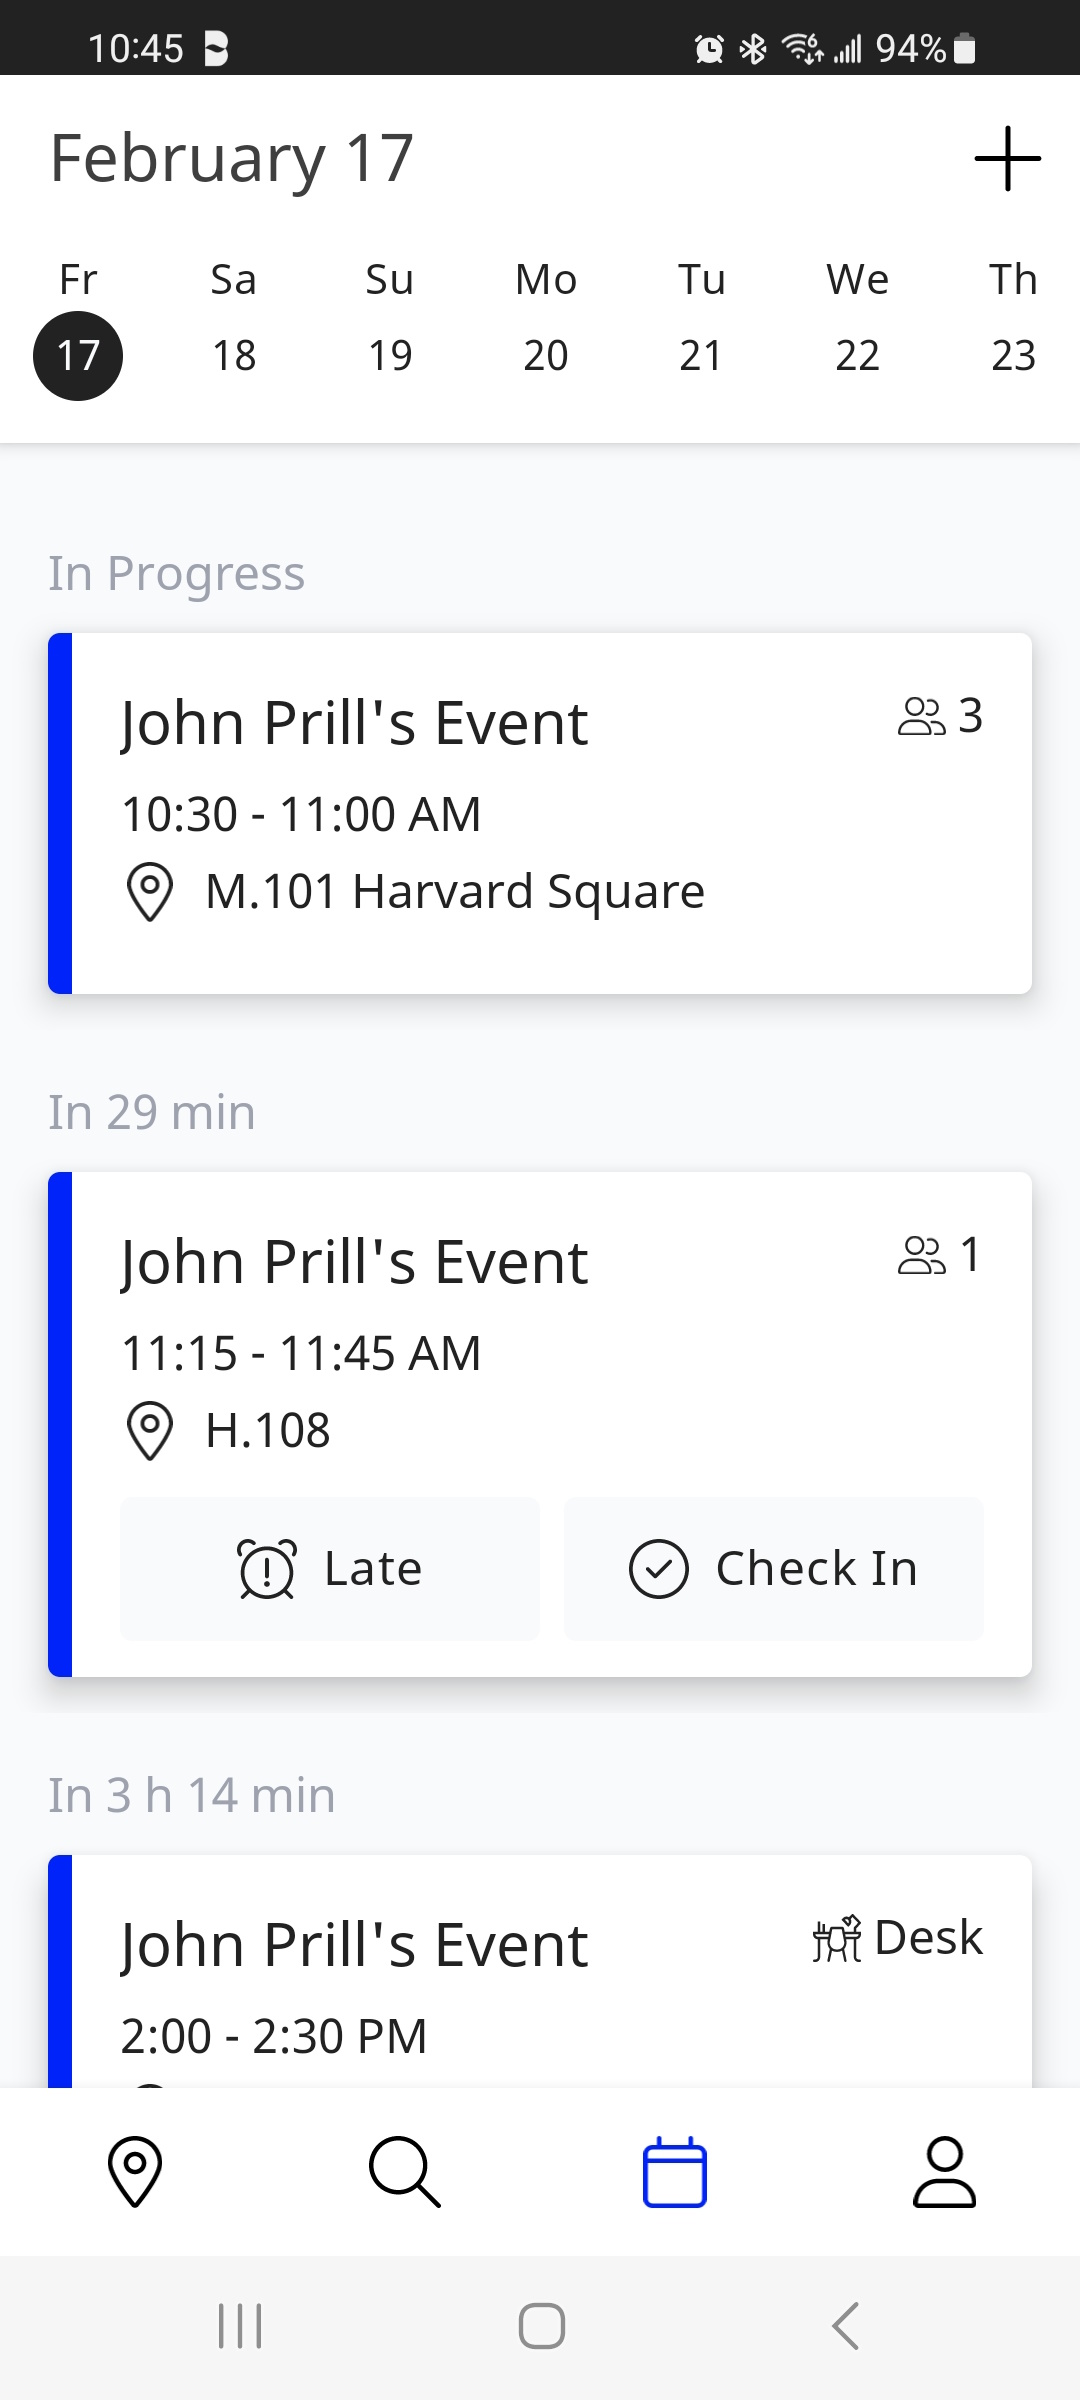
The agenda will show you Today's schedule as well as allow you to see the next 6 days and your scheduled meetings. For "Today" you'll see Past Events, In Progress events, and upcoming events.
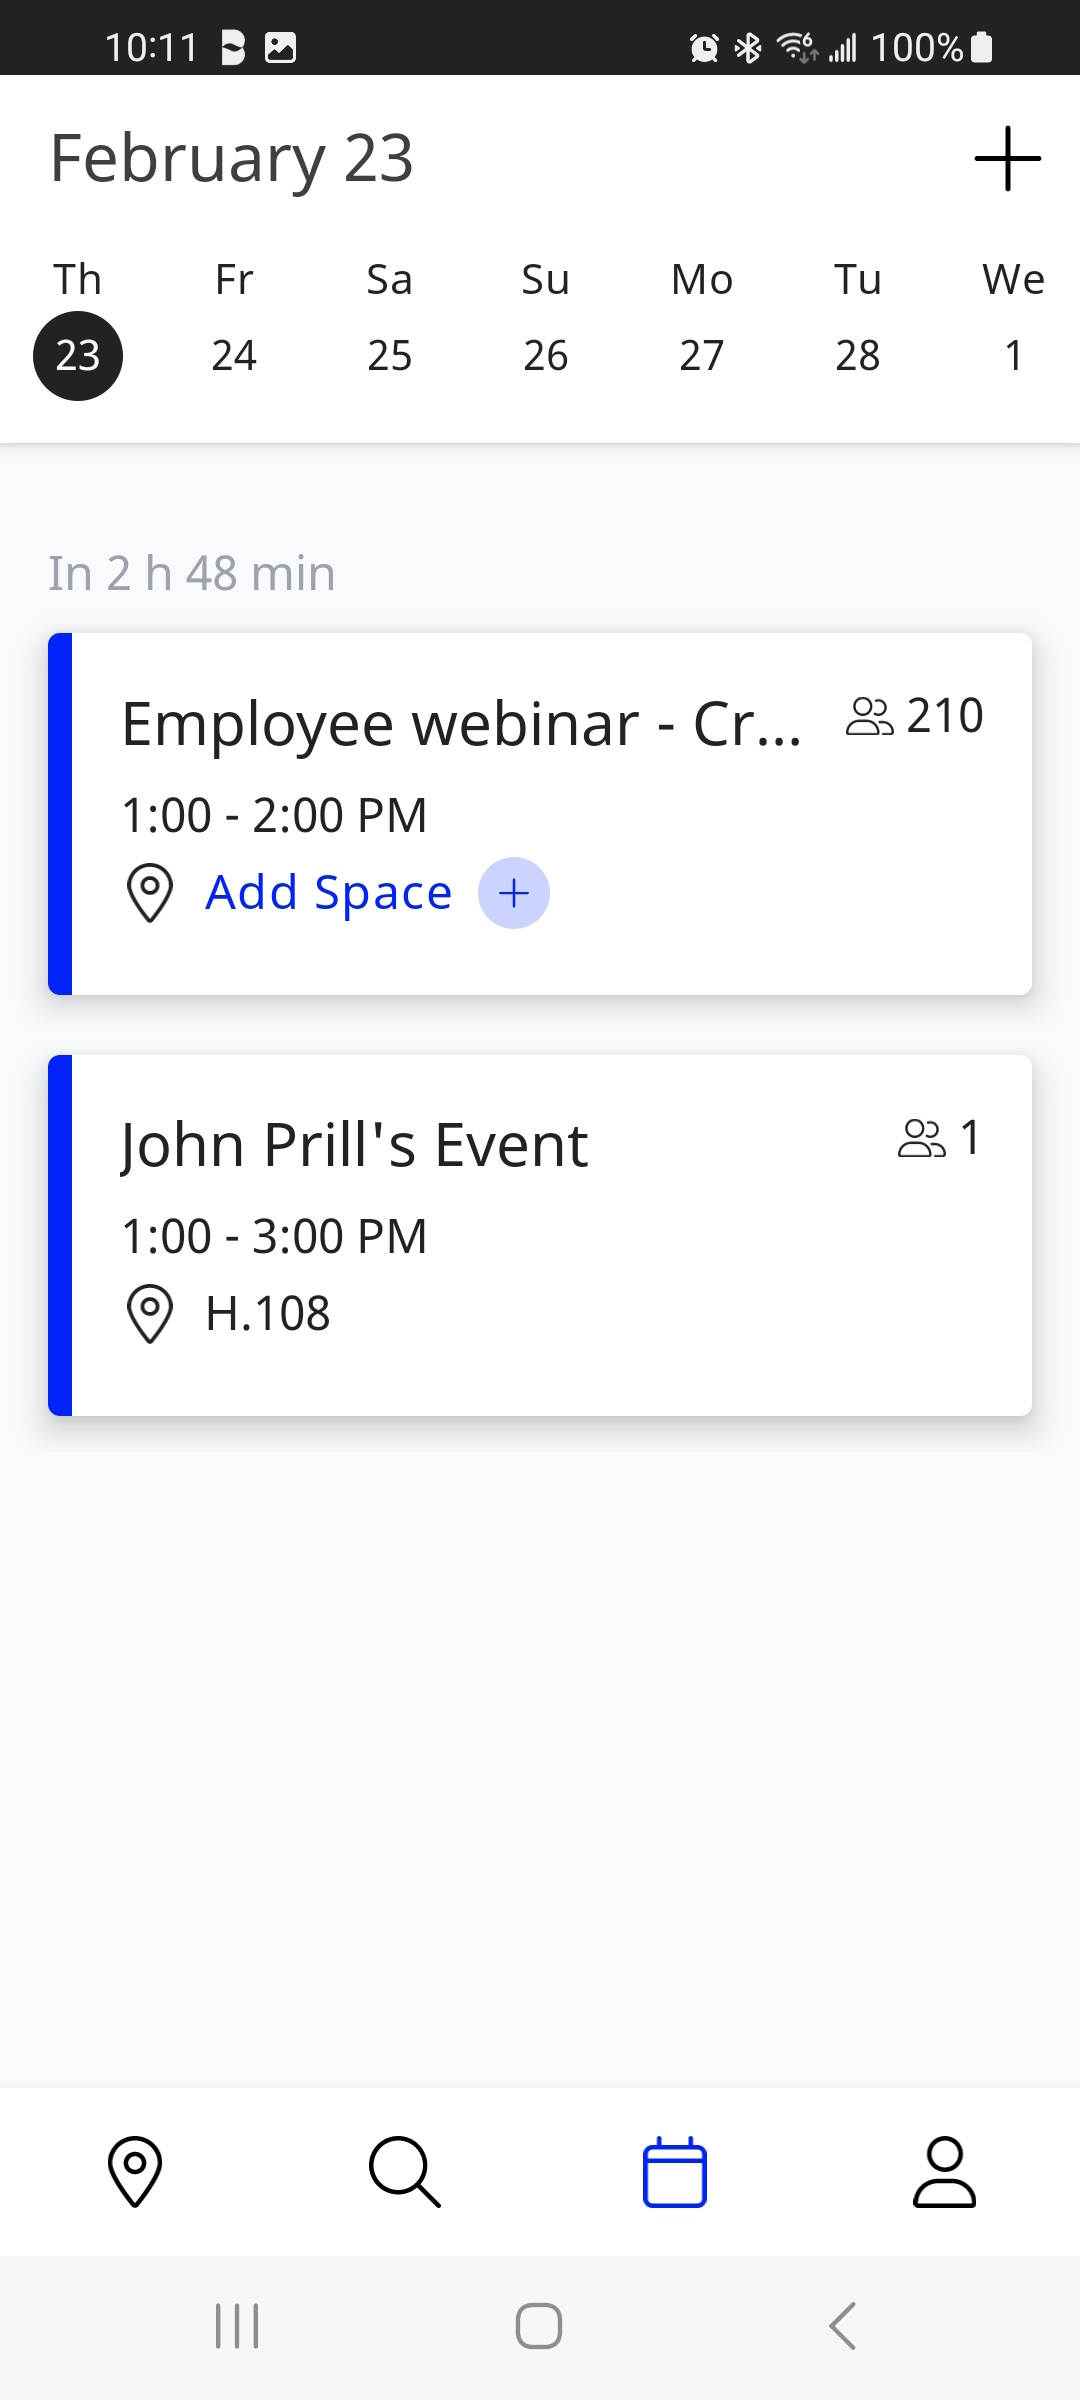
Each meeting card will show the meeting title, time, number of attendees, and a space location (if included). If spaces are not included, you will see an option to "Add Space" to that meeting.
Create and Manage Events
Tap the Add Event  icon in the top-right corner to create an event for the current date or a date in the future. You will be prompted to confirm the date and time, search for and add a space, write a description, and invite participants.
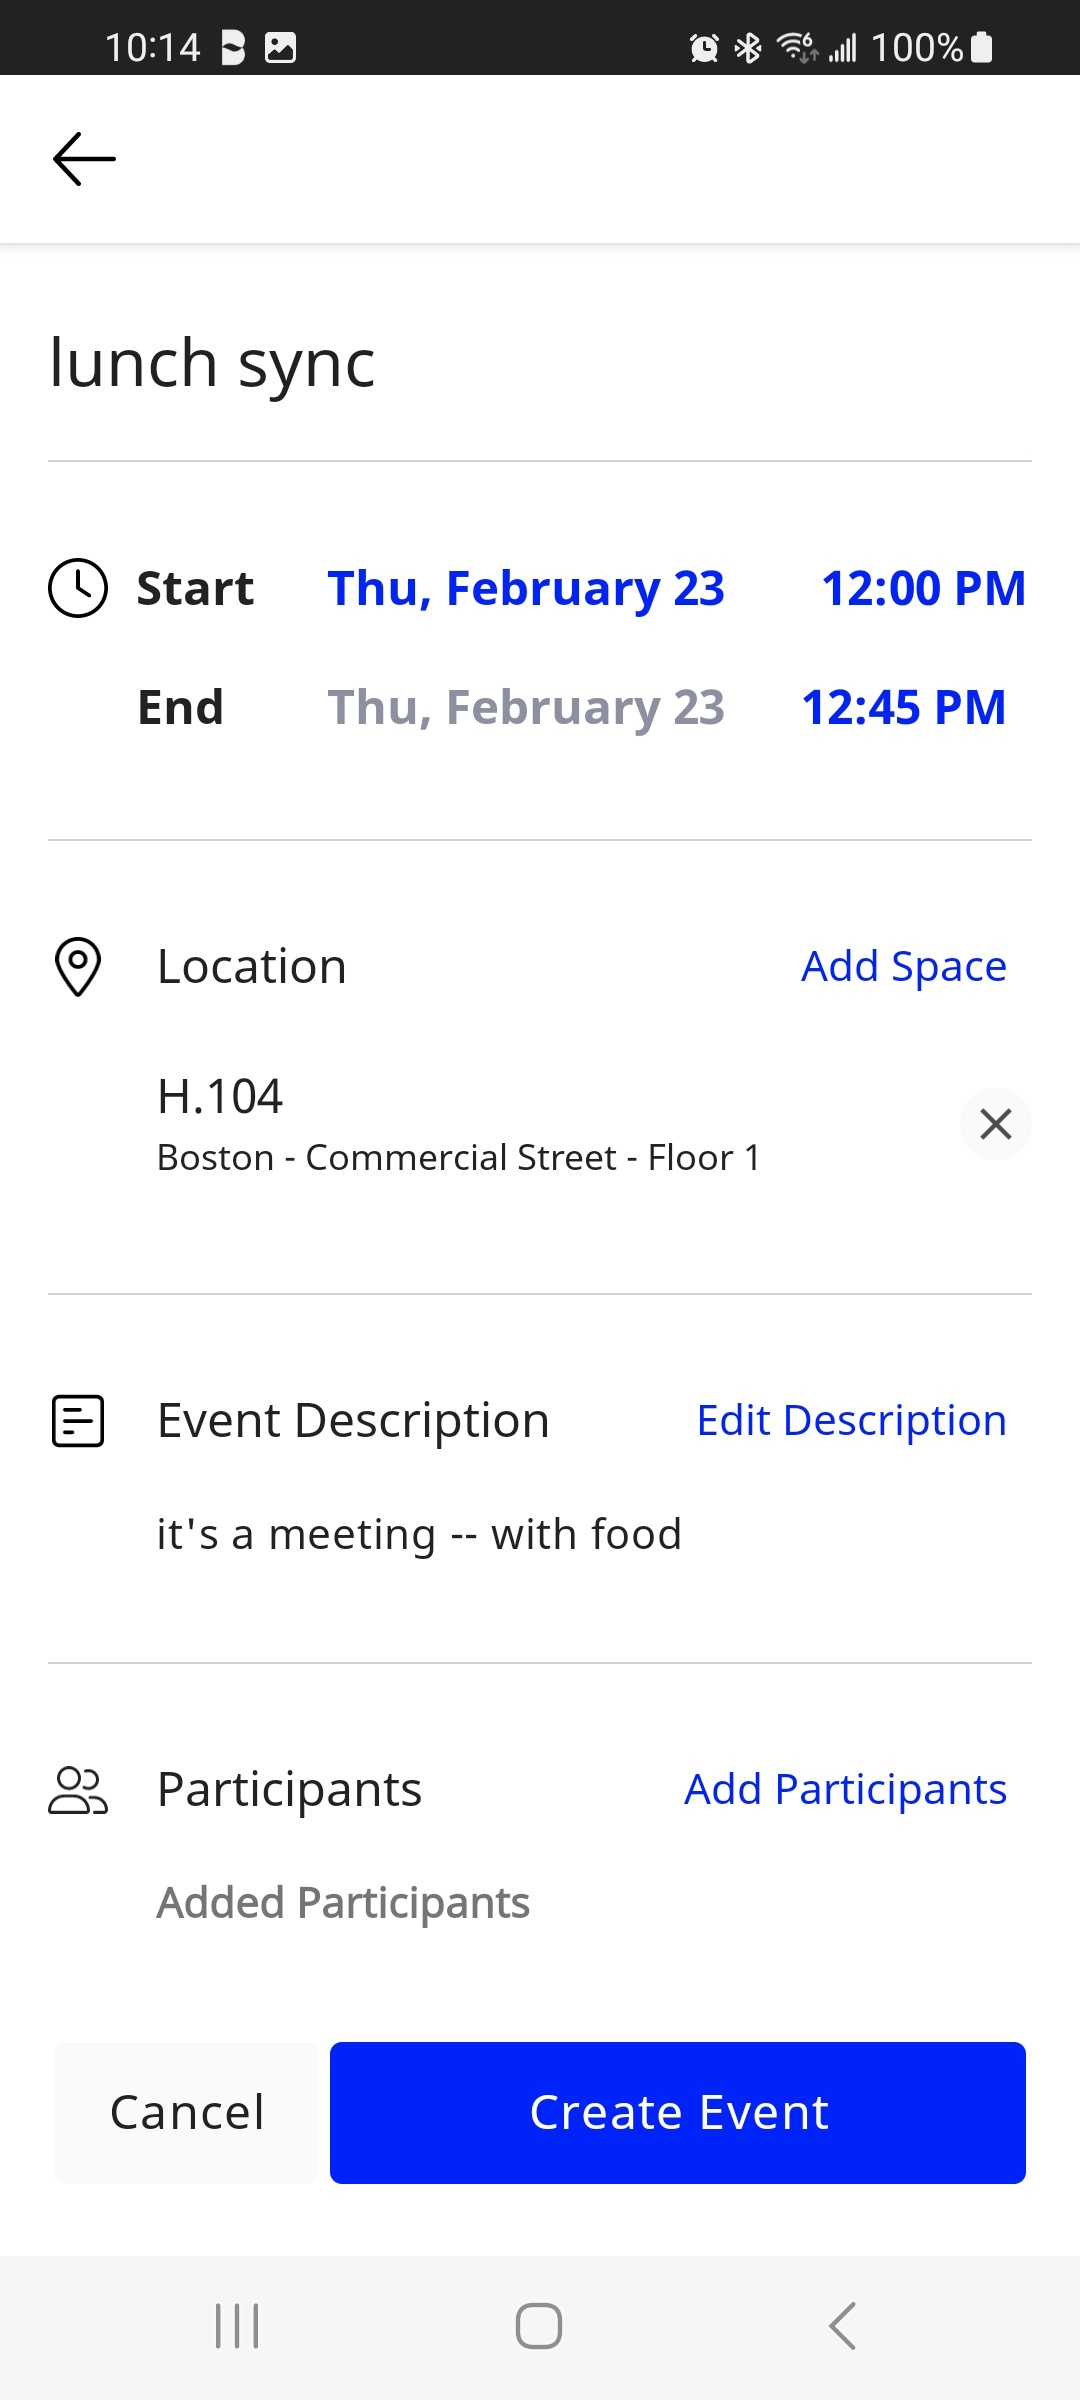
Tap the Create Event button.
Edit an Event
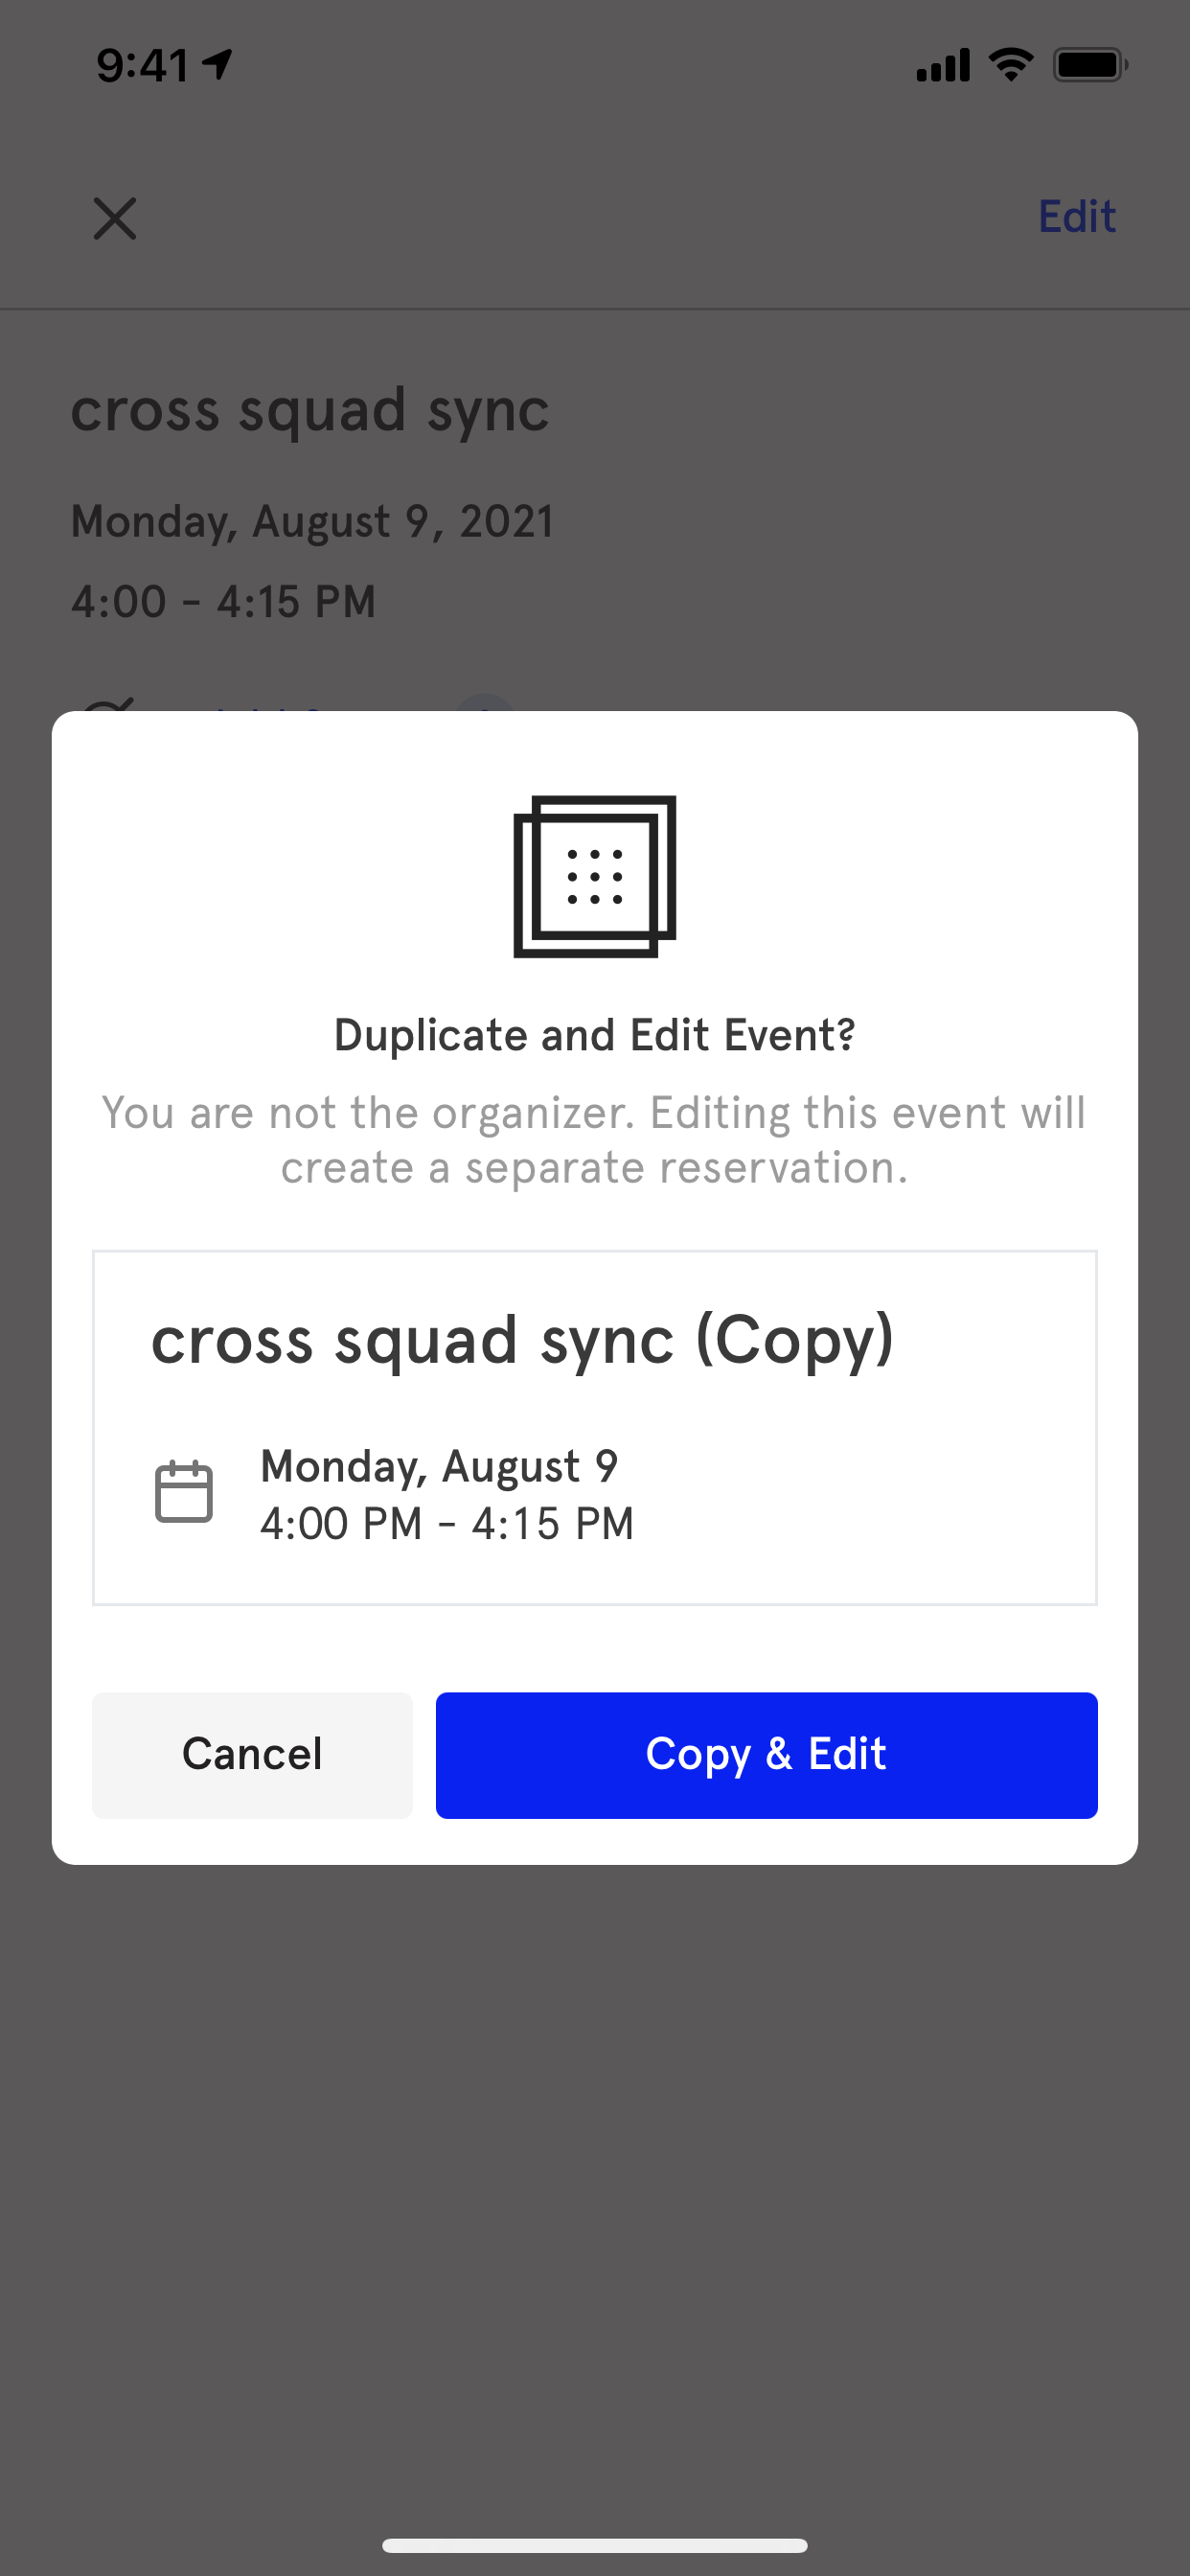
- If you are not the event organizer, you cannot edit the event directly. You will be notified that you're creating a new event if attempted. The new event will copy the title and time of the original event. Now that you're the organizer of this duplicate event, you can manage all meeting details.
- If you change a meeting time after adding a space, we will verify that the space is still available for the new time. If it is not, you will need to remove the unavailable space and find one that is available for the new meeting time.
 |
Edit an Event to Add a Space
You can edit an event to add space to an existing meeting.
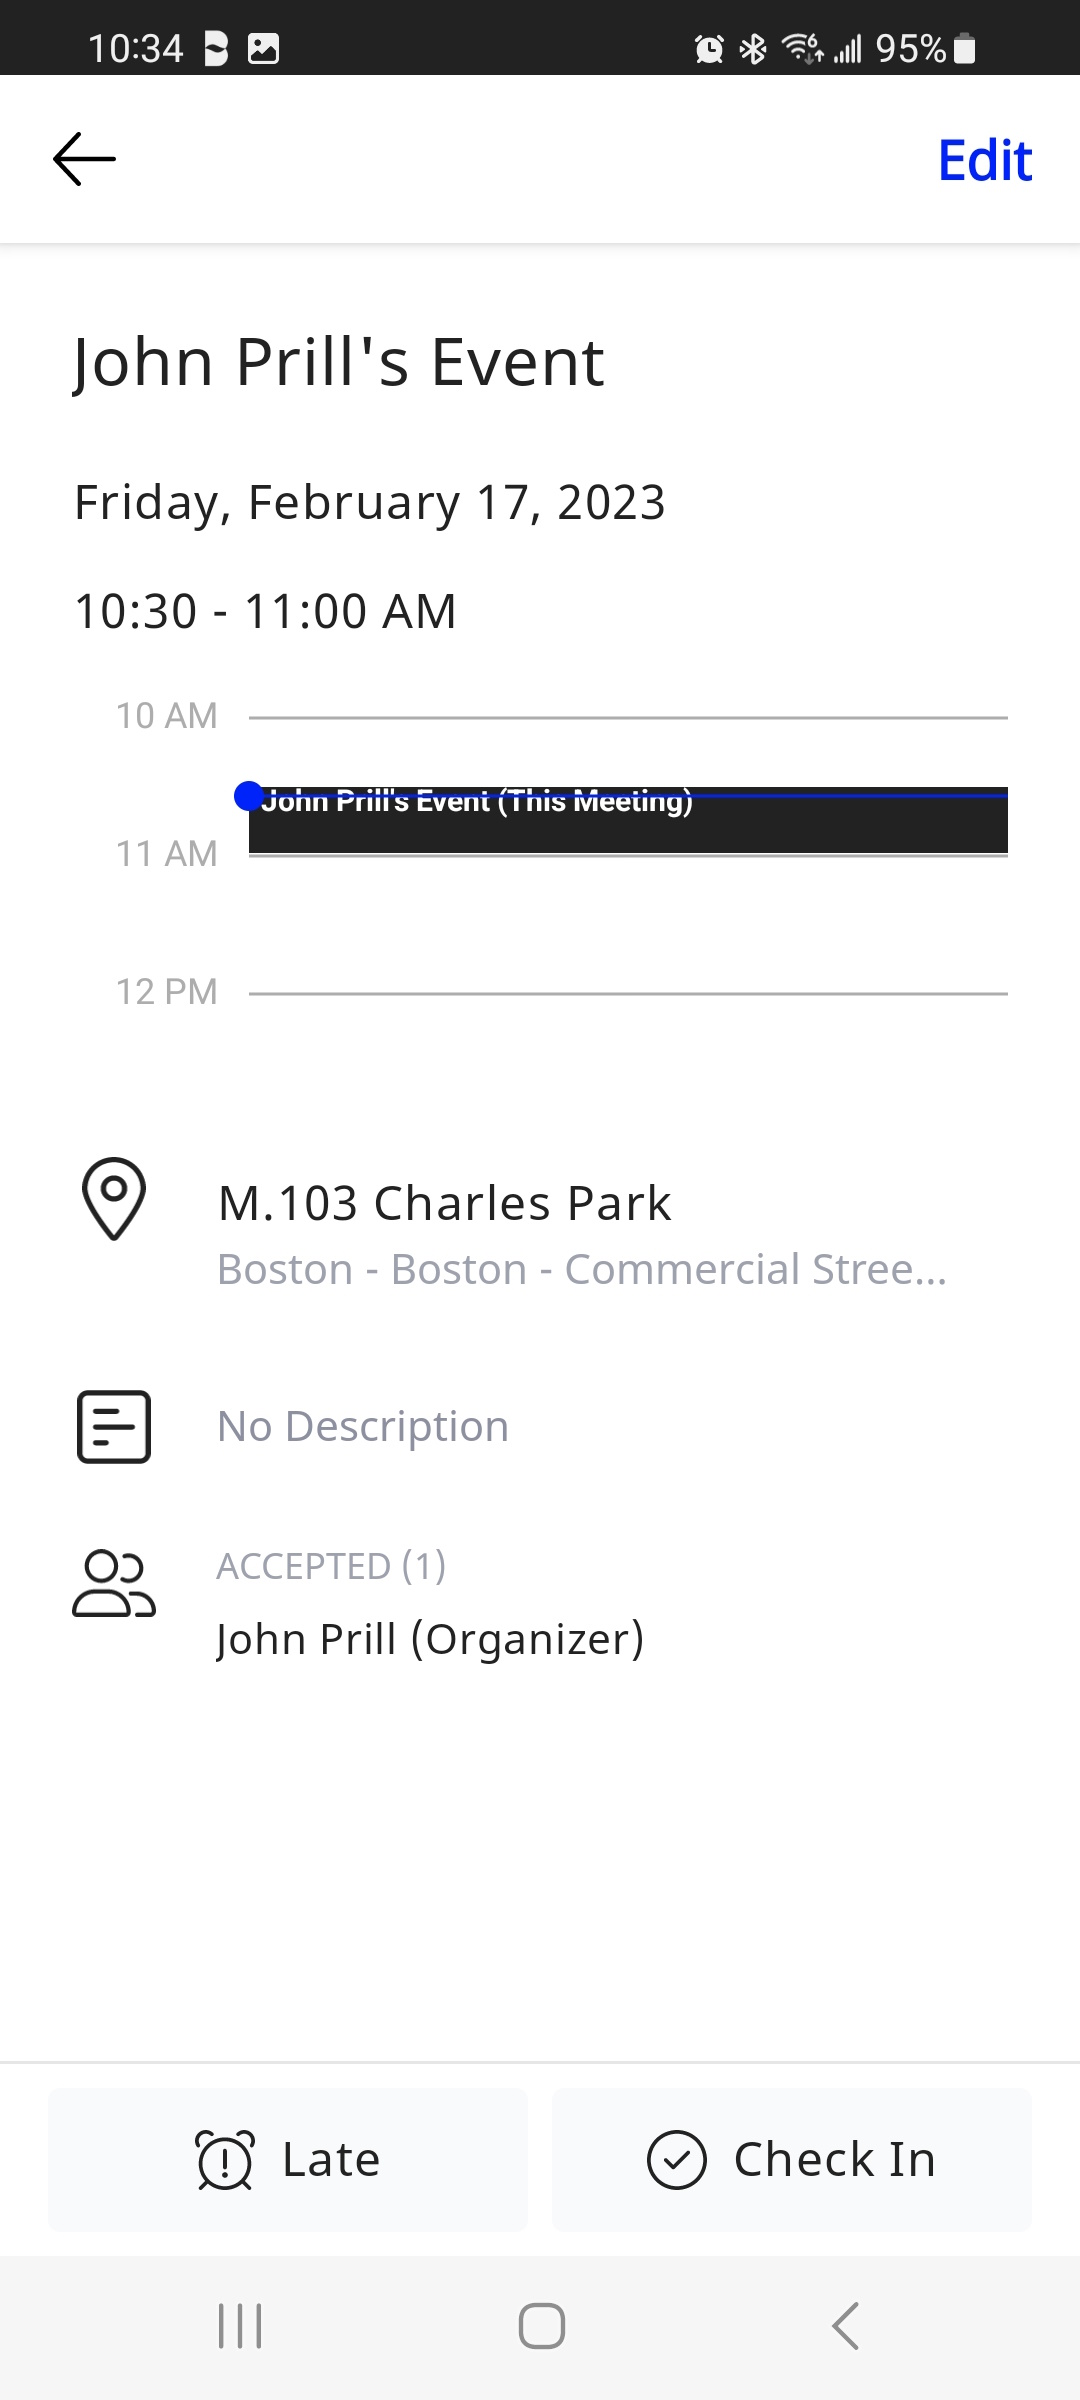
- From the Agenda screen, tap the event and then tap the Edit button.
- Tap the Add Space from the event card. The Space screen displays with the date/time specified in the meeting.
- If needed, you can apply additional filters (space type, amenities, location, etc.) and tap a space meeting your needs.
- Tap the Add to Event button.
- You will be returned to where you started (agenda screen or edit/create event screen) and you will see the space added to the event.
- If you are in the create/edit screen, you must tap the Save button to save the event.
Check-in to a Space
Admins might require that users check-in to their space in a certain window to ensure space is managed fairly. If the user does not check-in in time, the space will be freed up for others to use. The admin sets a check-in window. This is typically 5 min before and 10 min after the start time of the meeting. This varies by space type and account.
You can check in to your room spaces in one of two ways, Agenda Screen Check-In or Proximity Check-In. Room Displays (EventBoard) allows users to check-in directly on the room panels. An EventBoard panel must be set up to enforce the loss of a room if not checked into.
Check-in to a Room from the Agenda View
During the check-in window, the Check-in button displays on your event card, and you can tap the Check-in button.
Check-in to a Room from a Notification
Also, if you have notifications enabled, then Teem will send you a check-in reminder. Tap on the notification to open the agenda and then tap the Check-in to confirm your reservation.
Running Late for a Meeting
If you are running late for a meeting, tap the Late button to notify the organizer. If they are the organizer, then the Late button will notify participants.
 |
 |
Room Proximity Check-in
If your organization uses Teem Room Displays (EventBoard) you can use proximity check-in from the mobile app. This experience is "touchless."
- Once the check-in window begins, move toward your meeting space.
- With you and your mobile device nearby, EventBoard will sense the proximity and auto-check you into the space. At the start of the meeting, the room status will move from available to unavailable.
