Configure SCIM provisioning for the Device Hub
The Device Hub SCIM API integration supports SCIM version 2.0 and is certified for Azure Active Directory.
About this guide
Prerequisites
Supported actions
When the SCIM integration between Azure AD and Eptura Engage is ready, the following actions performed from the Azure directory are also applied to the users in the Eptura Device Hub.
Action in Azure AD |
Notes |
|---|---|
| Create users | Eptura Engage requires a unique username for each user. If the username already exists in the Device Hub, the SCIM User creation is rejected by our SCIM API. |
| Delete/Deactivate users | |
| Update user attributes | Updates to user profiles in Azure AD are pushed to the Device Hub. |
| Add a group | Adding a group creates a corresponding group in the Eptura Device Hub. Any group members (who exist in Eptura Engage) are automatically mapped to the Eptura Engage group. |
| Remove a group | |
| Update Groups attributes | |
| Add/remove users to/from a group |
Configuration
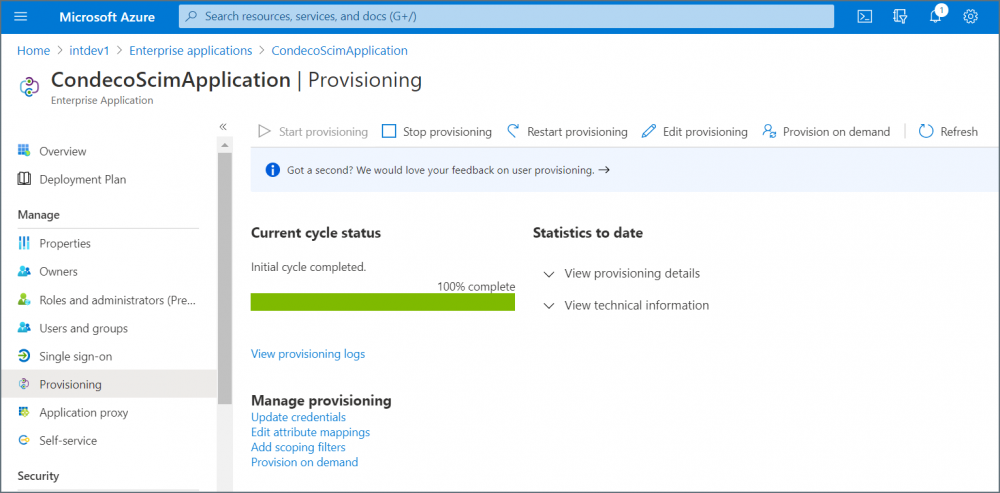
Current cycle status
In the Manage navigation menu select Provisioning to view the status of the current or initial incremental cycle. Use the buttons at the top to manually start or stop provisioning, and click View Provision details to check the schedule for the next run.