Zones
How to create a zone
|
Eptura platform services Eptura Engage zones cannot be created or managed when Eptura platform services is enabled. Learn more |
- Navigate to Application Setup > Zones.
- Select the Country > Location and optionally Floor.
- Click Add zone.
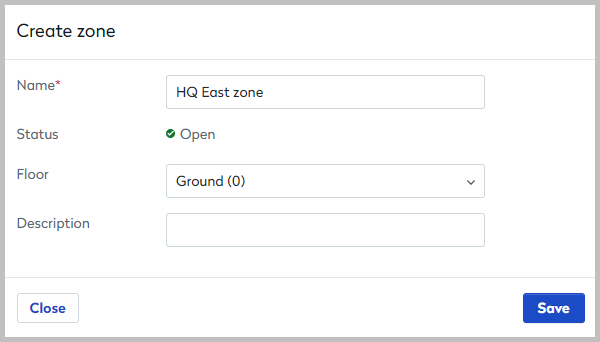
- Enter a name for the zone, select the floor, and enter a description if required. Click Save.
Add resources to zones
Personal spaces and meeting spaces can be added to zones when they are created or edited, or in bulk from Resource Administration. Learn more: Bulk actions for resources
Add personal spaces or meeting spaces to a zone in bulk
The steps and screenshots below describe how to add personal spaces to a zone. The steps for meeting spaces are identical when Meeting spaces is selected as the Resource Type.
- Navigate to Application Setup > Resources.
- Select the Country.
- Click Resource Type > Personal spaces or Meeting spaces.
- Select the Location and a Floor. When a location is selected you can click Filter and choose to show only the spaces not assigned to a zone.

- Select the spaces to assign and click Assign to a zone. This button is only displayed when resources and a floor are selected.

Add spaces to zones individually when creating or editing resources
The steps and screenshots below describe how to add a personal space to a zone. The steps for meeting spaces are identical when Meeting spaces is selected as the Resource Type.
- Navigate to Application Setup > Resources.
- Select the Country,
- Click Resource Type > Personal spaces or Meeting spaces.
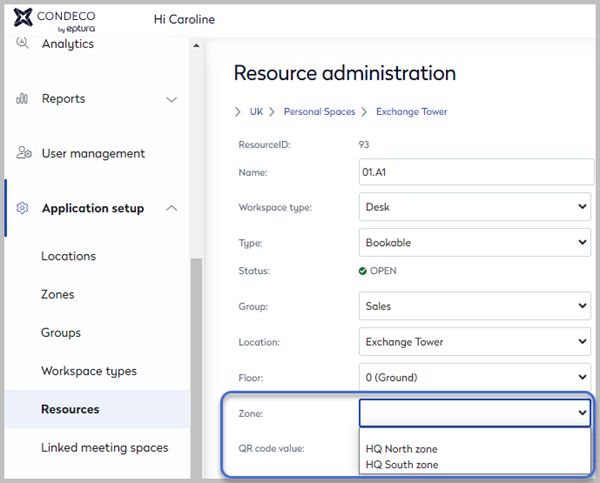
- A list of spaces is displayed which you can filter by Location and Group. Click the edit icon to the right of the space.
- On the resource form select the zone and click Save.
How to delete a zone
You can only delete a zone that does not have resources assigned to it. Remove resources from the zone before deleting it.
- Navigate to Application Setup > Zones.
- Select the Country, Location, and optionally Floor.
- Click the bin icon to the right of the zone you wish to delete and click Delete to confirm.

The bin icon is disabled if resources are assigned to the zone.