Cost codes
You must be a Global Admin to create and manage cost codes. Learn more: Administrator access levels
Entering cost codes when making bookings or ordering services, is not mandatory by default. To make cost codes mandatory for your organization, Contact Support.
Create cost codes manually
To create and manage cost codes, sign in to Eptura Engage as a Global Admin and go to Application setup > Meta admin.
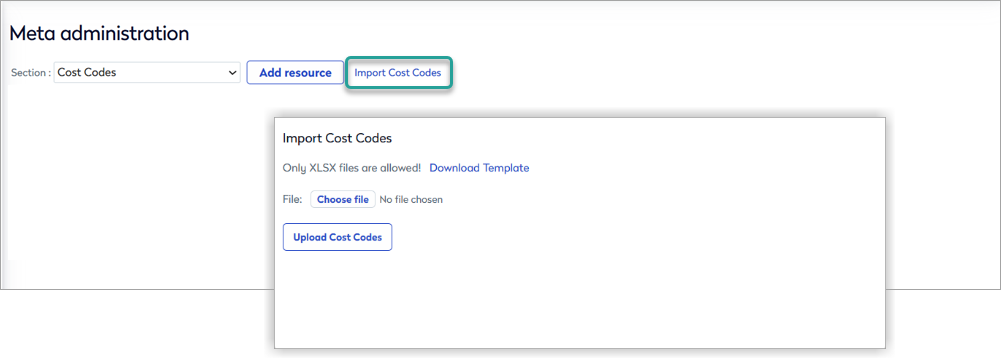
- In Meta administration, select Cost Codes from the Section drop-down list.

- Click Add resource to add a new cost code, or click Edit to update an existing cost code. You can also import cost codes from a file See below: Import Cost Codes

- When adding a new cost code or editing an existing, enter the cost code in the field on the left and a description in the field on the right.

- Click Save when done.
Import cost codes
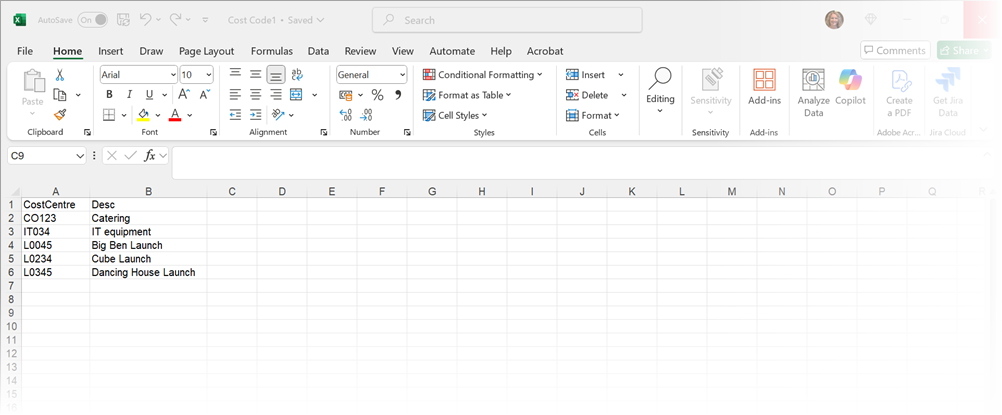
Cost codes can be imported in bulk via a Microsoft Excel XLSX file. The Excel workbook must only contain 2 columns, and cells A1 and B1 must contain these heading exactly: A1 = CostCentre / B1 = Desc. A template can be downloaded for convenience.
- Sign in to Eptura Engage as a Global Admin and go to Application setup > Meta admin
- Select Cost Codes from the Section drop-down list.
- Click Import Cost Codes to open the Import Cost Codes dialog box.
- Click Download Template to download a Microsoft Excel XLSX file to enter your cost codes into prior to uploading. The Excel workbook contains two cells which must not be edited: A1 = CostCentre and B1 = Desc. Enter your cost codes and descriptions in the respective columns.
- When you have entered your cost codes and saved the Excel workbook, click Choose file from the Import Cost Codes dialog box and select the saved XLSX file from your device.
- Click Upload Cost Codes to add the cost codes to Eptura Engage. The cost codes are ordered alphabetically by the cost code.
The Excel workbook must only contain 2 columns, and cells A1 and B1 must contain these headings exactly: A1 = CostCentre / B1 = Desc, otherwise an error is shown and the cost codes are not uploaded.
User profile cost code field
If required, a cost code field can be enabled for all user profiles. When enabled, the cost code field is added to the 'Additional properties' tab of the user profile.
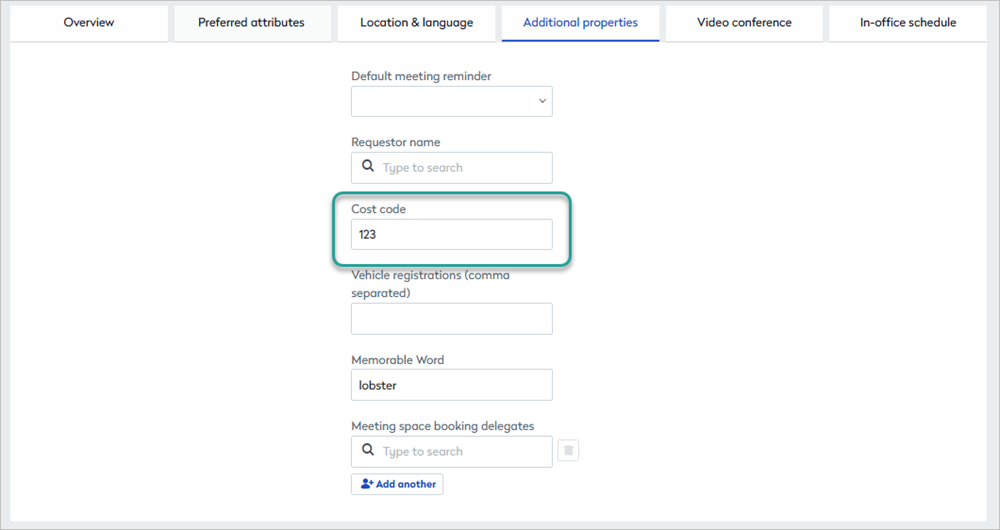
When the cost code field is enabled for user profiles and cost codes exist in Meta admin > Cost codes, only valid cost codes can be entered (or the field is left blank). If no cost codes exist in the Cost codes list, then any value can be entered.
Note: If a value was previously saved in a user's 'cost code' field before cost codes were added in Meta admin > Cost codes, that original value will remain in the user profile - even if it does not match a valid cost code in current list.
How to enable the user profile cost code field
A Global Admin can enable the cost code field in the user profile globally for your organization.
- Navigate to Advanced setup > Global setup
- Select the Application tab and enable Cost code validation.

- Click Save.
The cost code field is now enabled for all user profiles in your organization.