Pre-register your Visitors
How ProxyClick can help you pre-register your visitors
Pre-registering a visitor is a two-step process.
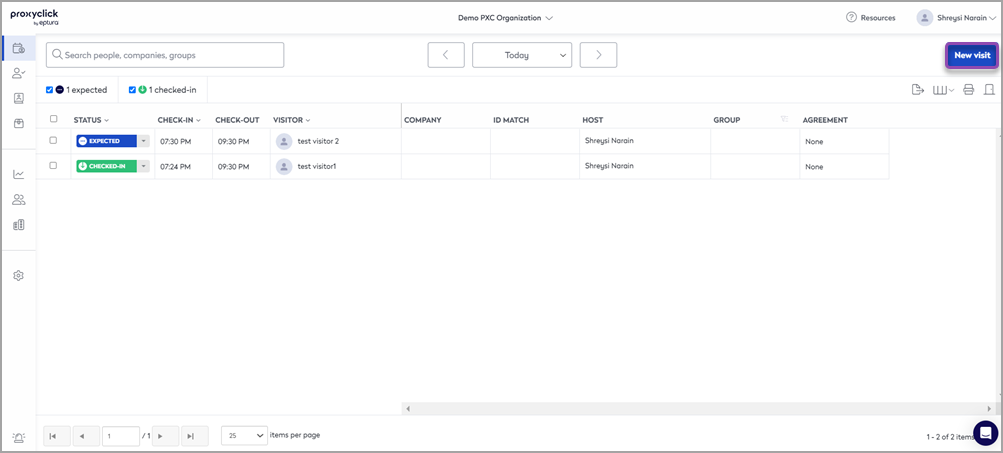
Step 1: Launch the visit creation
From the home page of the Dashboard, click on New visit
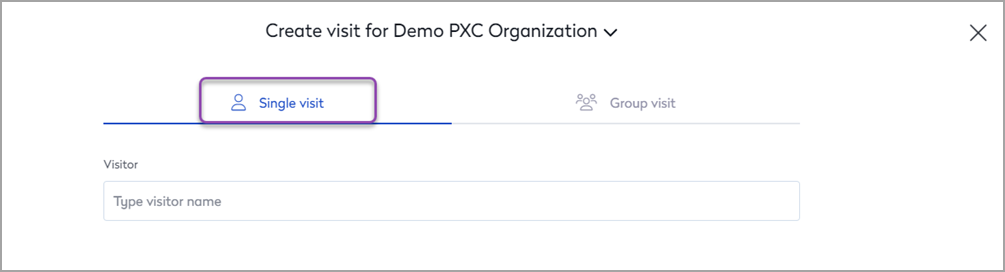
Step 2: Select Single Visit and fill in the form
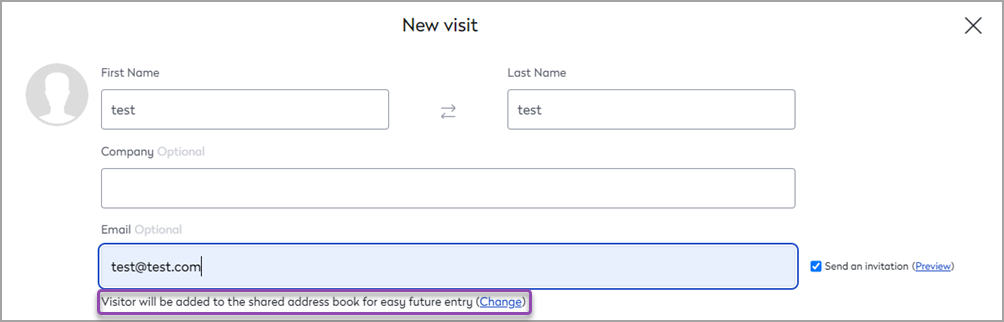
If you enter your visitor's email address, they will get an invitation email with an access map and your company logo. Your company can even decide to include guidelines, a PDF, and an access code to the email.

-
If you enter your visitor's email address, they will get an invitation email with an access map and your company logo. Your company can even include guidelines, a PDF, and an access code to the email.
-
If you enter your visitor's mobile number, they will receive an SMS reminder 2 hours before the start of the visit.
-
You can save your visitor details in the shared address book so you and your colleagues can reuse the contact details for future visits. The alternative is to add them to your private address book so you can reuse them, all while ensuring the privacy of your guests.
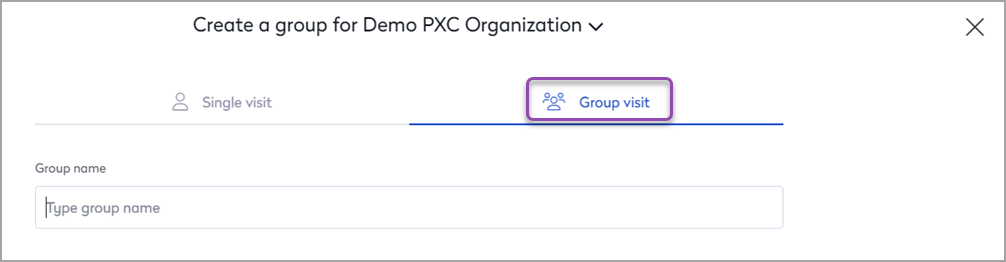
- If you need to pre-register a group of visitors, click “New visit” and select “Group visit.”
- You can import your groups from Excel; learn more about the group creation form here.
Once you have created your visitors, they will appear in your dashboard. Depending on your rights on the platform, you will see only your visitors and the ones of your managers (if you are a member of the Assistant user group) or all visitors (if you are a member of the Reception or a Security user group).