Set up Employee Check-In Settings
The Check-In area of settings works alongside the Proxyclick Proovr mobile app and your Visitor Kiosk (using the Eptura Visitor Kiosk app).
To make changes to this area, use the following steps:
1. Login to Eptura Visitor through the web-based application.
2. Click on Settings, go to the Employees area, and click on Check-in.
Check-in to work based on Location
This explains how the Employee check-in feature can be activated and used to grant access to employees while monitoring onsite presence in real-time.
Notes:
- The most recent version of Eptura Visitor Management is on the App Store for iPad.
- Admin access to the Eptura Visitor location.
Step 1. Activate Employee check-in
Activating this feature immediately impacts your kiosk: a QR code will be displayed on the Welcome screen. All employees registered at the location can scan it as soon as they set up their Proxyclick Proovr accounts (Step 2).
- Go to Settings > Employees > Check-in, and click on the Employee check-in toggle to activate it.
Step 2. Onboard select Employees and Contractors
To empower your employees to book their presence in advance, you can activate employee booking through settings.
A controlled rollout: Activating the feature does not automatically notify Employees in the location. With the templates here, you can notify the users you want to involve as early adopters.
Anyone listed in the Employees tab of your platform is eligible for Employee check-in.
Step 3. Download Proxyclick Proovr and verify your account
Supported iOS and Android versions are required for the smooth running of Proxyclick Proovr. See System Requirements for our latest versions and updates.
After downloading the app, the employee will be asked to provide their work email address when run for the first time. An email will be sent with a verification code to enter into the app. Their Proxyclick Proovr account will then be linked to their employee profile in Eptura Visitor.
Enter the verification code into the Proxyclick Proovr app, to confirm their identity.
Proxyclick Proovr setup is complete. The employee is confirmed and can now check in at your location.
Step 4. Capture Employee Check-ins
Using the Proxyclick Proovr app, employees can scan the QR code displayed on the kiosk to check in.
The QR code is refreshed every 30 seconds to make sure the timing of anyone who checks in is accurately captured.
Step 5. Monitor Employee Presence
The Employee Logbook will display the status of the employees. The list will display their status once the employee has checked in to the location.
Step 6. Benefit from a comprehensive Emergency List
Emergency Lists include both visitors and employees marked as checked in.
Step 7. Always be in the know with employee contact tracing
Administrators of the company can perform contact tracing from the User management tab by providing a name (subject) and a date range; Eptura Visitor will then provide a file with relevant information with the name and contact details of other employees who may have been in contact with the subject.
Notes:
-
These features will only be available in English until further notice. A user's default language will not impact Proxyclick Proovr: it will always display English.
-
To ensure consistent performance, please ensure you adjust your time settings on your kiosk to "Automatic" - From your iPad, Settings > General > Date & Time > Set Automatically.
-
The QR code displayed on the kiosk does not need the Security+ pack enabled to be displayed.
-
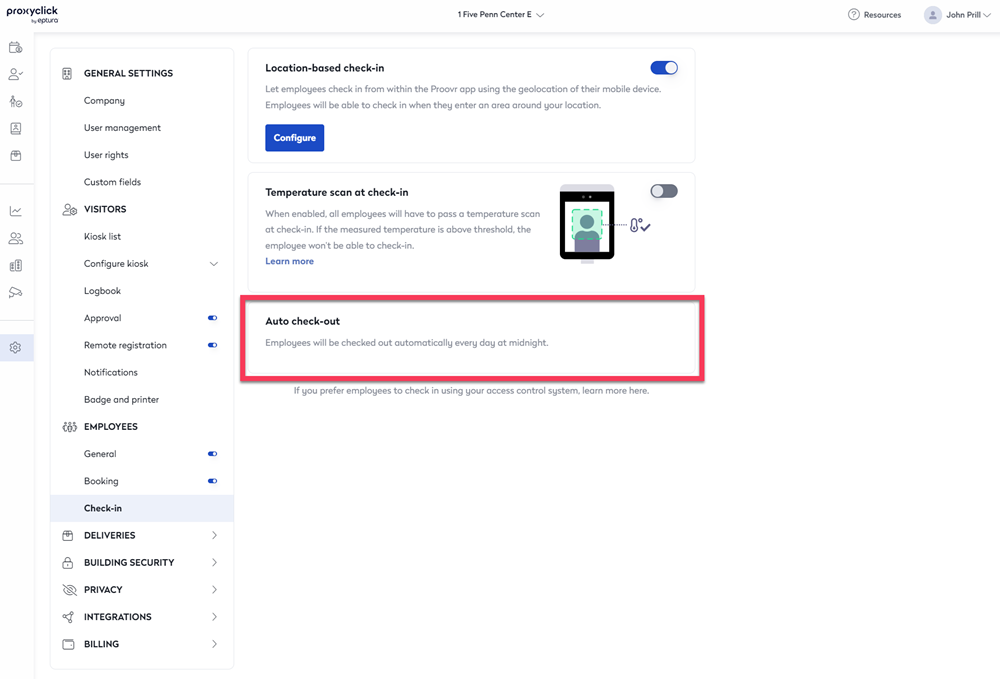
All employees will be checked out at midnight, independent of your visitor auto check-out settings.
-
Scanning the QR code with any app other than Proxyclick Proovr will send the person to a page where they can download the correct application.
Advanced questions about the employee check-in process
Q. What if I have a touchless check-in activated on my Welcome screen?
If your location uses the Touchless check-in feature, the Employee check-in QR code will be displayed on the left, and the QR code scanning camera on the right:
Q. How does it work for multi-tenant buildings?
Our employee flow also supports multi-tenant environments.
An employee using the Proxyclick Proovr app can check in and out of his location by scanning the multi-tenant Kiosk's dynamic QR code:
- If the employee is listed in a single location linked to the multi-tenant Kiosk, his status is updated in that location.
- If the employee is listed in multiple locations linked to the multi-tenant Kiosk and one of these locations is his home location, his status is updated in his home location.
- If the employee is listed in multiple locations linked to the multi-tenant Kiosk and none of these locations is his home location, his status is not updated in any location, and a message is displayed to the employee notifying him of this.
Checking Employee's Temperature at Check-in
You can add a mandatory temperature scan to your employee's flow so that check-in will only be allowed after passing the scan. This will create an additional layer of security to your pre-screening process for anyone entering the workplace.
Important disclaimer: It is the customer’s responsibility to activate Eptura Visitor features only if permitted by the applicable laws of your location.
Step 1. Connect the Ascent Thermal Scanner integration
This requires a supported Ascent iSPOT Thermal Trace device and you will need to connect the integration.
- Connect the Ascent Thermal Scanner integration to your location from Settings > Integrations.
- You will need the serial number of your device(s) to connect to complete this process.
You can find your device's serial number by entering the admin console and selecting the "Control command" section.
Connecting multiple devices to one location or a single device to multiple locations allows full flexibility for multi-tenant or campus setups.
Step 2. Activate Temperature Scan at Check-in
You will be able to activate the feature from Settings, go to the Employees area, click on Check-in, and then change the toggle in that area to be on.
Using the Employee Temperature Scanner
When temperature scanning is enabled, every employee who attempts to check in to the location will be asked to take a temperature scan.
- If the scanned temperature is below the threshold temperature configured on the thermal scanner, the employee can check-in.
- If the scanned temperature is higher than the threshold temperature configured on the thermal scanner, the employee won't be able to check-in.
Temperature scanning can be combined with employee booking and questionnaire at booking.
The employee experience
When your employees arrive on site and find themselves in front of the scanner, they will receive on-screen instructions to proceed:
If the outcome of the scan is "FAIL," they will receive a message indicating such.
If the outcome is "PASS," a QR code will be displayed that can be scanned via the Eptura Visitor Proovr app to check-in.
They will no longer have to go to the kiosk to complete the check-in process. If you offer both options and they attempt to scan the QR code on the kiosk first, they will be presented with an error message and will not be allowed to check in.
Privacy
At Eptura Visitor, we care about your employees' privacy. Therefore, we neither store any scan results nor display an indicator on the Employee logbook. Employees with a booking that fails the scan will remain as "Expected."
While your Ascent device may support facial recognition, Eptura Visitor does not, and therefore, this feature will be disabled by default in the flow.
You can download Temperature Scan Data Flow.pdf for a full overview of how your data is handled during the process.
Auto Check-out
This area does not have any kind of adjustable setting, but only lets users know that all visitors will be checked out at a certain time automatically.
Multiple other places within Settings are related to checking out the visitors.
- The Logbook area provides options for when the visitor is automatically logged out.
- The Check-in area details when employees will automatically be checked out. (You are here.)
- Eptura Visitor supports using QR codes to check in and out of a visit.
- Employees can use the Proxyclick Proovr app to check in and out of a location.
- The Welcome Screen settings allow visitors to check out through the kiosk.