Set up the Welcome screen
The Welcome screen area of Settings provides control of the main screen of the Eptura Visitor Management software on the kiosk.
To get to this area of settings, use the following steps:
1. Login to Eptura Visitor through the web-based application.
2. Click on Settings, go to the Visitors area, and click on Configure kiosk, then Welcome Screen.
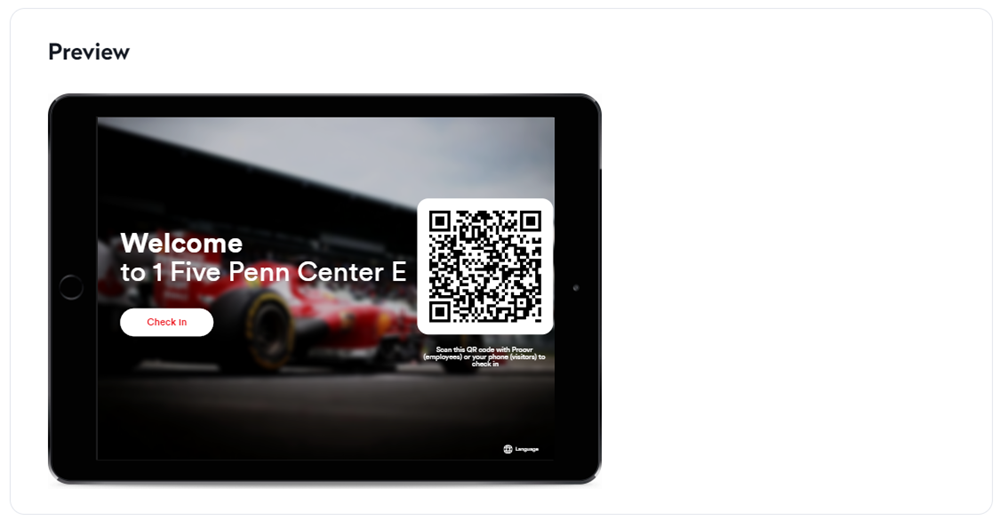
Preview
This shows the first screen for visitors who begin the check-in process at the kiosk.
Delivery
Enable this option so that when a delivery for a particular individual arrives, that person is notified.

Visitor Check-out
Enabling this option will allow visitors to check out when they are done... visiting.

Multiple other places within Settings are related to checking out the visitors.
The Logbook area provides options for when the visitor is automatically logged out.
The Check-in area details when employees will automatically be checked out.
Eptura Visitor supports using QR codes to check in and out of a visit.
Employees can use the Proxyclick Proovr app to check in and out of a location.
The Welcome Screen settings allow visitors to check out through the kiosk. (You are here.)
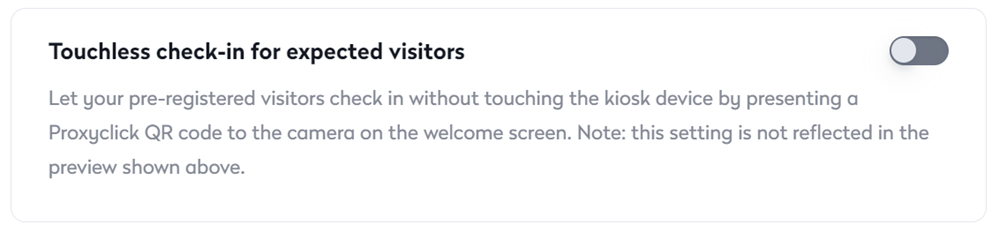
Touchless check-in for expected visitors
Enabling this option will present a QR code on the main kiosk screen for visitors to scan using mobile devices. This allows visitors not to have to touch the kiosk throughout check-in.
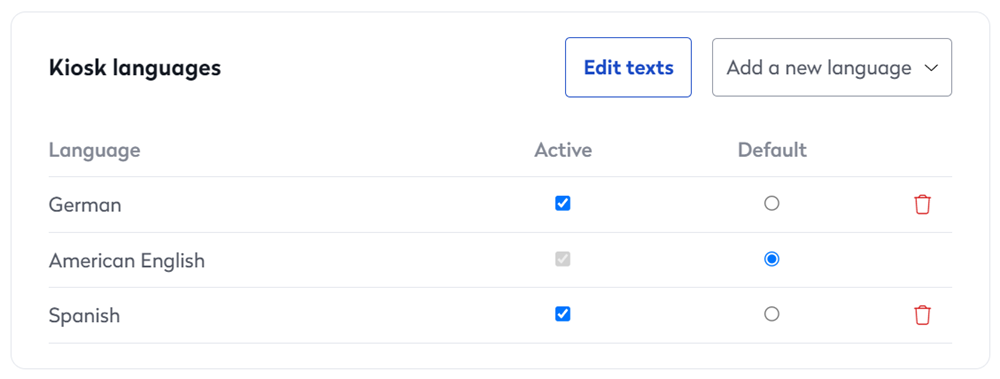
Kiosk Languages
This area determines what languages will appear on the welcome screen for the user's check-in experience.
See the Text and Translations settings area for additional phrases and translation control.
- Click the Edit Texts button will bring the user to the Settings' Text and Translations area.
- Click on Add a new language will allow the user to select another available language and its translations.
- Ensure the check box is selected under the Active column to enable the language.
To remove the language, click on the Delete icon.