Deploy Visitor (Admin guide)
Welcome, and thank you for choosing Eptura Visitor!
What do you need to do to get started? Follow the next steps for the best experience.
Core steps
- If you have not done so, create your company account at https://app.proxyclick.com/signup.
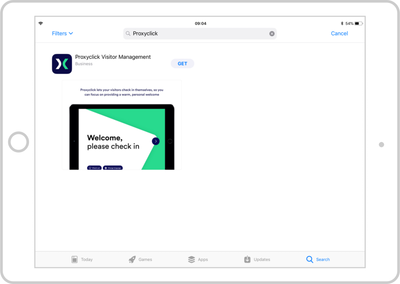
- Be sure you have an iPad and download Eptura Visitor Kiosk app from the App Store.

-
Define your optimal visitor experience by configuring the Eptura Visitor Kiosk app (Settings > Configure kiosk).
Start your way from top to bottom; the settings work best in that order.
-
Add your users so they can be recognized as hosts and receive notifications. You can also invite them so they can invite their visitors from their profile.
Printing badges
- Read our review of popular badge printers
- Connect your printer. If you print via AirPrint, make sure your iPad and your printer are on the same Wi-Fi and enter the printer IP address in the iPad Settings (Settings > Eptura Visitor)
- Customize your badge layout using our editor (Settings > Visitors > Badge and Printer)
Advanced
- Assign user rights (Settings > General Settings > User rights)
- Ensure notifications are according to your requirements (Settings > Visitors > Notifications)
- Customize your invitation email (Settings > Visits Settings > Notifications)
- Verify that your company IT complies with our system requirements (mostly around browsers and unblocking proxyclick.com domain)
- Integrate your iPad into your reception. We recommend Bouncepad holders and offer a discount on our partner's website https://us.bouncepad.com/products/counter-60-for-proxyclick.
Need help getting started?
We offer different onboarding options to meet your needs; contact a Visitor Experience Specialist to learn how our Customer Success team can help you get started.
