Deliveries
Enable deliveries
Deliveries can be managed from the Deliveries dashboard and a Delivery option can be added to the kiosk so the courier can check-in the delivery directly.
Did you know? If you have more than one delivery point, you can define different entrances. These entrances are displayed on the Eptura Visitor Dashboard and noted in the email notification sent to the recipient, so they know where to pick up the delivery. Learn more: Setting up entrances
Follow the steps to enable deliveries for your location.
- Navigate to Settings > Deliveries.

- Deliveries on the Eptura Visitor Kiosk app: Enable this option to display the Delivery button on the kiosk.
When enabled, the courier can tap the Delivery button on the kiosk and enter the recipient's details on the Who is this package for? screen, or tap I don't know if the name of the recipient is not known or not found. An email notification is sent to the recipient (or the default recipient if the name is not known) advising where the package can be collected.
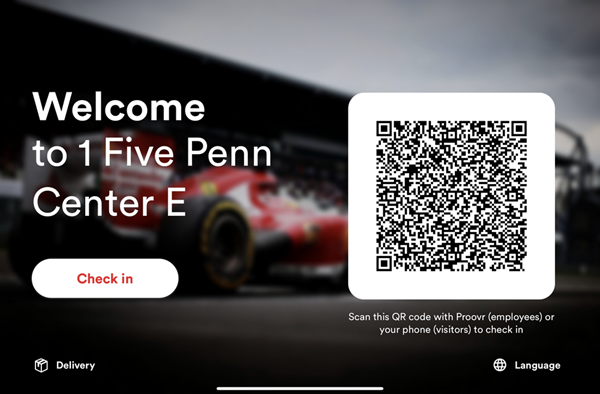
The Delivery button is displayed at the bottom left of the kiosk
The default recipient is configured in Settings > Configure Kiosk > Host identification > Default recipient.
- Deliveries on the Dashboard: Enable this option to add the Deliveries dashboard to the icon menu on the left-hand side of Eptura Visitor.

Learn more: Deliveries
Copy settings to all locations
If you want to apply the delivery settings to all the locations you are an administrator of, click Copy to all locations.
A list of locations you are an administrator of is displayed. Click Save to apply the settings to all listed locations.
