Mounting options
Screen commission prerequisites
If screen commissioning has been purchased, the following must be in place prior to the engineer attending site.
- Screen mounting plates secured where the meeting room screens are to be located.
- Pre-terminated network cable with RJ45 connector at the screen. The terminating cable should be approx 20cm from the mounting plate entry to the connector.
- The network cable must be patched and operational on the network.
- The network connection must be capable of supplying Power over Ethernet (PoE) to the screen either from the switch or via an inline injector somewhere between the screen and the network switch. These should be in place and powered up.
- Access to the domains listed in the allowlist. Learn more: Domain allowlists
Illustrations
condeco-v2-meeting-room-screen-technical-illustrations.pdf
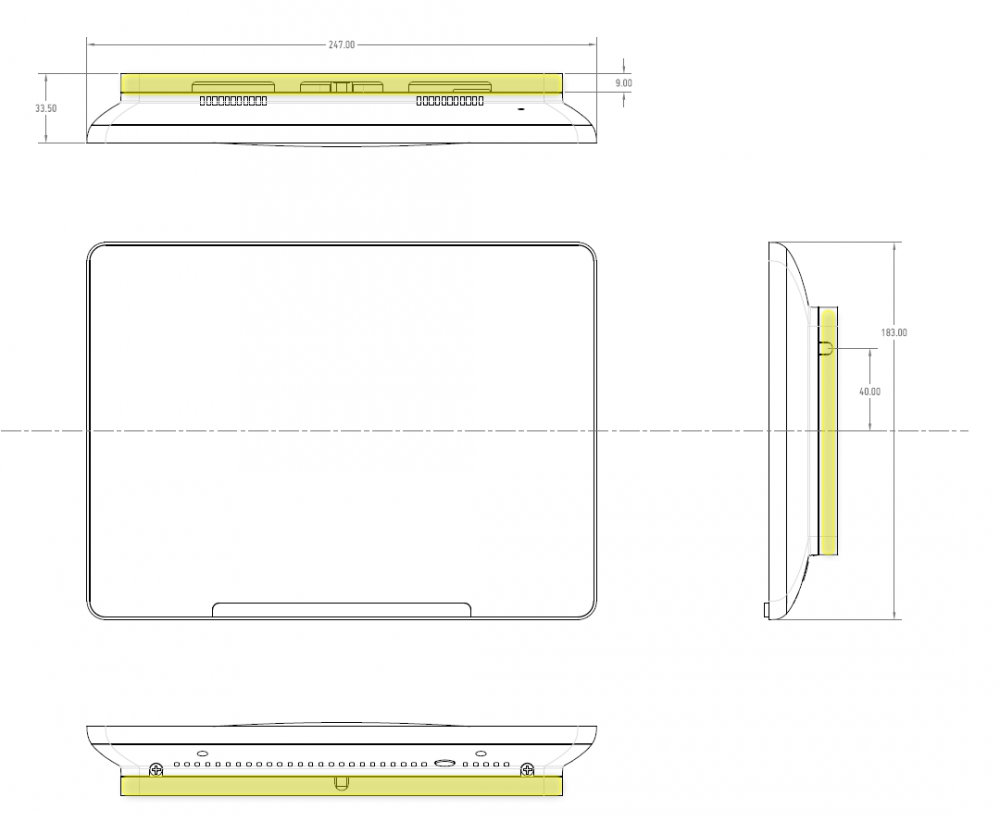
Screen with the connected mounting plate shown in yellow
Glass wall: If fixing the screen to a glass wall, you will need the optional glass mount kit. Contact your Eptura account manager for more details about the glass mount kits.
Cable Routing
There are three cable entry points on the mounting plate located top left/right and bottom center, as shown in the illustration.
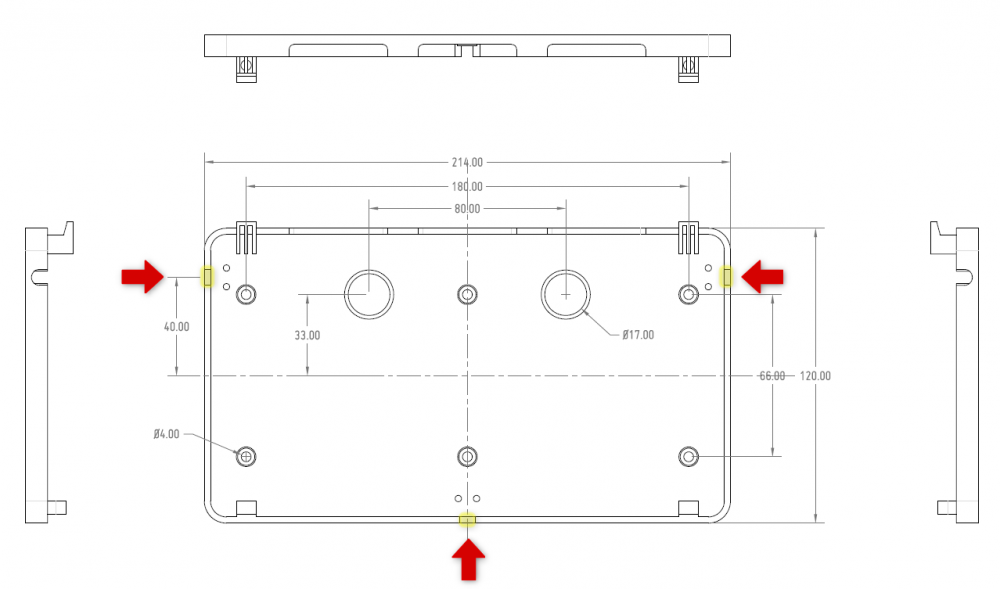
Mounting plate showing cable entry points
Consider the location of the cable entry points when deciding where to mount the room screen. Typically, the power or network cable runs aside, or inside the door frame, and enters the mounting plate from the side.
The mounting plate contains knockout points for when the screen is positioned over the cable point in the wall.
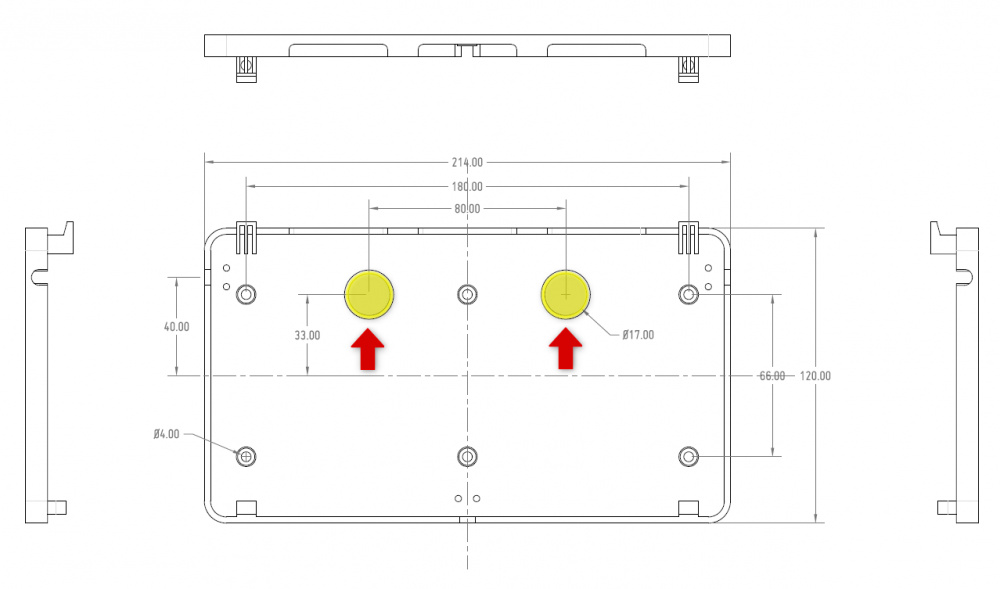
Mounting plate showing knockout points
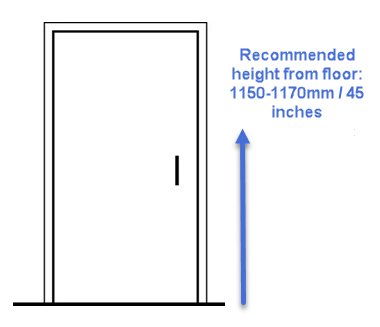
Recommended screen height
The final screen height is determined by local disability access requirements. The Americans with Disabilities Act (ADA) guidelines require that the highest point of interaction is not greater than 48 inches or 1220 mm. The UK Disability Discrimination Act (DDA) recommends height is between 700-1,400 mm. We find 1150 mm – 1170 mm from the bottom of the device typically a suitable height.
If possible, fit the device on the side of the wall nearest the door handle.
Secure the mounting plate to a wall or partition
When positioning a screen on a wall or partition, use screws (not supplied) through the 4mm fixing points to first secure the mounting plate to the wall.
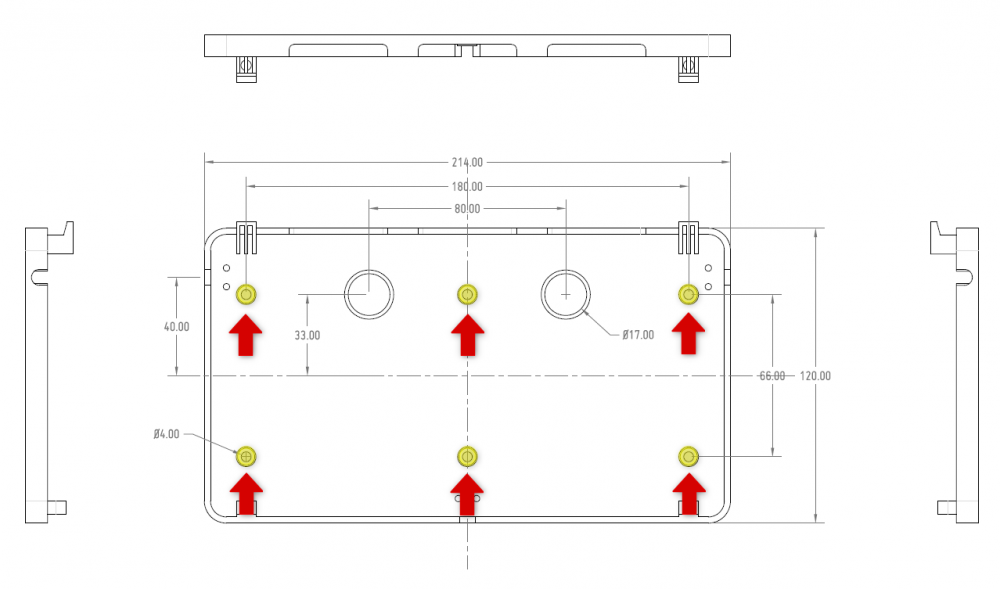
Mounting plate showing fixing points
Connecting the cables and fixing the screen to the mounting plate
When the mounting plate has been fixed to the wall, plug the LAN cable into the RJ45 socket on the rear of the meeting room screen.
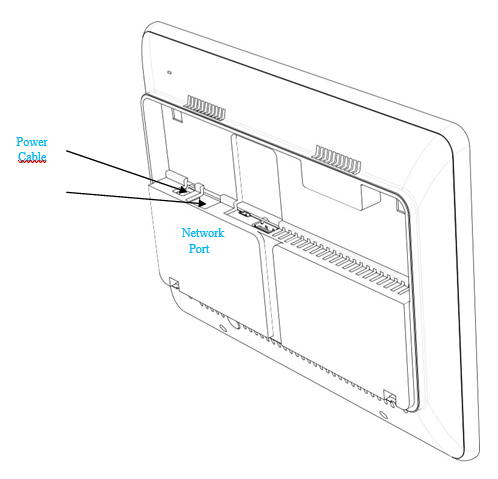
Feed the LAN cable through the appropriate cable input hole in the mounting plate.
The 12V power input is to aid development and troubleshooting; it is not intended or certified for normal operation. The screens are designed to be powered via PoE (Power over Ethernet).
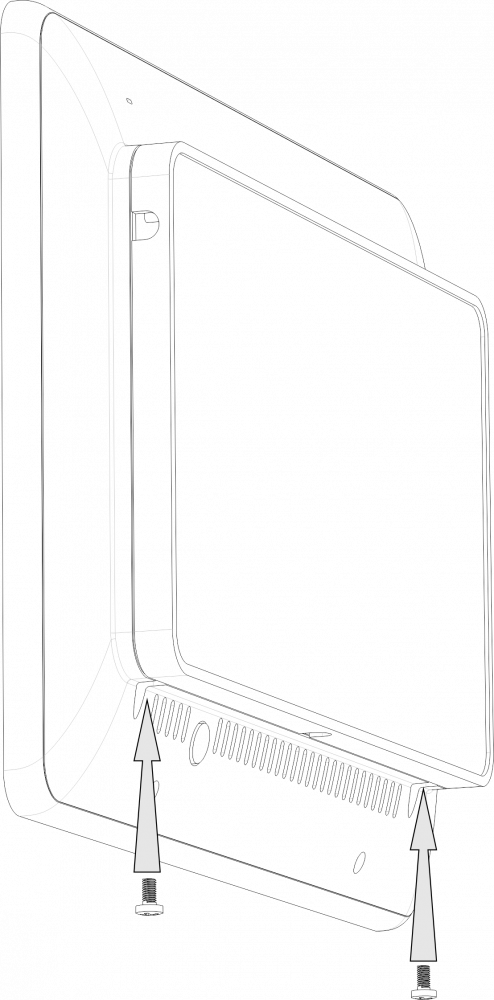
Clip the screen onto the mounting plate and screw the unit in place using the screws provided.
Fix to a glass wall
![]()
To mount a meeting room screen to a glass wall, we recommend using the 3M foam pad provided with the device and the additional vinyl double-sided sticker provided separately. As well as improving the appearance of the device from the reverse of the glass, the vinyl is easier to remove if needed.
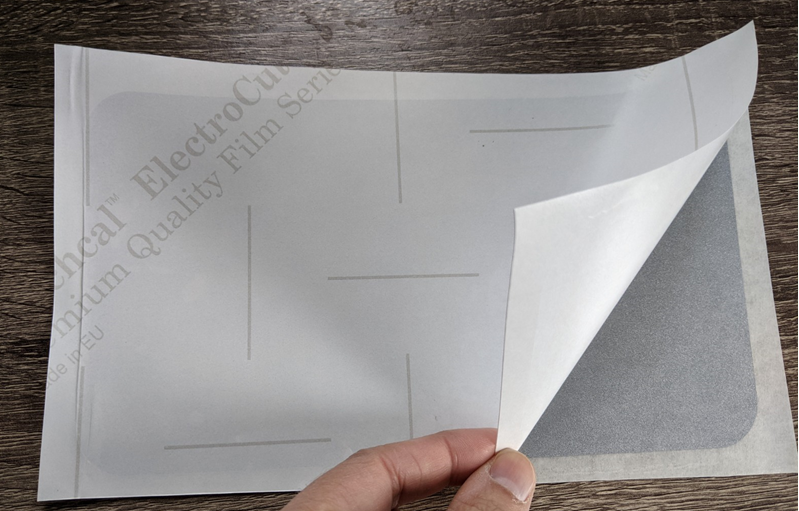
Vinyl glass wall mount
The double-sided vinyl sticker is provided separately. Contact your Eptura account manager if you want to fix your screen to glass.
How to mount the screen to a glass wall
- Refer to the 3M Vinyl Application instructions to secure the vinyl to the glass and wait 24-hours before continuing.
- After 24 hours, remove the protective backing from one side of the 3M foam pad and stick the pad onto the mounting plate.
- Remove the remaining protective backings from the 3M foam pad and the vinyl sticker, then firmly secure the mounting plate and foam pad to the vinyl.
- Secure the screen to the mounting plate using the screws provided with the device.
Part numbers
ACCE01 Vinyl double-sided sticker
ACCE01FOAM 3M double-sided foam pad
Learn more: Parts and Accessories Catalog
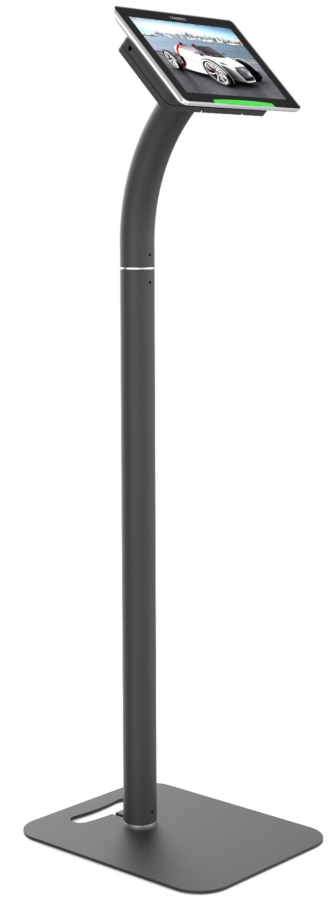
Floor stand
A floor stand for the room screen is available to purchase separately. Part number: ACCE28