FAQ and product comparisons
Eptura Room Screen v3 for Condeco - Setup Guide
Contents
FAQ
-
Does the Eptura Room Screen v3 support 5.0 GHz?
Support for 5.0 GHz is coming soon. -
Can existing v2 Condeco Meeting Room Screens be upgraded to run the new Modern UI?
Unfortunately not. The v2 Condeco meeting room screens run on the Microsoft Xamarin platform which is nearing the end of its lifecycle so further development is not possible. -
Can the Eptura Room App v3 be installed on v2 Condeco Meeting Room Screens?
Unfortunately, this is not possible because the new Eptura Room App v3 requires Android v9 or above, which is not supported by the v2 Condeco meeting room screens. -
Can the Eptura Room Screens v3 run the Classic UI used by the v2 Condeco Meeting Room Screens?
Yes, the Classic UI can be set in the Device Hub > Settings Profile. Learn more: Screen settings and booking rules for meeting room screens -
Are dual-combination RFID cards supported?
No, dual-combination cards are not supported. Learn more: RFID Technology and the Eptura Room Screen v3 -
Do RFID cards registered on a v2 Meeting Room Screen or a v3 Desk Booking Screen need to be re-registered on an Eptura Room Screen v3?
Some RFID card types may need to be re-registered when first presented to an Eptura Room Screen. Learn how: Register RFID card with PIN -
What are the differences between the v2 Condeco Meeting Room Screen and the Eptura Room Screen v3?
The Eptura Room Screen v3 provides an enhanced user interface (UI), improved security, upgradeability, and many more advanced features. Learn more: Product comparison and benefits
Product comparison and benefits
Eptura Room Screen v3 and the Condeco Meeting Room Screen v2 compared
The Eptura Room Screen v3 provides an enhanced user interface (Modern UI), improved security, upgradeability, and many more advanced features.
Key benefits of v3
- Improved interactions and more easily accessible UI.
- The Android operating system (OS) can be updated regularly to ensure the best available security at all times.
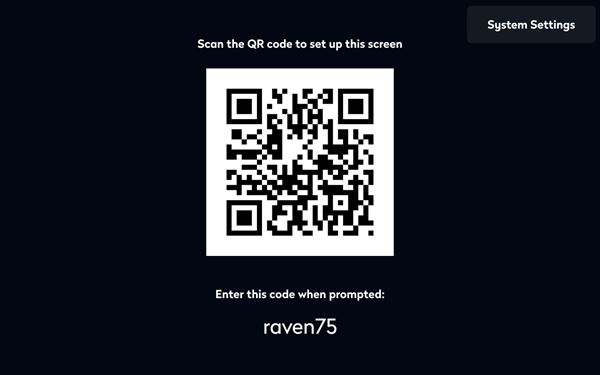
- QR code capabilities for activation. (Extended QR functionality expected Q3 2024).
- The Exchange calendar service now supports Graph API. Learn more: https://learn.microsoft.com/en-us/graph/auth/auth-concepts#access-scenarios
- Contactless check-in is supported for the entire check-in period.
- The new Calendar view enables a space to be booked 6 days in advance.
- Improved and intuitive activation method requiring fewer steps.
- v3 room screens can run either the new Modern UI (v3) or the Classic UI (v2), providing users with a common interface if both v2 and v3 screens are installed. Learn more: Compare Modern and Classic UI
Compare technical specs
The Eptura Room Screen device benefits from the following technical enhancements:
Technical features compared |
Eptura Room Screen v3 |
Condeco Meeting Room Screen v2 |
| Operating system | Android 11 (upgradeable) | Android 8 |
| Processor | Quad Core Arm Cortex - A55 CPU main frequency up to 2.0GHz | i.MX6 Dual-core processor |
| Display | 10.1” LCD 1280 x 800 pixels, 170 x 170° view angle, 16.7M colors, 400cd/m2 brightness. 10-point multi-touch projective capacitive toughened glass touchscreen. |
10.1” LCD Capacitive Touchscreen Panel (CTP) |
| Memory | 2GB | 1GB |
| Wired Network | Supports 1000M adaptive Ethernet, 10/100 Ethernet | 10/100 Ethernet |
| Storage | 16GB eMMC | 8GB managed NAND (eMMC) MicroSD connector |
| Bluetooth | 4.2 | iBeacon |
Compare the Modern and Classic UI
The comparison table shows the differences between the Eptura Room Screen v3 Modern UI and the Condeco Meeting Room Screen v2 Classic UI. Other steps may be required to complete the processes described.
By default, the Eptura Room Screens v3 run the new Modern UI. If you have both v2 and v3 room screens installed, you can set your v3 room screens to run the Classic UI to provide a common interface for your users. Learn more: Screen settings and booking rules for meeting room screens
Modern and Classic UI compared |
Modern UI (for v3 only) |
Classic UI (for v3 and v2) |
|
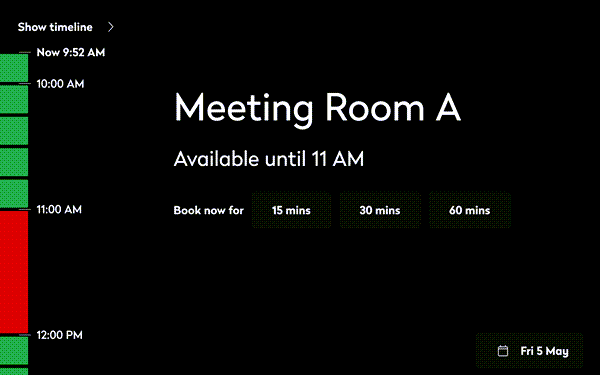
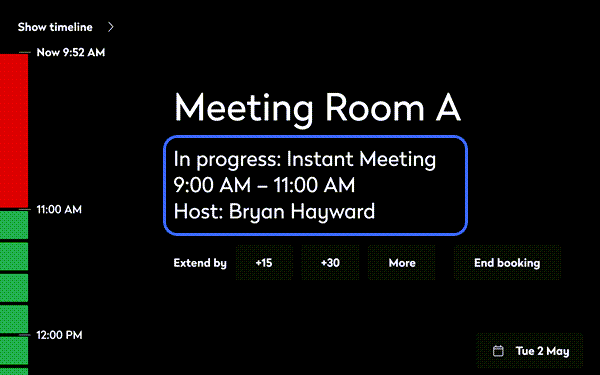
Timeline
|
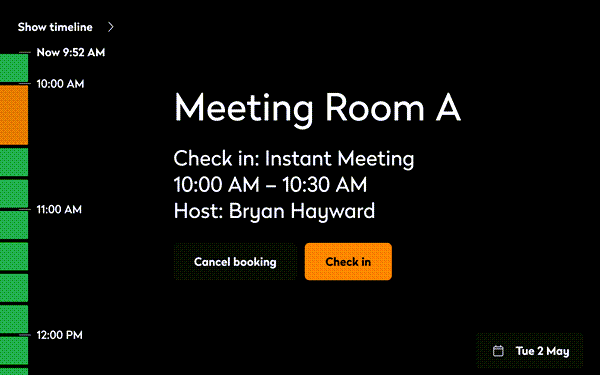
The color-coded timeline is displayed vertically on the left of the display and can be expanded to reveal more details about the space availability.
Swipe up and down to scroll the time slots. |
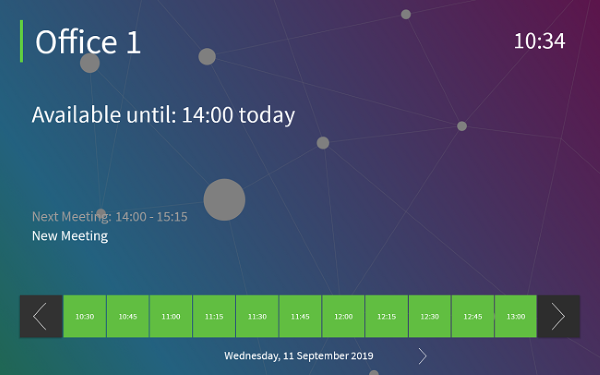
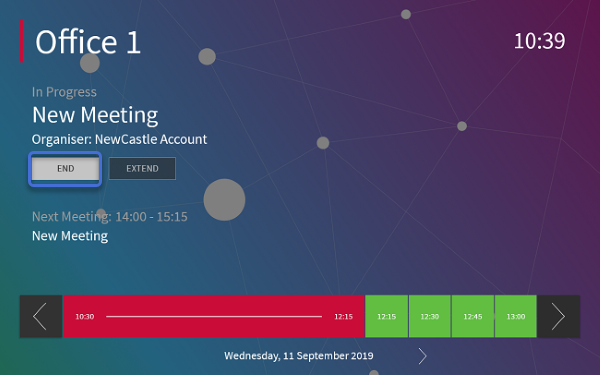
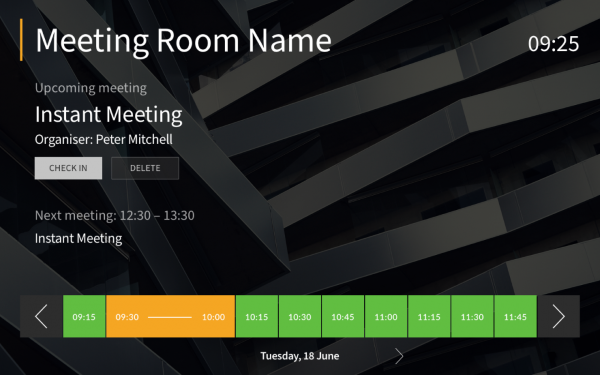
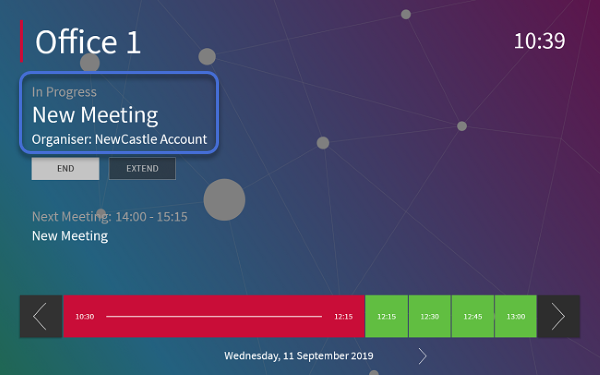
The color-coded timeline is displayed horizontally across the bottom of the display.
Tap the left and right arrows to scroll the time slots. |
|
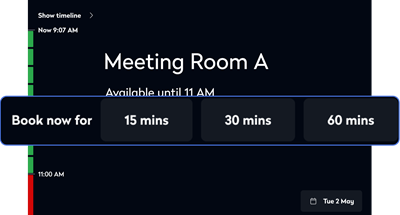
Book now using time preset buttons
|
When a meeting space is available, preset 'Book now' options are displayed to allow an immediate booking to be made for a selected amount of time - 15, 30, or 60 minutes.
|
n/a |
|
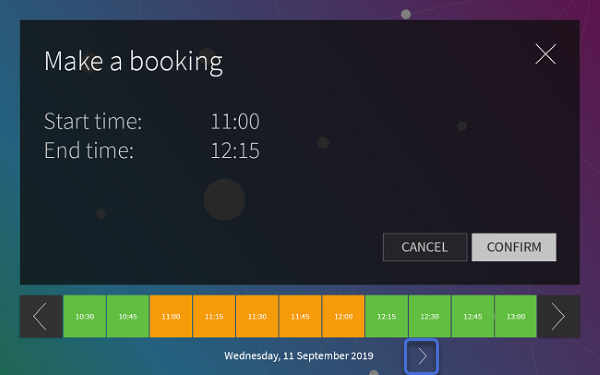
Book from the timeline
|
Tap the start time followed by the end time for the booking on the timeline, then tap 'Confirm' to immediately book the slot.
|
Tap the start time followed by the end time for the booking on the timeline to open the 'Make a Booking' screen. Tap 'Confirm' to book the slot.
|
|
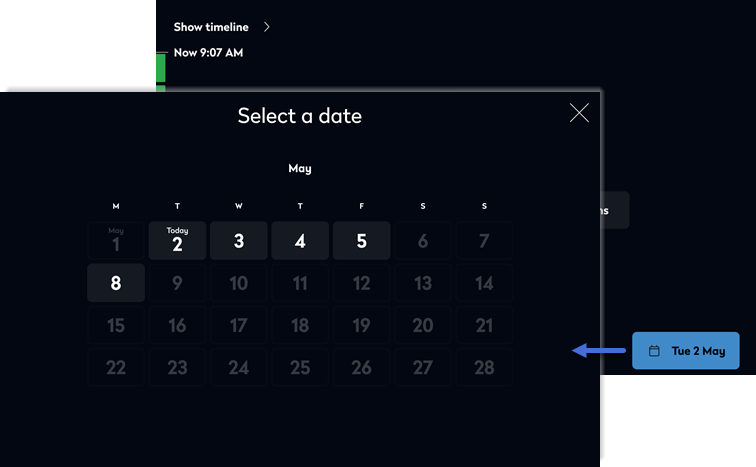
Book a date in advance
|
Tap the date at the bottom right of the screen to open the calendar, then select a date to book up to 6 days in advance.
|
Tap the right arrow to the right of the date under the timeline to move forward up to 6 days.
|
|
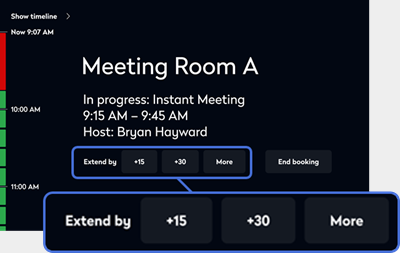
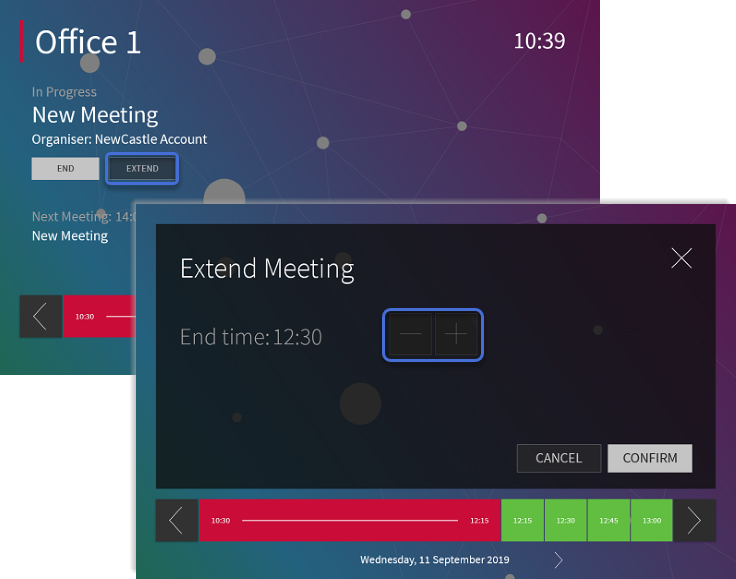
Extend a booking in progress
|
Tap one of the 'Extend by' preset options to extend a booking. Select +15 or +30 minutes, or tap 'More' to choose a specific end time.
|
No presets. Tap 'Extend' then continually tap the plus ( + ) button to select how long to extend the booking. Tap 'Confirm'.
|
|
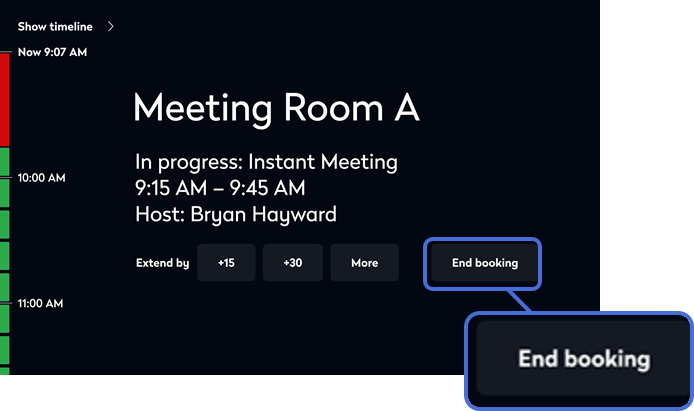
End booking
|
Tap 'End booking' to end a booking in progress.
|
Tap 'End' to end a booking in progress.
|
| Check-in |
The distinctive orange 'Check-in' button is displayed below the booking details.
If contactless check-in is enabled, swipe your RFID card to check in at any time during the check-in period.
|
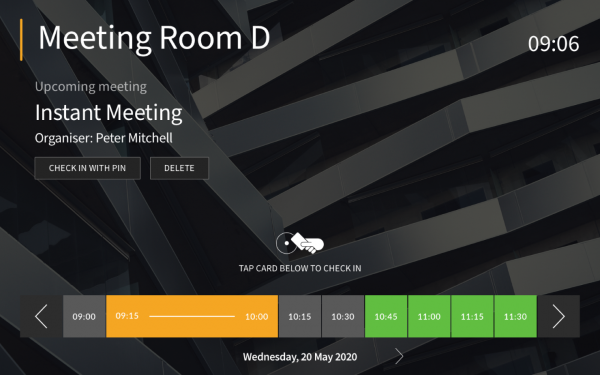
The grey 'Check-in' button is displayed below the booking details.
If contactless check-in is enabled, during the check-in window the screen toggles between allowing the RFID card to be swiped and the 'Check-in' button. Swipe card when prompted.
|
|
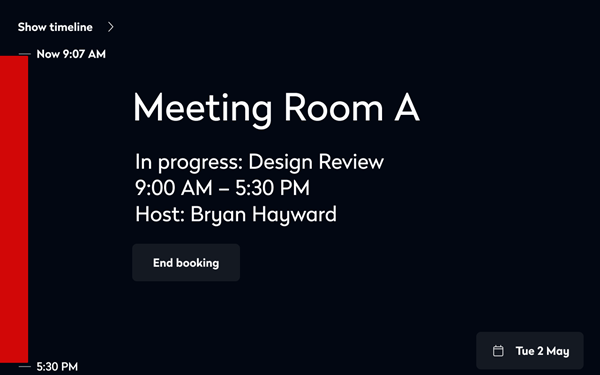
Booking details Booking details are not displayed if a booking is marked as private. |
When a booking is in progress, the screen displays the booking title, the name of the host, and the start and end time of the booking.
The start and end time of the booking is also shown on the timeline. |
When a booking is in progress, the screen displays the booking title and the name of the host. The start and end time of the booking is indicated on the timeline
|
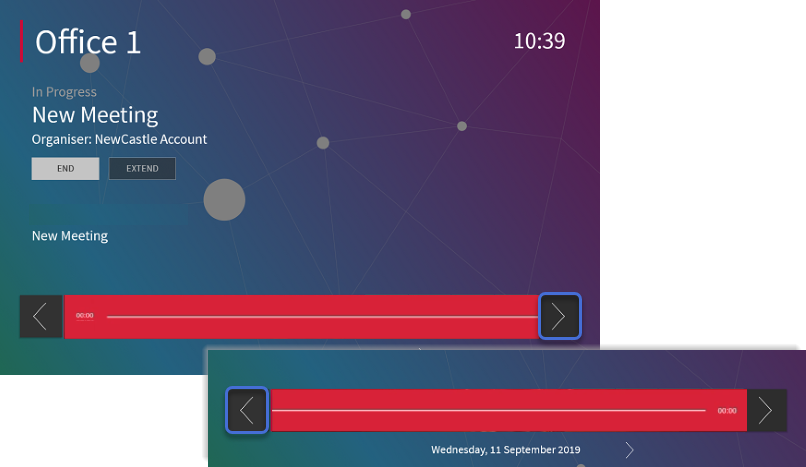
| All day booking |
A solid red timeline indicates an all-day booking. The timeline shows both the start time and end time without scrolling.
|
A solid red timeline indicates an all-day booking. Tap the left and right arrows to scroll through the entire day
|
|
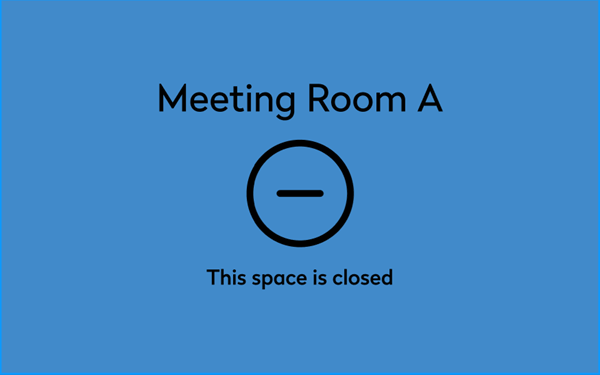
Space closed
|
'This space is closed' message is displayed on a distinctive blue background that can be seen from a distance.
|
The screen displays 'Closed' over the screen theme background. The timeline is disabled.
|
|
Screen themes
|
Customize the background and logo from the Device Hub. Shimmer UI effect supported. |
Customize the background and logo from the Device Hub. NO shimmer effect |
|
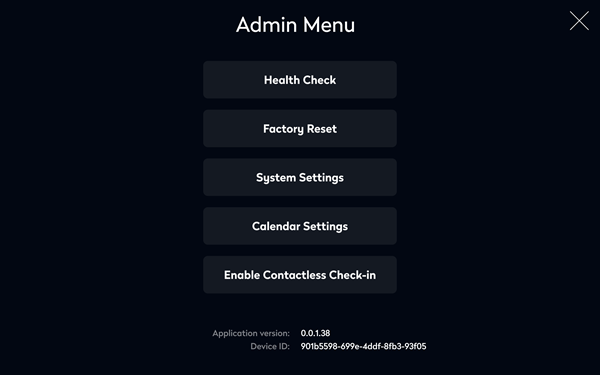
Screen theme background - Admin menu
|
Customized backgrounds and themes are disabled when navigating the admin menu options. The admin functions are displayed on a black background.
|
The Admin menu is displayed on the screen theme background.
|
|
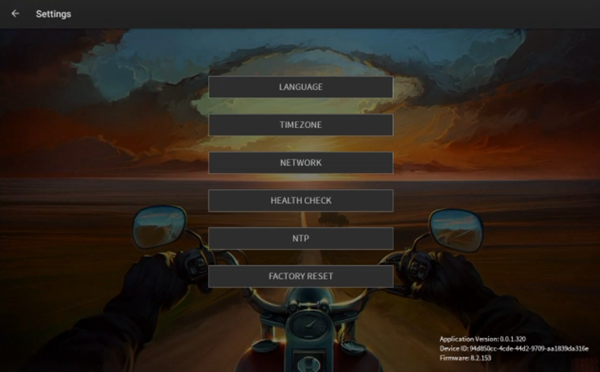
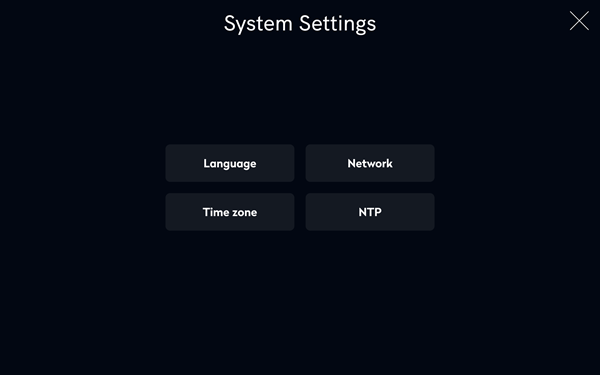
System settings menu
|
The language, network, NTP, and time zone options are now organized in the System Settings option accessed from the Admin menu.
|
All admin and system options are accessed directly from the Admin menu.
|
|
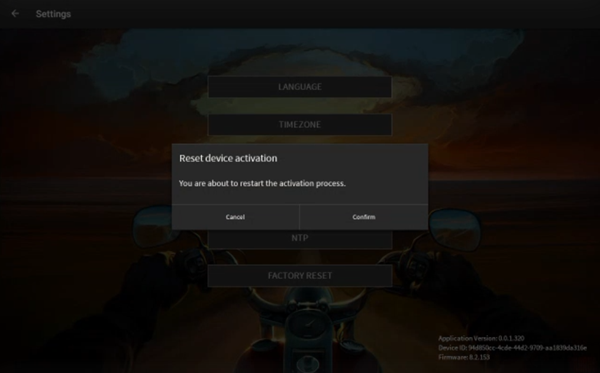
Device activation
|
An activation code is displayed on the device. Enter the activation code in the Eptura Device Hub to activate a screen.
|
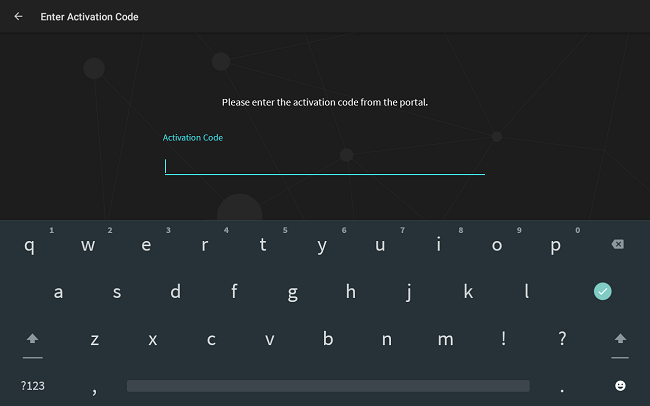
Activation requires a 2-stage process to exchange codes between the screen and the Device Hub.
An activation code is retrieved from the Device Hub and entered on the device. The device then displays a secondary code which is entered back on the Device Hub to activate the device. |
|
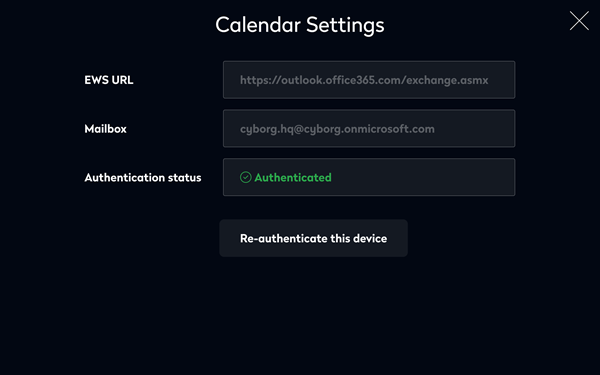
Calendar settings
|
Calendar Settings shows the EWS URL, mailbox, and authentication status.
|
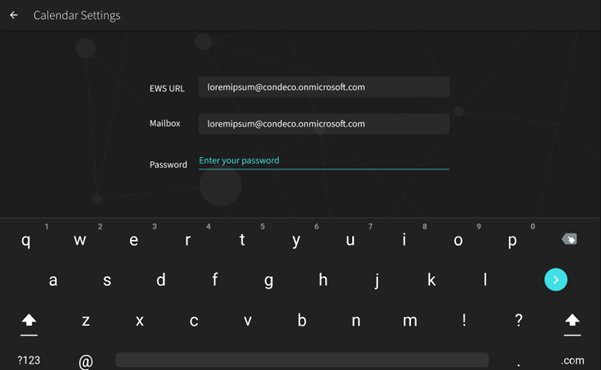
Calendar Settings shows the EWS URL and mailbox.
The admin password is required to connect to the calendar and view the authentication status. |
|
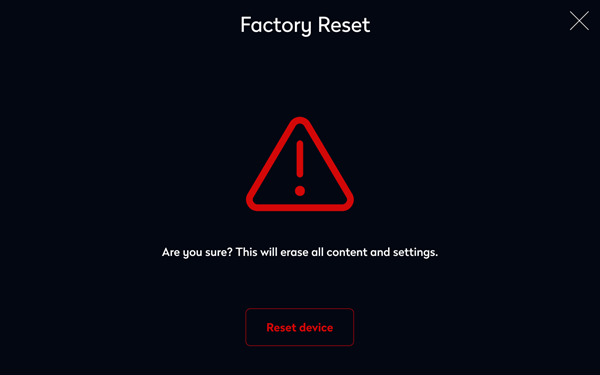
Factory reset
|
Tapping 'Factory reset' from Admin menu displays a distinctive red triangle warning symbol and message.
|
Tapping 'Factory reset' from Admin menu displays a warning.
|
|
Incorrect admin PIN entered
|
A 'shake' animation warns the user when the Admin PIN is entered incorrectly. |
The message 'You must be an administrator to access this screen' is displayed when the Admin PIN is entered incorrectly. |
|
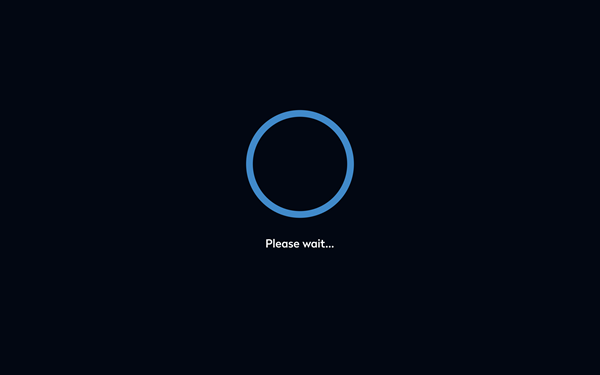
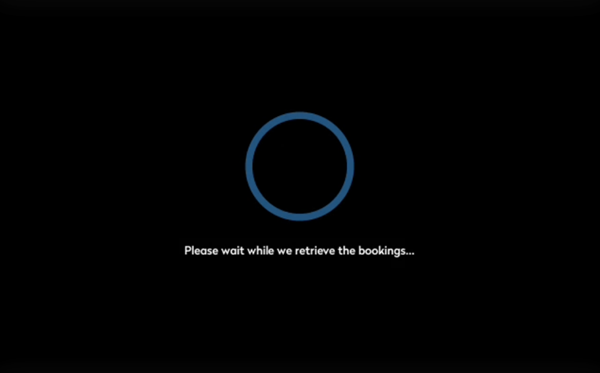
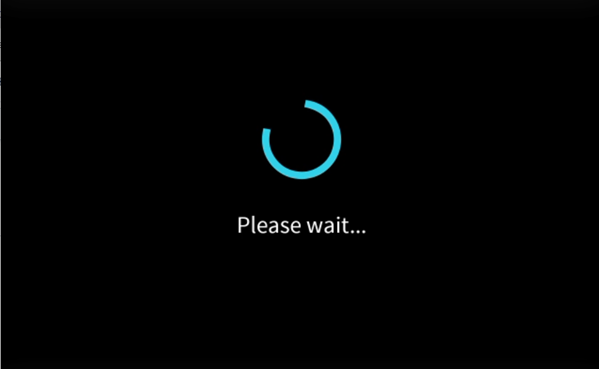
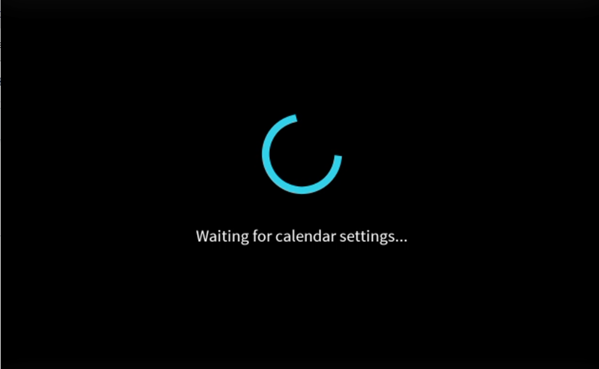
Progress bar loaders
|
After entering a PIN when creating a booking:
Processing calendar settings during start-up:
|
After entering a PIN when creating a booking:
Processing calendar settings during start-up:
|
|
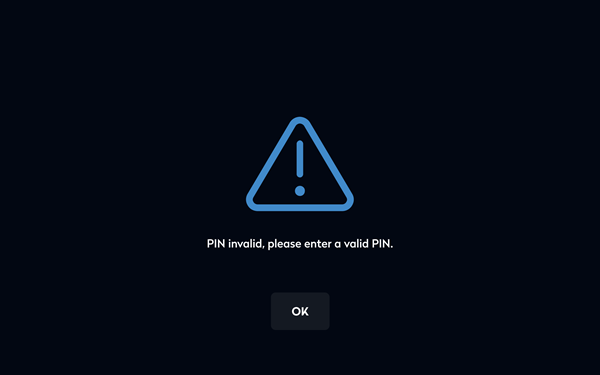
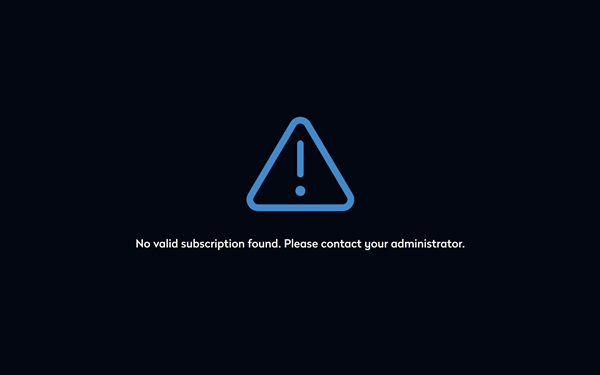
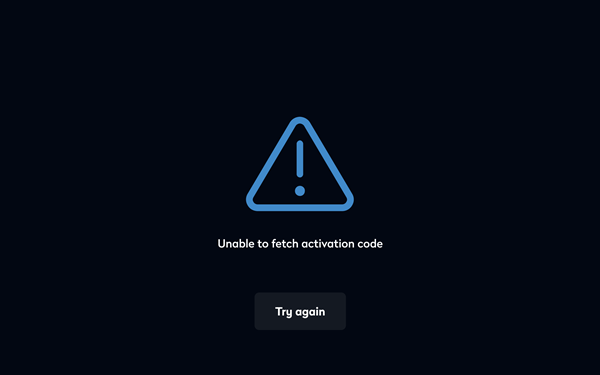
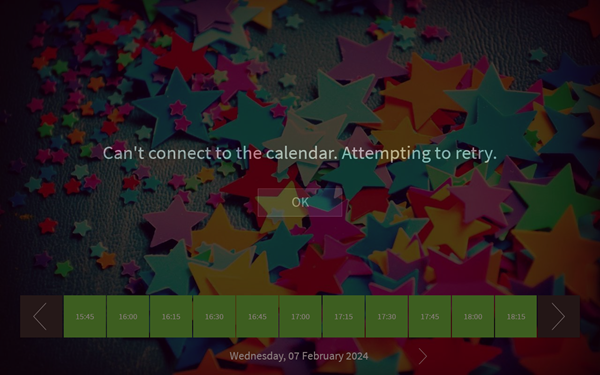
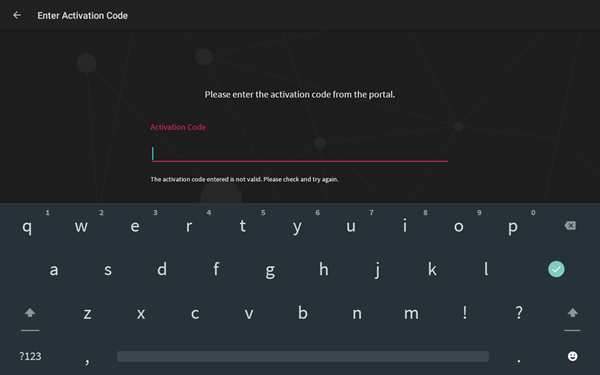
Error states
|
Incorrect PIN entered when creating a booking:
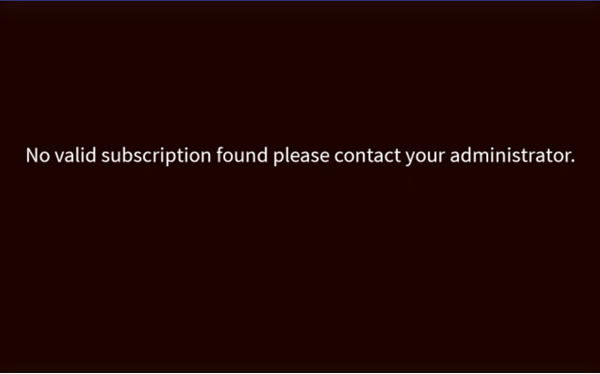
No valid subscription for screen found:
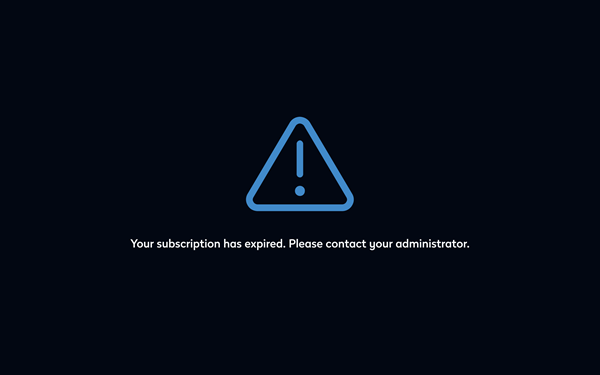
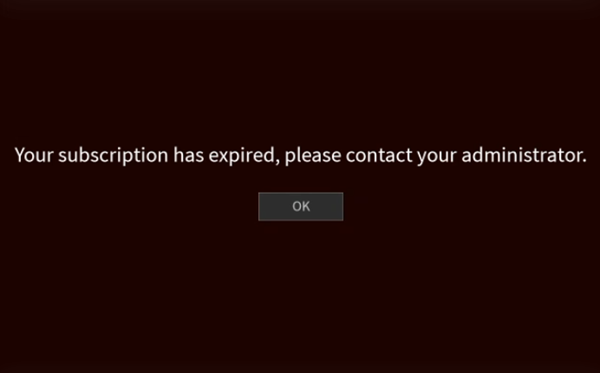
Subscription has expired:
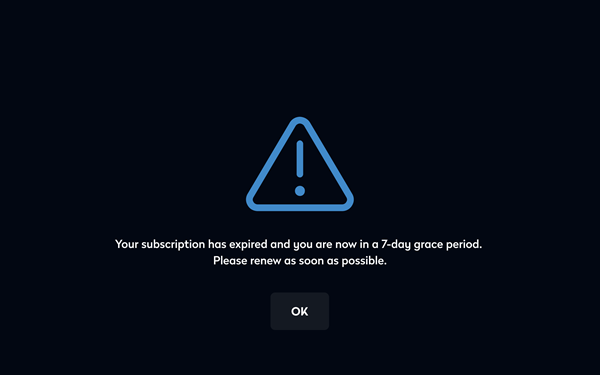
Subscription in grace period:
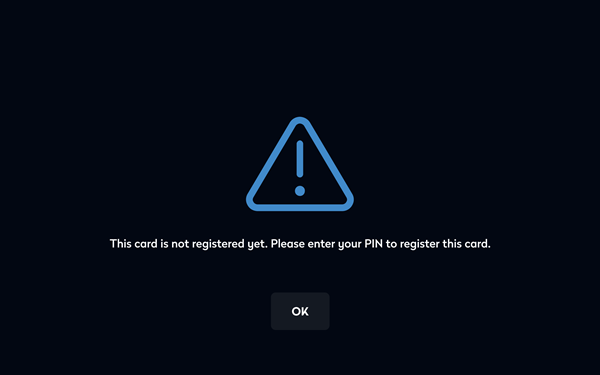
RFID card not registered:
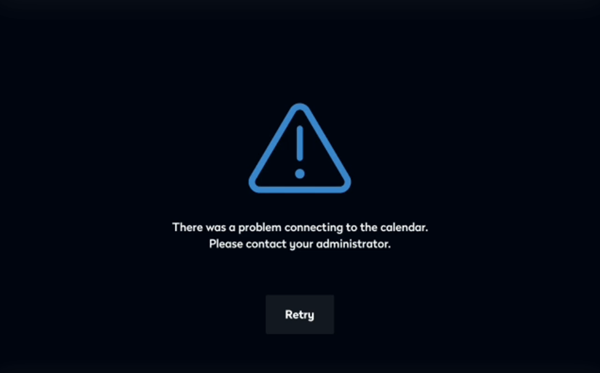
Failed to connect with calendar service:
Failure to fetch activation code during start-up:
|
Incorrect PIN entered when creating a booking:
No valid subscription for screen found:
Subscription has expired (same as above):
Subscription in grace period (same as above with OK button):
RFID card not registered:
Failed to connect with calendar service:
The activation code entered is invalid:
|
|
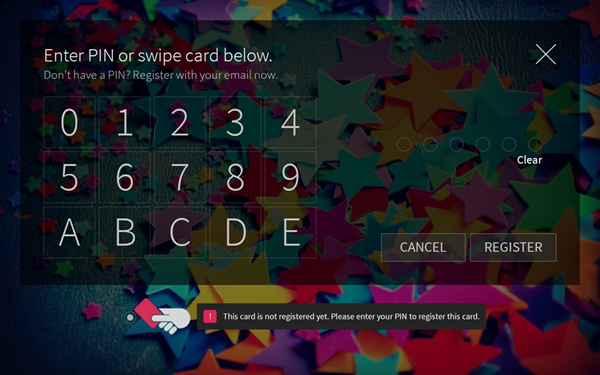
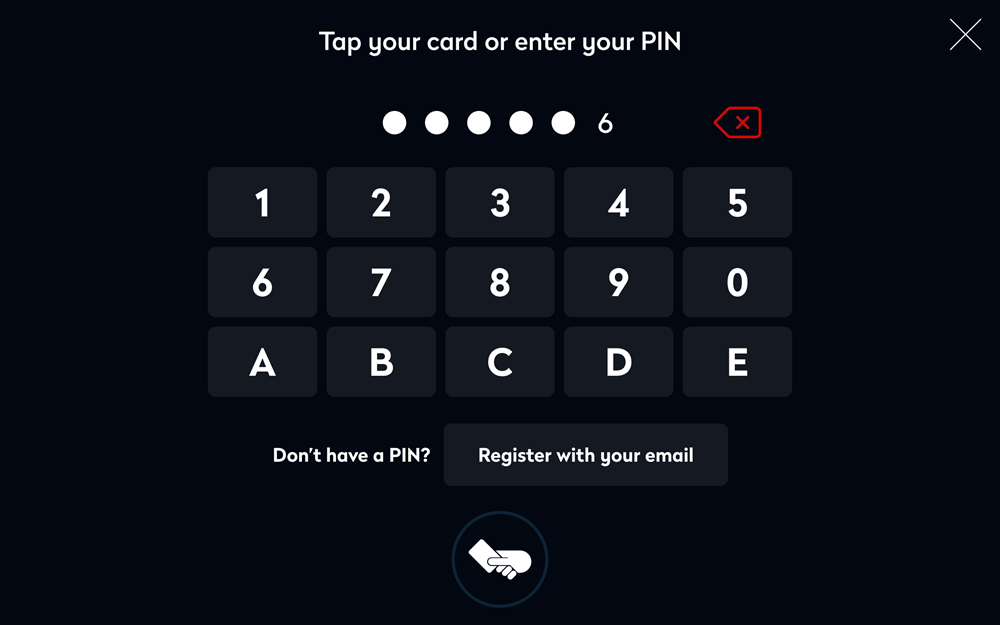
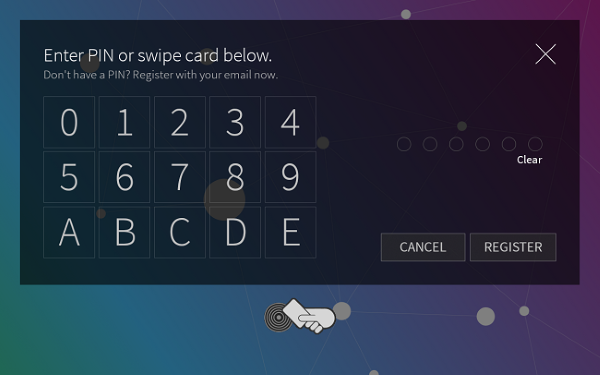
PIN authentication
|
The PIN displays above the keypad when entered:
|
The PIN displays to the right of the keypad when
|
|
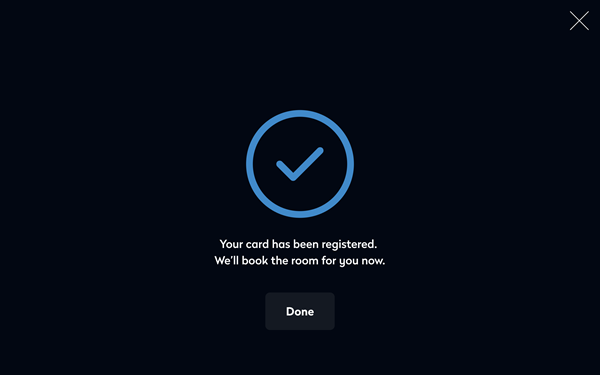
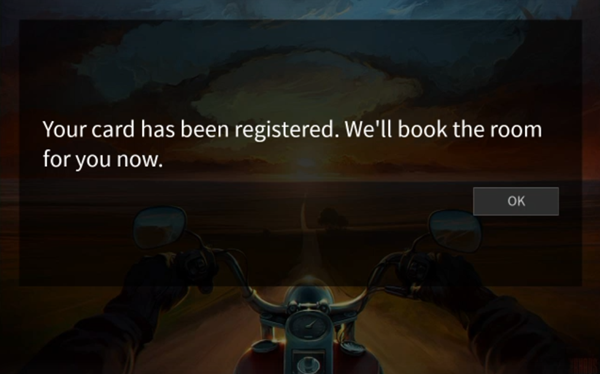
RFID card registration
|
A distinctive blue tick symbol and message indicate a card is successfully registered.
|
A message indicates the card is successfully registered.
|
|
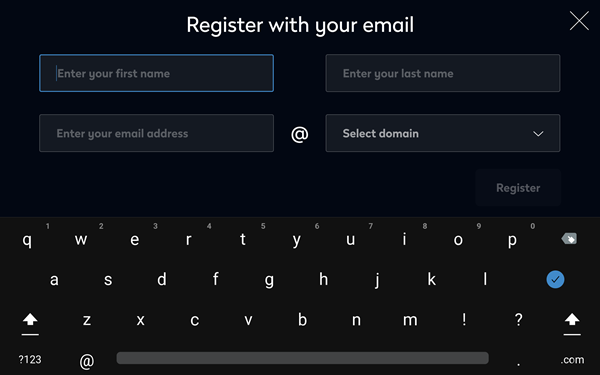
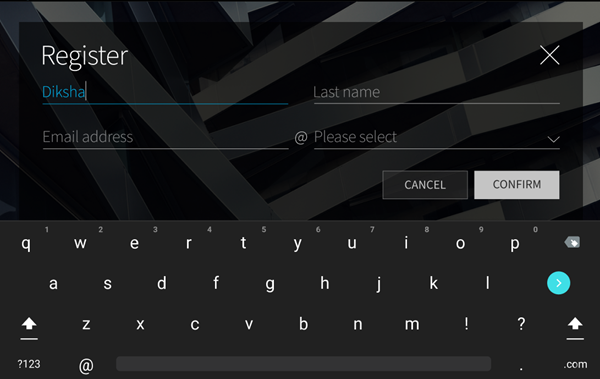
User registration (Exchange calendar service only)
|
Customized backgrounds and themes are disabled when the user registration screen is displayed. The user registration screen is displayed on a black background. Tap 'Register' to register the user or X to close the screen.
|
Customized backgrounds and themes are visible when the user registration screen is displayed. Tap 'Confirm' to register the user or 'Cancel' to close the screen.
|