Authorizing and starting the Wayfinder
Contents
Before you start
Before you can authorize and launch a Wayfinder, you need to create a profile to define which meeting spaces are shown and the information displayed.
Browse the following guides to learn more about the Wayfinder, how to create a profile, and about the global settings that standardize the way information is displayed across all the Wayfinders in your organization.
How to authorize a profile and launch the Wayfinder
To prevent unauthorized access, a one-time authorization key is required to display the Wayfinder on a screen. Follow the steps to sign in, generate the authorization key, and launch the Wayfinder display.
- Sign in to Eptura Engage on the web and go to Advanced setup > Wayfinder admin.
- On the Profiles tab, click the Authorizations button for the profile you want to launch on a Wayfinder display.

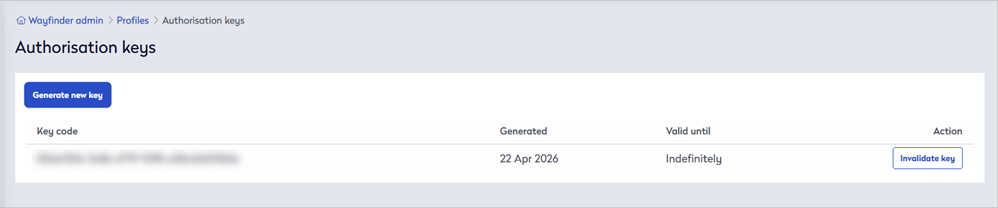
- Click Generate new key at the top of the Authorization keys list.

- The authorization key is shown in the Key code column, along with the date generated and the validity (the default 'Valid until' setting is 'indefinitely'). The key is in the format [xxxxxxxx-xxxx-xxxx-xxxxxxxxxxx]
- Click the Profiles link at the top (or click Wayfinder admin from the Advanced setup menu on the left) to return to the Wayfinder admin page.
- On the Profiles tab, click Copy link & preview for the profile you want to launch on a Wayfinder display.

- The Wayfinder will launch in a new browser tab and prompt for the one-time key authorization code. Enter (paste) the code and click Validate.

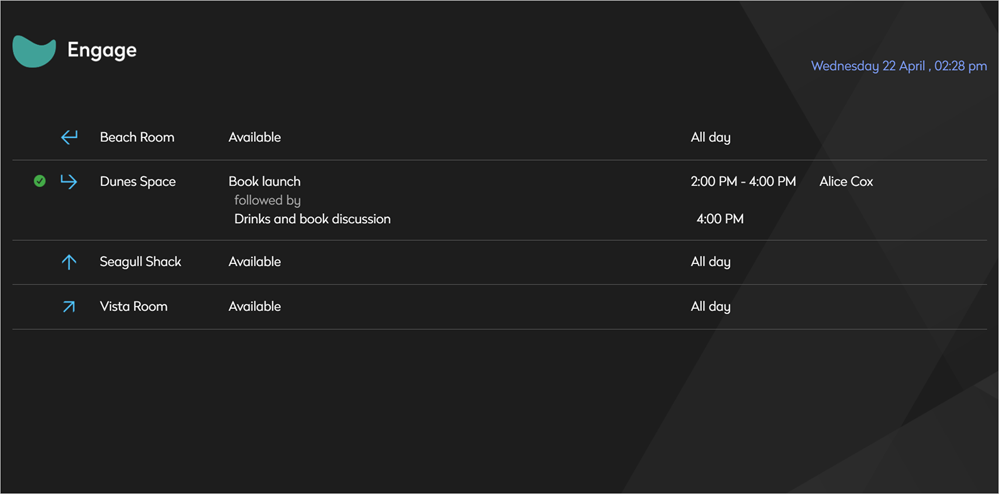
- After a successful validation, the Wayfinder displays the meeting spaces and information as defined in the profile.
Each key can only be used once, so if you want to launch the same Wayfinder profile on a different device, generate a new authorization key. Any number of keys can be valid at the same time.
The one-time authorization key is stored as a cookie on the Wayfinder. If the cache is cleared, a new key must be generated for the profile and entered on the Wayfinder screen.
Invalidate a Wayfinder authorization key
An authorization key can be invalidated, which disables any Wayfinder devices authorized using that key.
- Sign in to Eptura Engage on the web and go to Advanced setup > Wayfinder admin.
- From the list of profiles on the Profiles tab, click the Authorizations button for the relevant profile.
- In the Action column for the key you want to invalidate, click Invalidate key.
Any Wayfinder that was previously validated with the key will no longer function.