Create and manage Customers
Contents
Customer List
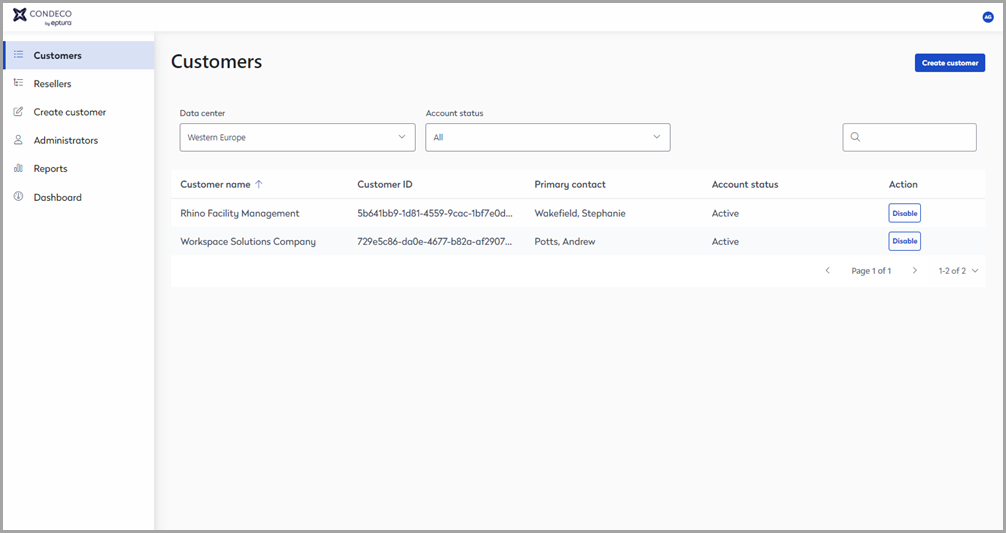
Navigate to Customers from the left menu to view your customers. The customer list can be filtered by Data center and Account status (active/disabled). Use the Search box at the top of the list to quickly find a specific customer.
The customer list shows the name of the customer, the customer's unique ID, the name of the primary contact, and the account status. Customer accounts can be enabled or disabled from the Action column.
View and create customers from the Customers page
Create a new customer
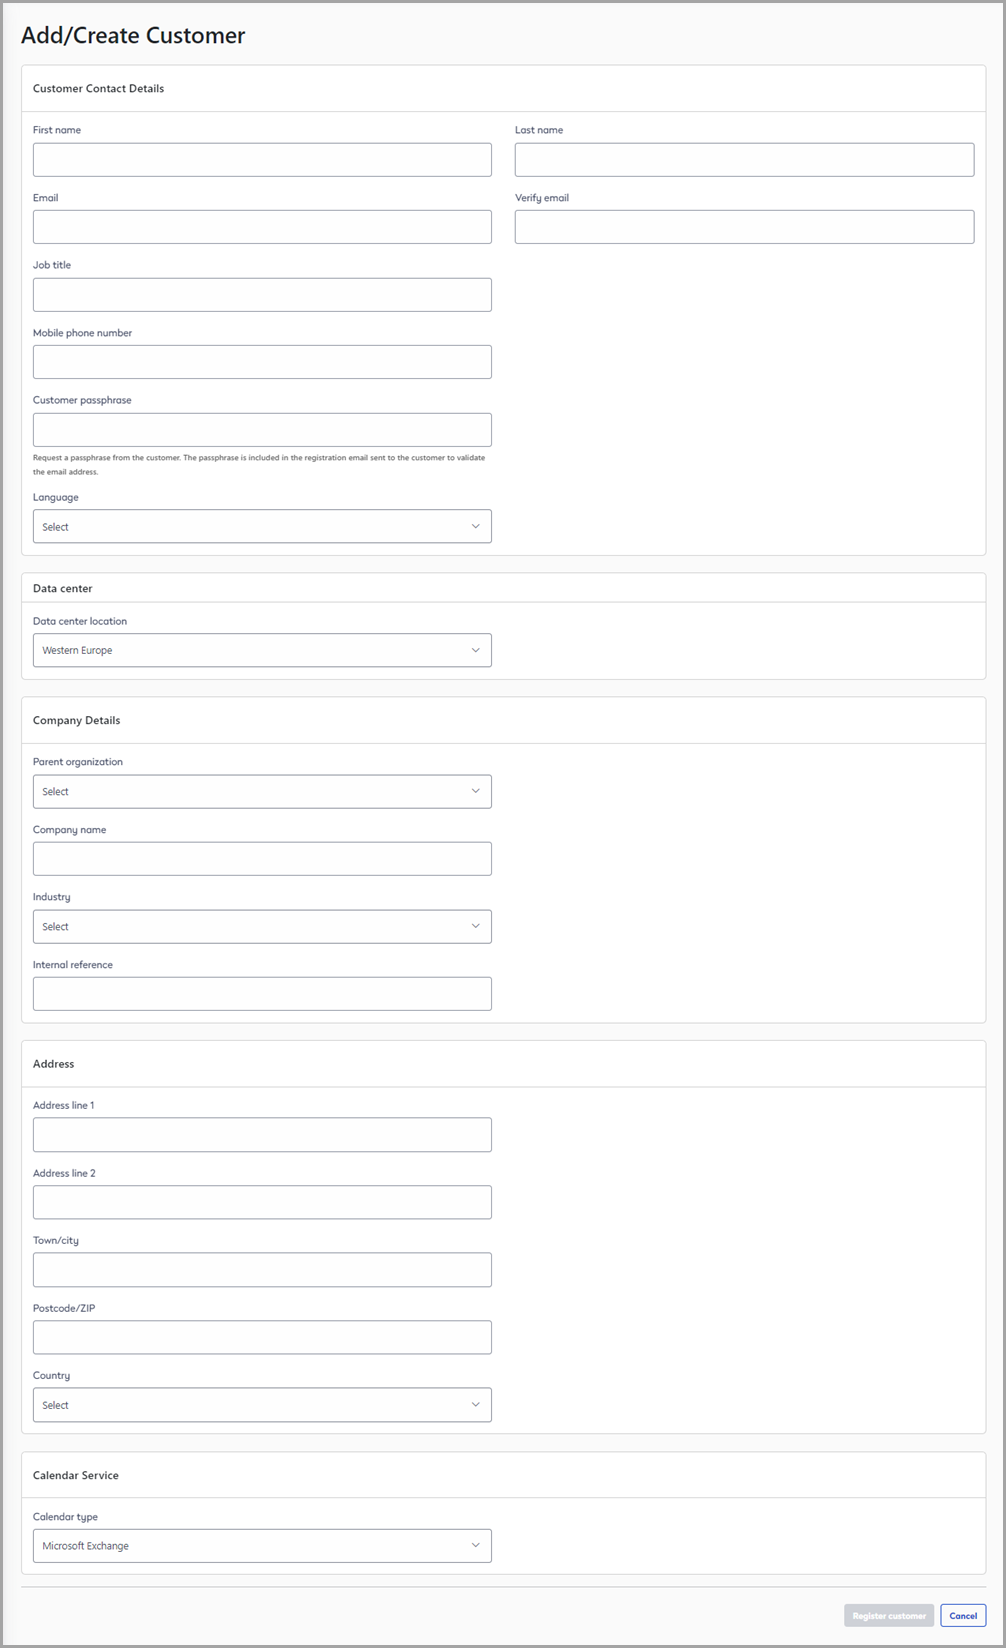
To create a new customer click Create customer from the menu on the left or from the top of the Customers page.
Create a new customer
The Add/Create Customer page is divided into five sections as described below.
Customer contact details
- First name | Last name: Enter the first and last names of the customer's primary contact.
- Email | Verify email: Enter the email address of the customer's primary contact.
- Job title | Mobile phone number: Enter the job title/position and the phone number for the customer's primary contact.
- Customer passphrase: Enter the passphrase agreed with the customer. The customer must use the passphrase to confirm and verify the email address once the account has been created.
- Language: Select the default language from the drop-down list.
Data center
- Data center location: Select the data center from the drop-down list.
Company details
- Parent organization: The customer's reseller.
- Company name: Enter the name of the customer's organization.
- Industry: Select the customer's industry from the drop-down list.
- Internal reference: Enter your internal reference for the customer.
Address
- Enter the customer's address and select the country from the drop-down list.
Calendar service
- Calendar type: Displays the customer's calendar type - Microsoft Exchange or Eptura Engage Cloud.
The calendar service is configured by Eptura.
Register
When the customer details are entered, click Register customer to create a new customer account.
A verification email is sent to the customer's email address provided at the top of the form. The customer must open the email to verify the account with the passphrase.
Edit an existing customer
To edit an existing customer, click the customer from the Customer List to open the Customer Details page. The page is divided into five sections as described below.
Remember to click Save at the bottom of the page to save any changes.
Customer Contact Details
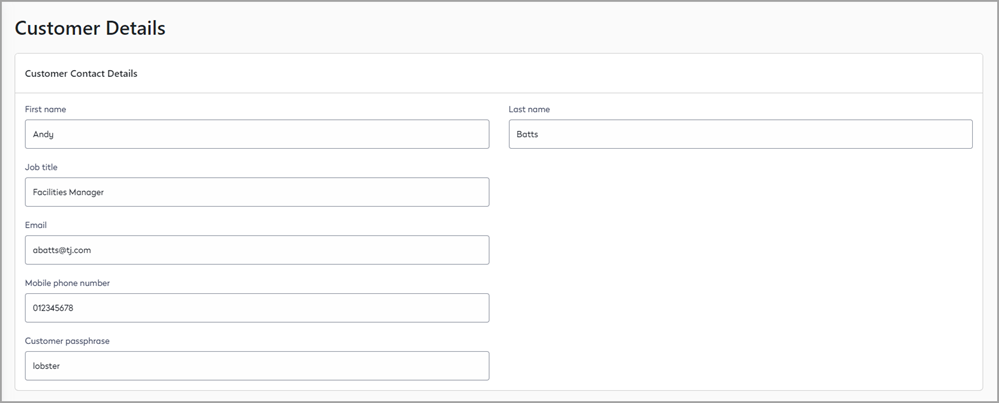
- First name | Last name: The first and last names of the customer's primary contact.
- Job title | Email | Mobile phone number: The job title/position, email address, and mobile phone number for the customer's primary contact.
- Customer passphrase: The passphrase agreed with the customer. The customer must use the passphrase to confirm and verify an email address if edited.
- Language: The default language from the drop-down list.
Company Details
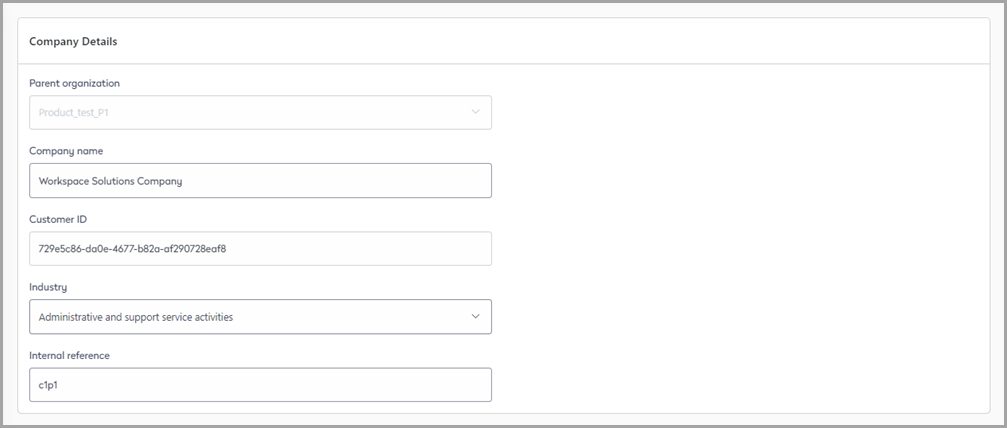
- Parent organization: Select the customer's parent organization from the drop-down list.
- Company name: The name of the customer's organization.
- Customer ID: The unique customer ID.
- Industry: The customer's industry/business.
- Internal reference: Enter your internal reference for the customer.
Address
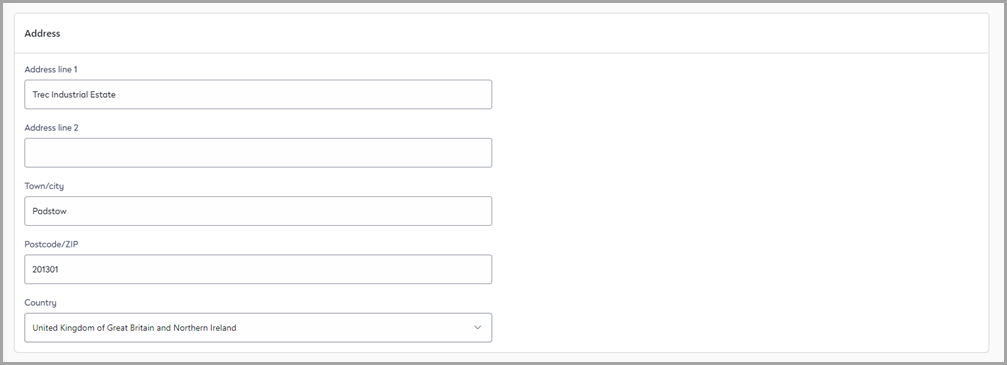
- Address | Country: The customer's address and country.
Eptura Engage Cloud Calendar Services

Displays the details of the customer's calendar service.
The calendar service is configured by Eptura.
Sensor Provider Tenants

Displays the customer's Sensor Provider tenant.
- Sensor Provider: The name of the occupancy sensor provider.
- Provider Account ID: The sensor provider's unique account ID.
- Tenant Name: The tenant the occupancy sensors are mapped to.
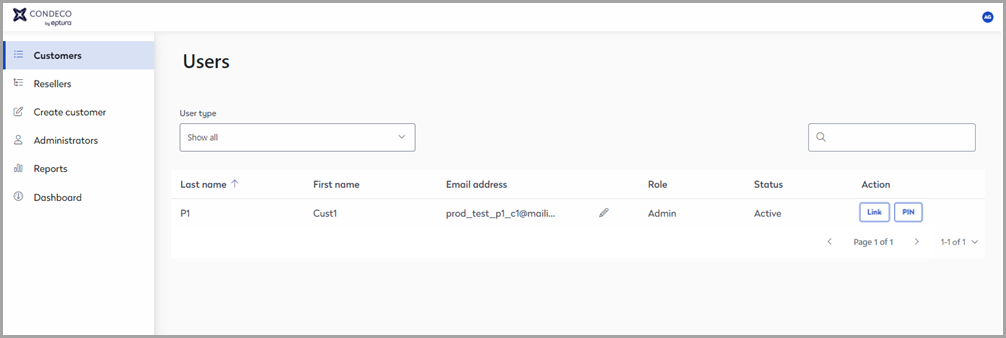
View users
Your customer's users can be viewed from the customer details page.
- Navigate to Customers from the left menu.
- Click the customer from the list to open the customer's details page.
- Scroll to the bottom and click View users.
The customer's users are displayed in a list with the following information:
- Last name: The user's surname.
- First name: The user's given name.
- Email address: The user's email address.
Edit the email address: Click the pencil icon to edit the email address then click either the Link or PIN button to send an account verification to the email address.
- Role: The user account type (admin or user).
- Status: The status of the user account (active or disabled).
- Action: Click Link or PIN to send an account validation action or a screen activation PIN to the user's email address:
- Link: Resend the activation email to the email address.
- PIN: Resend the activation email to the email address.
View subscriptions
Click View subscriptions to manage Condeco subscriptions. Learn more about managing subscriptions
Disable/enable a customer
Customer accounts can be disabled but not deleted.
- Navigate to Customers from the left menu to view the list of Customers.
- Use the search to find the customer account to disable or enable.
- Click Disable or Enable from the Action column to disable the customer account.