Close a Work Order
This guide shows a User how to close a work order. To do so, a User must have the permissions to modify and close work orders. These permissions are found in the User permission form.
Instructions
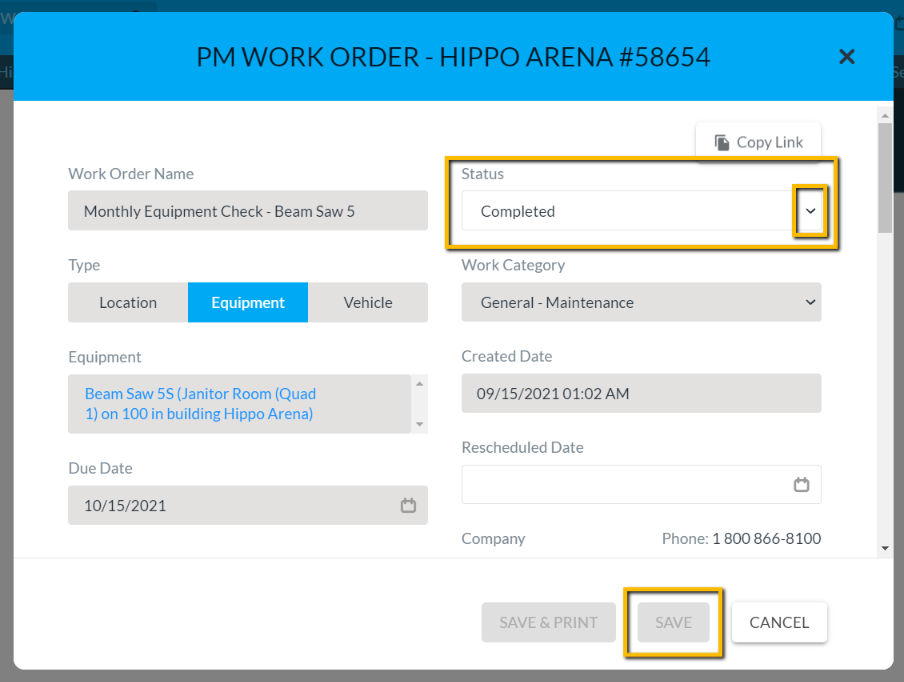
Locate the work order that you are trying to close. Click in the "Status" field located in the top right corner of the work order form and change the status to “Completed”. If the "Save" button at the bottom of the form is blue, then hit "Save". That's it. But, if the "Save" button is greyed out, hover your cursor over it and it shows you the additional steps still needed.
If a Resource is associated with a work order, they must log the date and hours. Click on the drop-down button to view the Resource name(s). Note: You can click in the resource field to add a name if you have permission to do so.
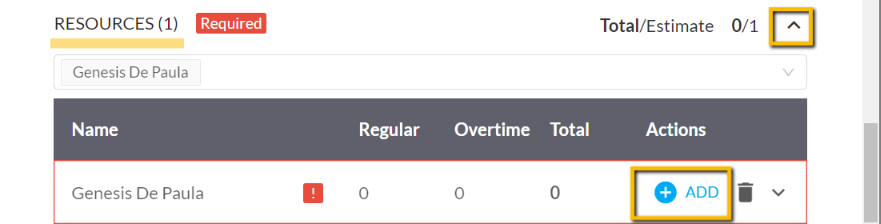
Click on the +Add button to open the Add Hours pop-up window.
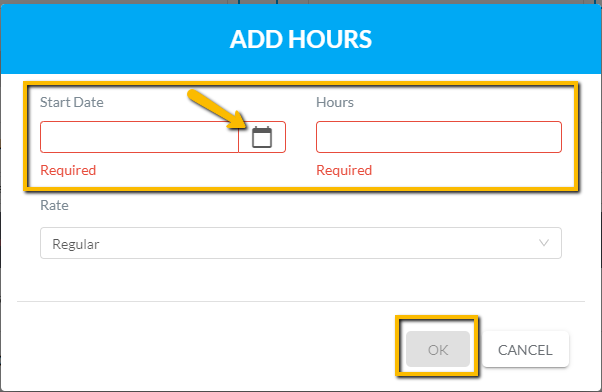
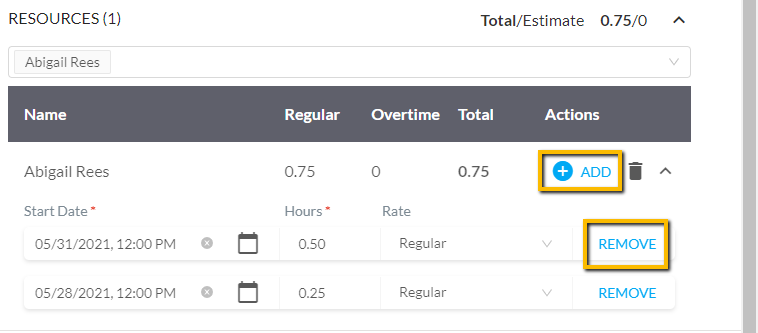
The Start Date and Hour are mandatory. Click in the Start Date field to select the start date. In the Hours field, a User can directly type in the number of hours or use the arrows to navigate up and down. Time is entered in decimal format. For example, .25 is equal to 15 minutes, .5 is equal to half an hour and 1 is equal to 1 hour. Hit "OK" when done. You can also click on the +Add button and repeat these steps to add multiple dates.
Note: some users may have permission to remove a resource time entry. You must confirm to do so.
If this work order is a PM (Scheduled Work Order), a task list may be included. The User must mark all tasks complete to be able to close a work order. If all tasks are not marked complete, the “Comments” field becomes mandatory. A User must indicate the reason for not completing all tasks in the comments field.
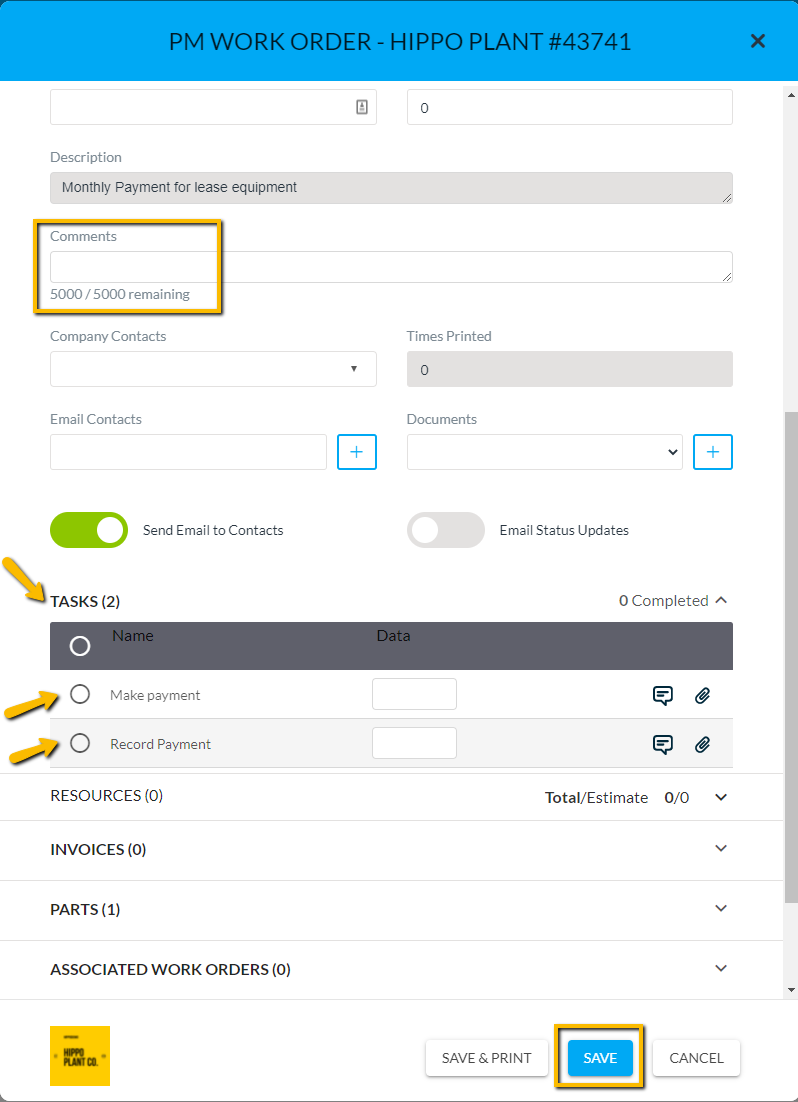
Once the “Save” button is blue, all fields needed are entered correctly, and the work order can be closed.