Locations
Learn about the Locations grid.
This article shows a User how to add Locations to Hippo.
Definitions
Locations: A location is a single point in the floor plan.
Room Name: A name given to a room.
Locations Category: To quickly sort through a list of locations.
Instructions
Note: A User cannot add a location until a Floor Plan is added to the Hippo system
- Enter a Facility, access the Facility Admin Panel.
- Open the Locations grid.
- Click on the New icon (+) in the upper right corner.
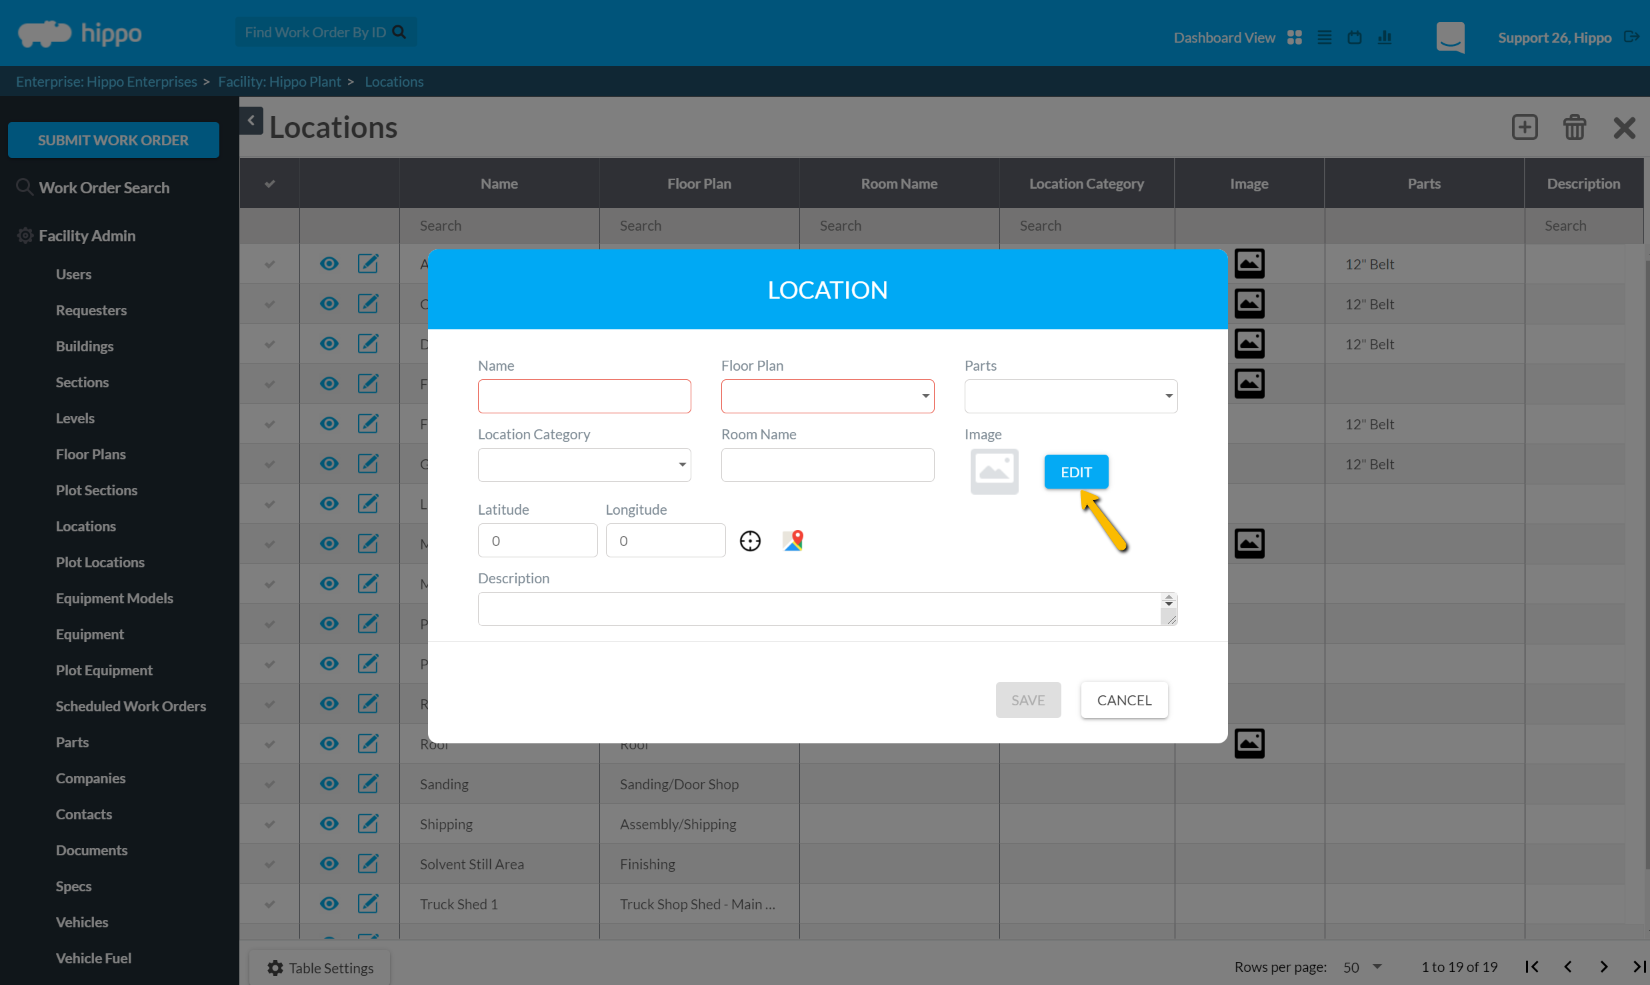
- An empty form will appear at the center of the screen.
The mandatory fields for entering a location are as follows:- Name – Enter the Location Name in the name column.
- Floor Plan – Select the Floor Plan associated with the Location.

- All the other fields in the location grid are optional fields. It is best practice to enter in as much information as possible about locations, as the Hippo software should be used as a database to store all location information.
- If an organization has room numbers as well as room names, enter the room number under the Name column, and the room name under the Room Name. For example, 101 would be entered in the Location Name, and ‘John’s Office’ would be entered into the Room Name. If the room name field is being used, this is what will appear on work orders, reports, and any other place in the software that references a location.
- As an option, a user can upload an image file associated with the Location. To upload a Location Image, click on the edit button shown below.
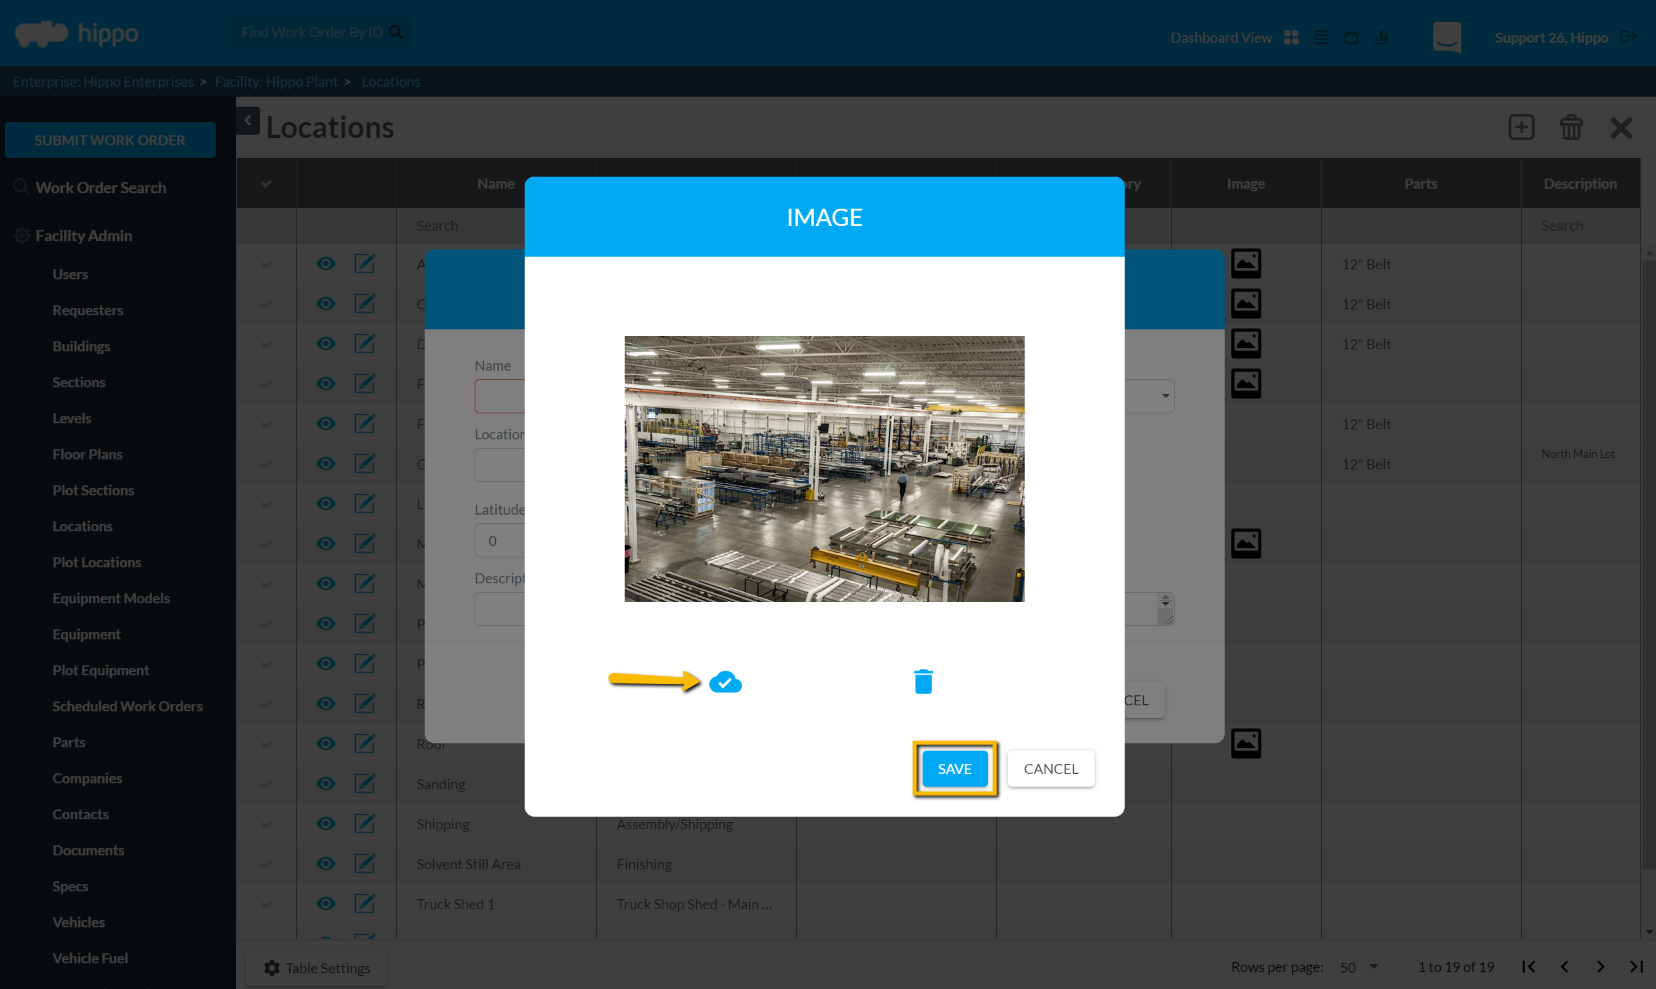
- Click on the cloud icon to find the file on a computer. Then click on the “Save” icon.
Note: The suggested file size for an image is30Mb.
Associating a Location Image will allow a user to view the image from the floor plan (in Advanced View) or from the Location Grid (in Standard View).
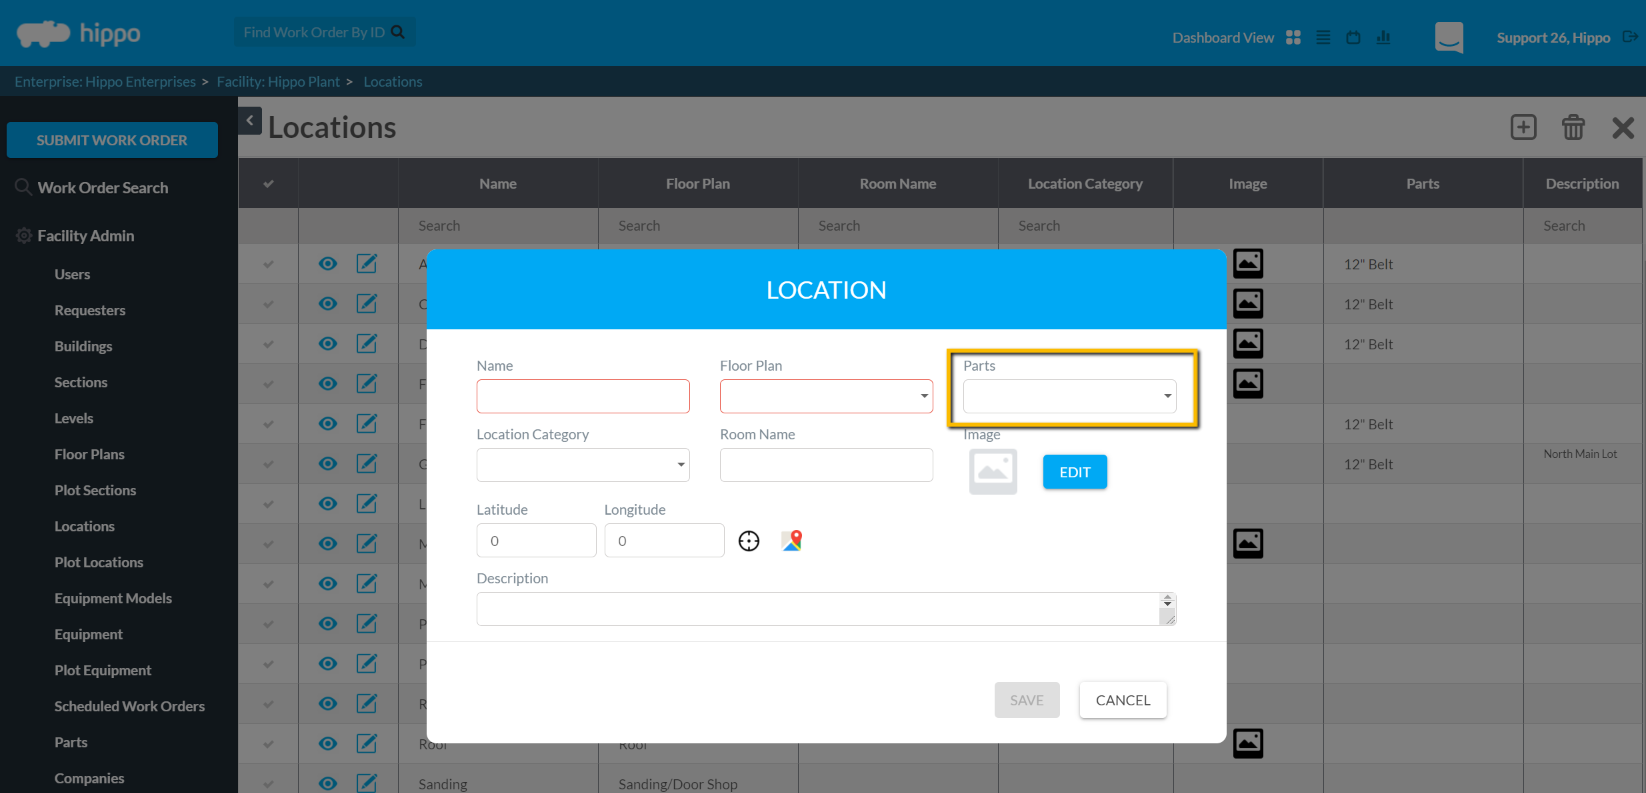
- As an option, a user can associate a Part with a Location. The part will become available to use on a work order for the associated Location. For example, a user can associate a specific light bulb with a location. Then, when the work order for that location has been located, the part will automatically be listed in the parts section of the work order.
- As an option, a user can add a description of the Location.
- When finished adding every piece of information, click the Save icon.