Manage Maps
Learn about Manage Maps.
Introduction
This guide will show a User how to create Sub-Enterprises and plot facilities. This guide will also show the User how to upload the image file that appears on Enterprise View
Note: To do this, the Advanced Dashboard version of the Hippo software is required.
Definitions
Manage Maps: feature used to initially set up the Enterprise screen for Advanced Dashboard accounts and plot Facility links.
Instructions
- Open the Enterprise Admin panel and click on “Manage Maps”.
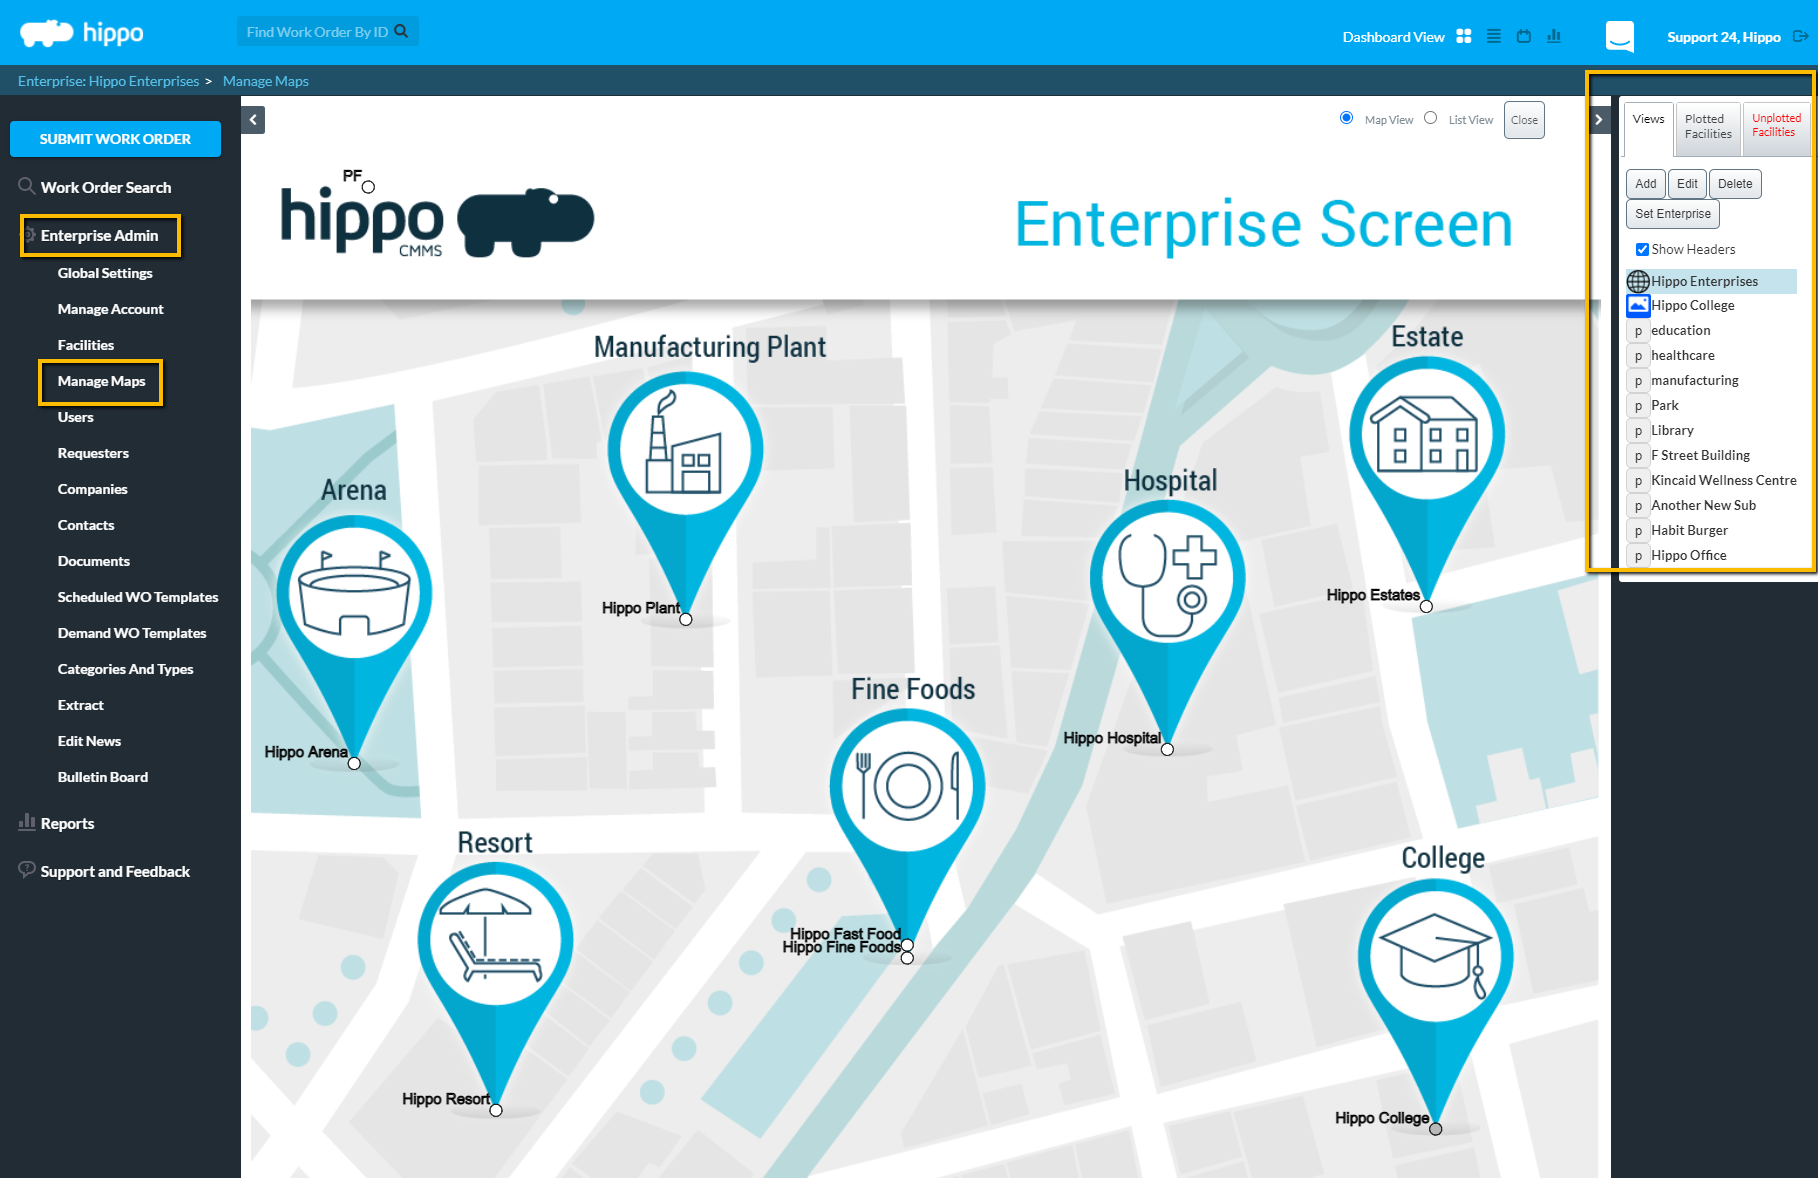
- With the Advanced Dashboard of the Hippo software, it is possible to upload an Enterprise Image. Enterprise is indicated by the view that has the globe icon next to it. Click on “Edit” under the Views tab and then click on “Browse” to find the image that is to be uploaded as Enterprise Screen.
Note: The maximum size allowed for an Enterprise Image is 30 MB.
- A User can also create a Sub-Enterprise for the database under this panel. Click on “Add” underneath the Views tab and name the Sub Enterprise. Upload an image, and then click on “OK”.
- Next, the Sub-Enterprise must be plotted onto the Enterprise. Click on “p” next to the name of the Sub-Enterprise and a grey dot will appear in the top left corner of the screen. A User can move this dot to its exact location on the Enterprise Screen.
- The next step is to plot facilities onto the Enterprise Screen or the Sub Enterprise Screen. Click on the name of the Enterprise or Sub-Enterprise on which facilities will be plotted. Click on the “Unplotted Facilities” tab.
- Select the name of the facility and then click on the “Plot” button. A dot with the name of the facility will appear in the top left corner of the screen. The dot can be moved to where it belongs. Continuing plotting facilities until all of them are plotted.
- Use the Close button to exit this screen.