How to Submit a Purchase Order
This article will take you through the steps to submit a Purchase Order.
Keep track of your companies inventory of purchased items with accuracy and stay within your budget. Get comprehensive reporting on purchased items and parts with Hippo's PO module.
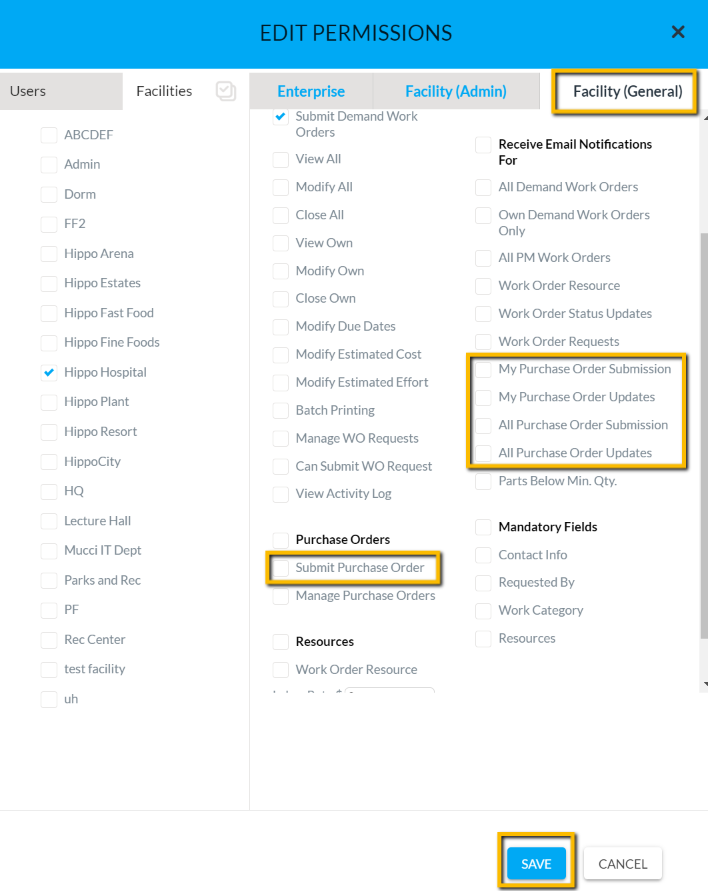
Initially, the permission to Submit a Purchase Order will need to be enabled by your system admin. Optional to select email notices for submitting your own or all purchase orders and status updates. This is found on the Facility General page in a user's Edit Permission form.
- First, click the 'Submit Purchase Order' button. Select the facility you need to make the purchase order for. Fill in any optional fields, such as Company, Company Category, Description, Work Order ID#, Priority, and Accounting Code.

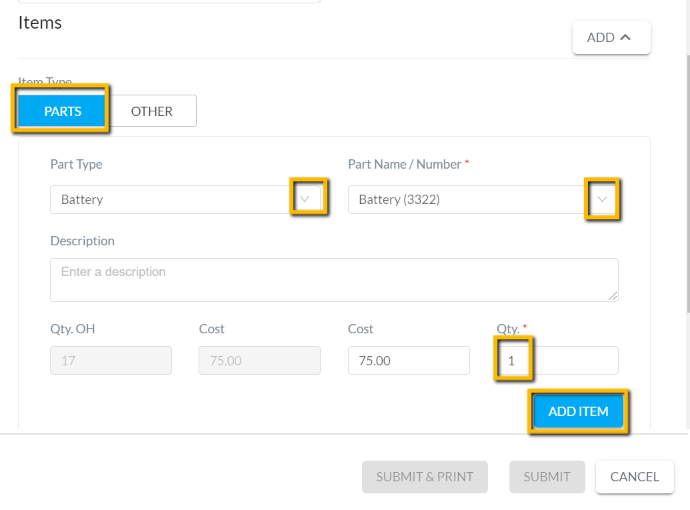
- Add the Items. If you’re placing a PO for a Part, both the Part Name/Number and quantity are required. Other fields outlined in grey are optional.
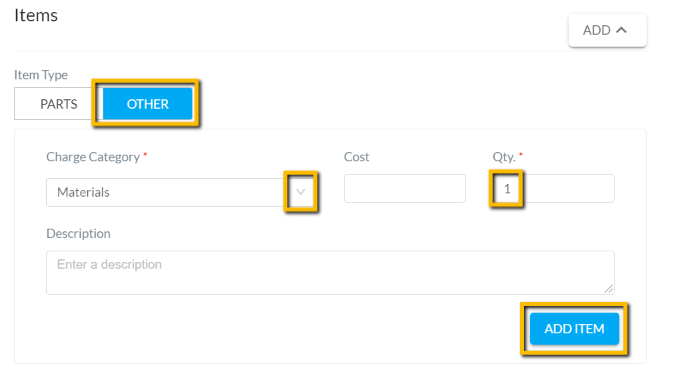
If you’re placing a PO for Other, both Charge Category and Quantity are required fields. Other fields outlined in grey are optional.
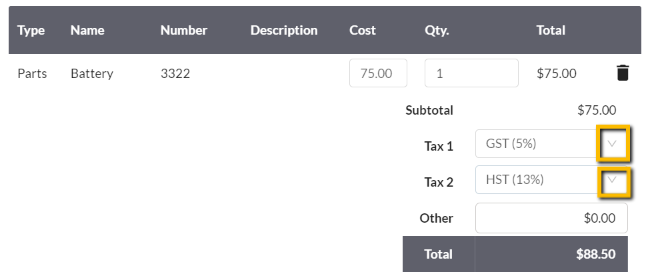
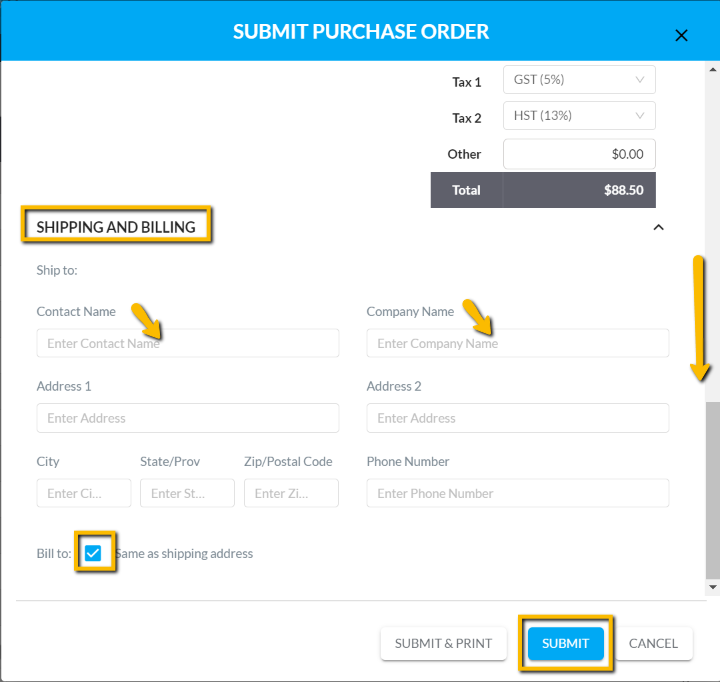
- Select the appropriate taxes from the drop-down menu for your parts items.
- Click in each field to add any Shipping and Billing information. If the Billing address is different than the Shipping, remove the check in the box, then add Billing address details on the bottom of the form.
- Lastly, select Submit & Print or Submit.
Hippo is always here to help. We want you to succeed. Whether you need support, extra training, or have any questions about how your database is set up, feel free to reach out.
For any questions, please do not hesitate to contact us through the conversation window or at support@hippocmms.com.