
Create a Single Visit
Watch the Video
Audio: Sound Length: 1:41 mins
Follow the steps
To create a new visit, select the Visitor Logbook from the icon menu on the left, and follow the steps below.
- Click the New Visit button.

- Enter the visitor’s first and last name. Eptura Visitor checks for a matching name in the Address book:
- Returning visitor - If the visitor exists in the Address book, their name is displayed - select them from the list, and jump to step 3.
- New visitor - If the visitor does not already exist, click + Create a new visitor.

- Enter the new visitor's name and optionally, company name and email address. If the email address is entered, you can enable or disable the option to Send an invitation to the visitor.

- Visitor will be added to the shared address book for easy future entry: This option is under the Visitor Types (if configured). By default, a new visitor’s details are added to the shared address book, making them available for future visits and allowing the kiosk to recognize returning visitors. Click Change to reveal further options that allow you to disable this behaviour or to save the visitor’s details only to your private address book. Learn more: Save visitor data for future visits

- Add to address book - if enabled select either:
- Only add to my private address book
- Add to the shared address book
- Remember visitor profile on the kiosk - enable or disable as required
- Add to address book - if enabled select either:
- Select Visitor Profile: If configured, select the appropriate Visitor Type for the visitor.
- Visit schedule: Set the date and start and end time of the visit.
- Recurring visit: If this is a recurring visit, check the Recurring visit box to reveal the options described below.

- Recurrence type: Select either Daily, Weekly, Monthly, or Yearly.
- Repeat: Select either Every workday (Mon-Fri), or Every day (incl. weekends).
- Start: Set the start date.
- End: Set the end date or if there is no end date, then enable the No end check box.
- Host: Enter the host name and if you want to send a copy of the meeting to the host, then enable the Send [name] a copy of the meeting request check box.
- Notifications: By default, email notifications about the visit are sent to the host. To send the notifications to someone else, click the Customize notifications link to reveal the notification options and enter the recipients for the notifications.

- Notify these people when the visitor checks in.
- Notify these people when the visitor checks out.
- Notify these people if the visitor forgets to check out.
Good to know
- The default recipients for check-in, check-out, and check-out reminder email notifications are set in Settings > Visitors > Notifications. Learn more: Visitor and Host Notifications
- Individual user defaults for check-in and check-out notifications is set in User Management. Learn more: Visitor Management notifications
- Users can assign a personal assistant to receive check-in and check-out notifications for their visitors. Learn more: Assign a Personal Assistant
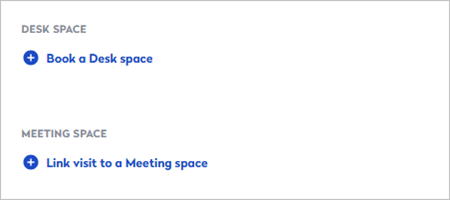
Coming soon!Booking an Eptura Engage space when creating a visit is expected Q3 2026
|

- Show More: If your organization has added custom fields for new visits, click Show more to expand the section and add the additional information.
When you've entered all the details for the visit, click either Create Visit, or Save & Create New to save the visit and immediately create another one.