Assign or remove users from user groups
Level: Administrator
Access to Eptura Visitor is managed by user groups. All users are automatically assigned to the Default user group and cannot be removed. An administrator can add or remove users from additional user groups to provide employees with additional access appropriate for their role.
Five user group types are provided: Default, Administrators, Reception, Security, and Assistants, plus an additional group, Agents, that can be used to cater for a specific group of users in your organization. Learn more: User groups and rights
Administrators can add or remove users from user groups via User Rights or User Management, as explained below.
Contents
Manage the members of a user group via User Rights
Manage the members of a user group from User Rights.
- Navigate to Settings > General Settings > User rights to access the user rights groups.
- The number of users assigned to a group is shown on the right. Click the # users box number next to the group you want to edit.

- The user group displays the list of users assigned to the group.
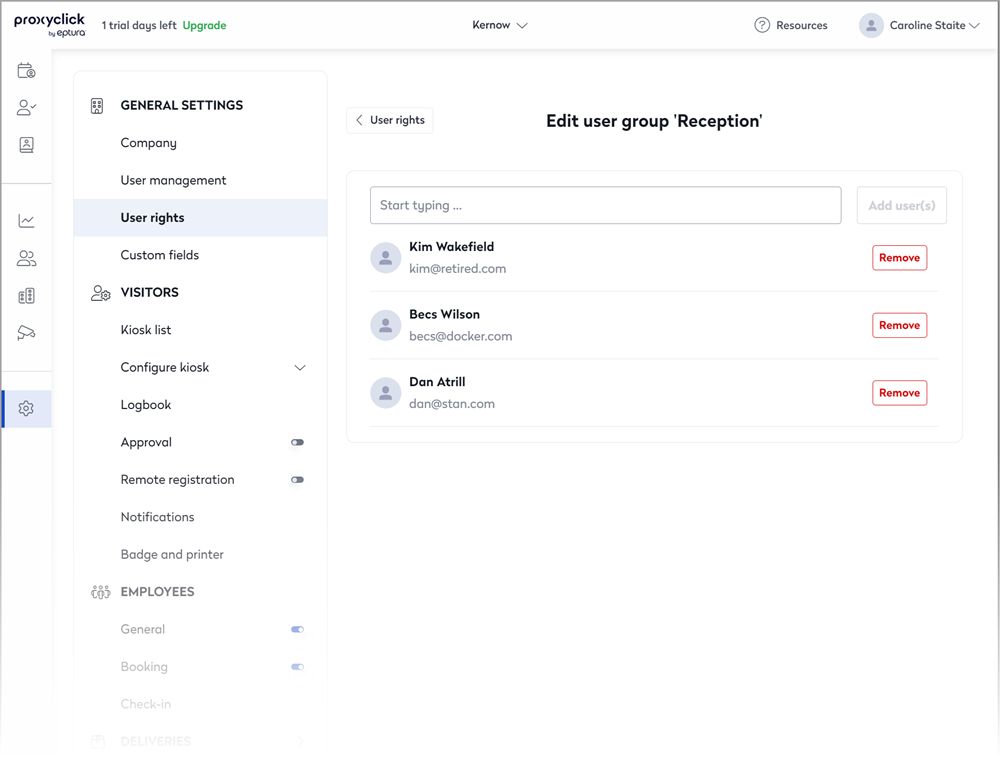
- Assign a user to the group: Start typing the user's name where indicated and click the user's name to select. Continue searching and selecting more users if required and click Add user(s) when done.
- Remove a user from the group: Click Remove to remove a user from the user group. The user will remain in the Default group and any other group they are assigned to.
Manage the user groups assigned to a user via User management
Manage user groups assigned to a specific user from User Management.
- Navigate to Settings > General Settings > User management.
- Enter the name of the user you want to edit in the Search users box and press Enter or click Search to display a list of matching user(s).
- Click the three dots to the right of the user's name and select Manage rights from the menu.
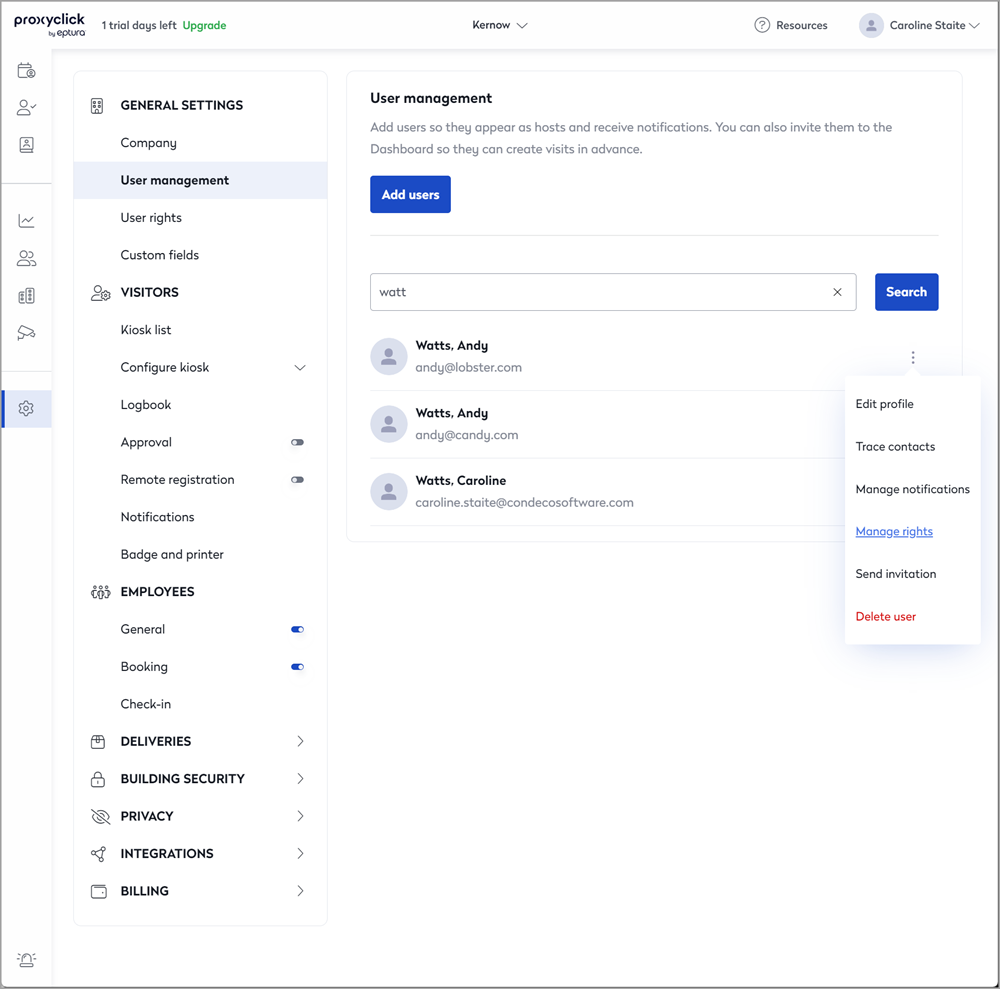
- Select or deselect the user groups for the user as required. You cannot deselect the Default user group.

- Click the X to close the 'Manage rights' window. Any changes are automatically saved.