Custom fields
Create Custom fields
Custom fields are personalized questions that request additional information from your visitors. The information gathered from your visitors can be saved in their visitor profile and prefilled on subsequent visits to your building. Follow the steps to create the questions to be asked when a visitor checks in, during remote registration, or for admins to complete when creating or editing visits.
There are 5 types of custom fields that can be created:
- Free text: Provide a blank field that can be filled in with letters or numbers.
- Multiple-choice: Create a list of answers for the visitor to select from.
- Yes/No: A question requiring a simple yes/no/none response.
- Date: Request a date is entered.
- File: Collect documents from visitors in advance of a visit (available for the remote registration flow only).
Custom fields created in the Global Admin Dashboard are grayed out and are not editable locally. Learn more: Global Admin Dashboard
- Sign in to Eptura Visitor and navigate to Settings > Custom fields.
- Click New custom field (or click the More Actions icon to the right of a field in the list to edit an existing rule).
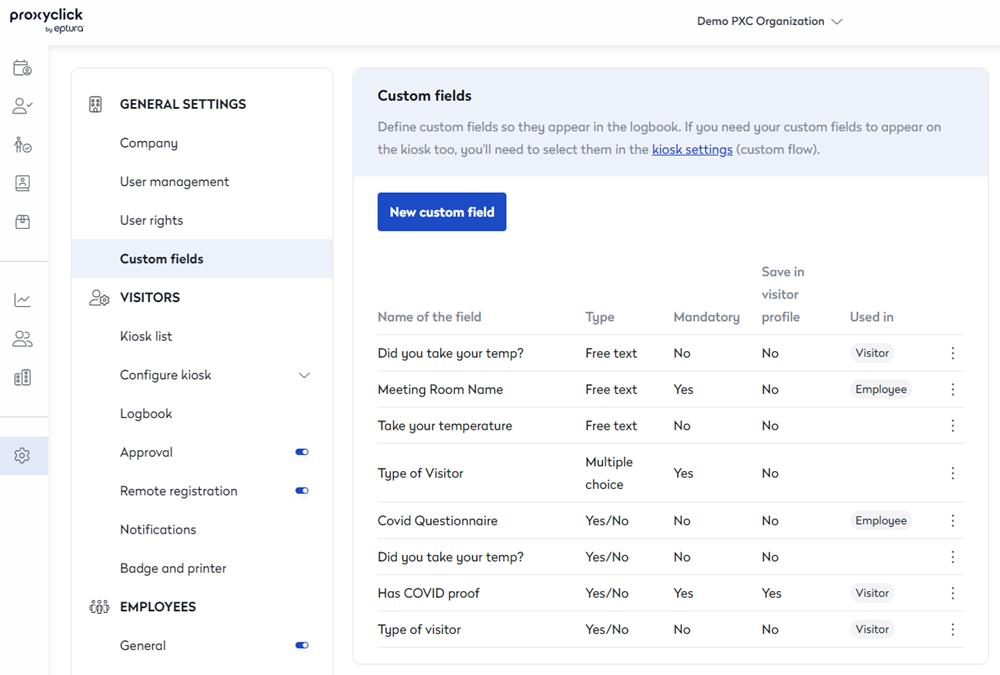
- Create your question in the Add new custom field popup window:
- Name: Enter a name for the field. This will appear as a title on the custom screen.
- Type: Select how the visitor will give their response; either Free text, Multiple choice, Yes/No, Date, or File upload.

Free text: Allows the visitor to enter their response using the keyboard. Selecting this reveals the 'Default value' box; select or enter the default response presented to the visitor. The visitor can change the response if required.

Multiple-choice: Provide a list of options for the visitor to select from. The selection can be used to determine the next step in the check-in process. Selecting this reveals the 'Values' box where you enter the options. Enter each option for the multiple-choice list; enter each option on a separate line.

Yes/No: The visitor can only select a 'yes' or 'no' response. The selection can be used to determine the next step in the check-in process. Selecting this reveals the 'Default value' options; Select either Yes, No, or None.

Date: Allows a date selection to be made. Selecting this reveals the 'Default value' date selection; Enter a date or click the calendar icon to select a date from the calendar.

File: Collect a document from the visitor in advance of their visit (for the remote registration flow only). The file type must be either PNG, JPG, GIF, or PDF, and the file size must not exceed 5MB.

- Data retention period: Select the required retention period for the response to the question.
- Others:
- Mandatory: When enabled, the visitor cannot continue to check-in until they have provided a response.
- Save in visitor profile: Enable to save the visitor's response in their profile.
- Active: Active fields can be added to the check-in flow. If the field is already in use, you must remove it from the check-in flow before disabling it here.
- Only show this field to receptionists and admins during visit creation or editing: Toggle the button to enable. When enabled, the question cannot be added to the visitor's check-in process. Not applicable when File is selected.
- Click Save to save the question and make it available to add to your check-in flow (if active).
The questions created in Custom fields can be added to custom screens displayed on the kiosk when a visitor checks in, and to the remote registration.
Learn more: