Enable Visit Approvals
More than ever, protecting your employees and locations from potential external risks is important. With Visitor Approval, you can review the profile and activity of an external person even before they arrive on-site.
Step 1. Enable Visit Approvals
Administrators can enable this feature from Settings > Visitor > Approval
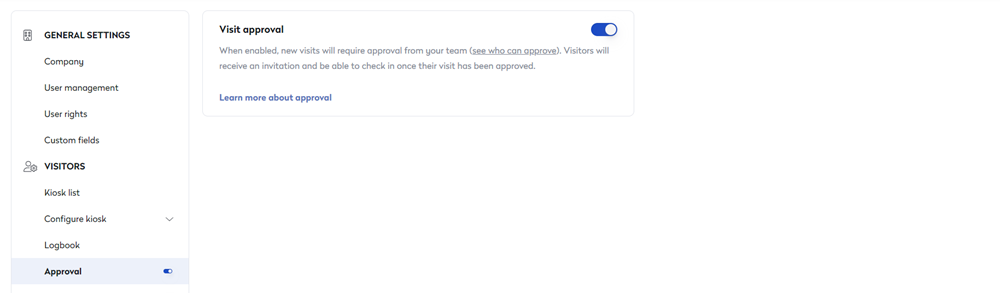
As soon as enabled, approvals for new visits will be sent to pending review when created via the Dashboard or the Outlook Add-in or Generic calendar integrations.
Visits created via our public API endpoints or an external integration (i.e., Meeting room integrations) will not go through the approval flow.
If you decide to disable this, you will receive an alert to let you know that all pending visits will be automatically approved.
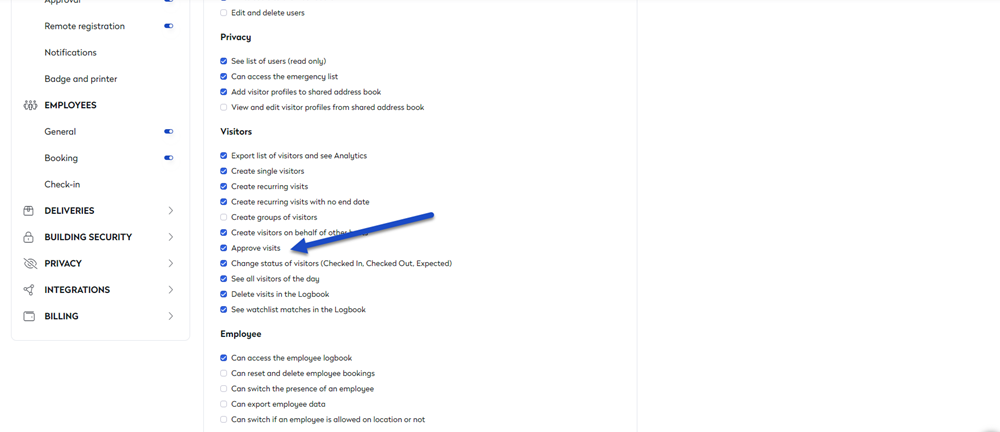
Step 2. Assign Approvers
The administrator can assign one or more approvers per location by:
- Navigate to Settings > General settings > User rights.
- For the group you want, click Manage rights.
- Under the Visitor section, check the Approve visits checkbox. The setting is saved automatically.
Approvers do not need to be granted the "See all visitors of the day" user right; as they will only be able to see those new visits in pending approval.
Watch it in Action
Now, you have set up the configuration, here is what your employees will experience.