
Import Department Hierarchy Data
Eptura - Directory
Level: Administrator
Your Administrator can upload the department hierarchy into the directory.
Step 1. Open the Import department data panel
- From the Home screen, click the Directory tool and the Directory screen displays.
- Click the Settings
 icon and the Module settings screen displays.
 - Click the New department drop-down.

- Click the Import department data button and the Import department data panel displays.

Step 2. Download and prepare the file
- Click the Sample_departments.xlsx button and the file is downloaded.
- Navigate to the downloads folder and open the file.
- Complete the data in the spreadsheet and the Data Requirements and Business Rules for the standard fields are listed below.

Note there is a panel that contains the fields and the descriptions; click the View formatting requirements and business rules link.

Step 3. Upload your file
- In the Upload your file area, either: drag and drop the file onto the area OR click the Browse file link to browse to the file and select it. Then the file uploads.

- Click the Review your data button.
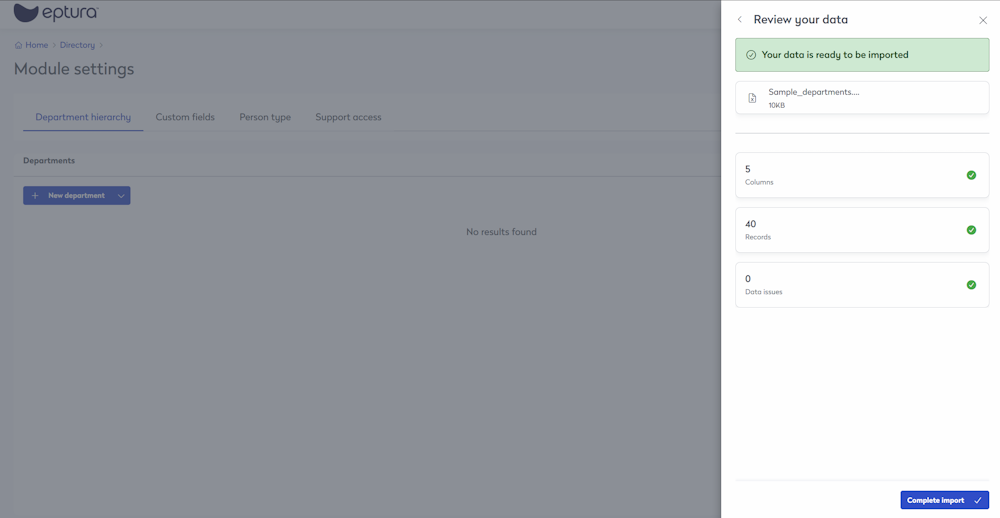
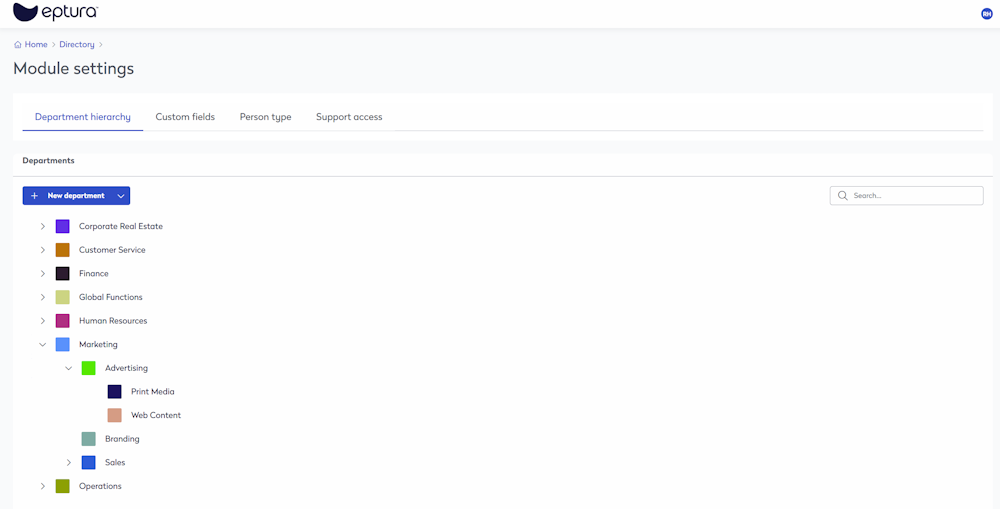
- Click the Complete import button. The file import starts and you will see a notification with the message "Upload Completed and (number) departments created successfully.
Data Requirements and Business Rules
This table lists the standard fields and the business rules.
| Field Name | Required Field | Business Rules |
|---|---|---|
|
Department Name |
Yes |
Accepts any value. Must be unique. Special characters not allowed. |
|
Parent Department |
No |
ID or name of the parent department. Maximum supported hierarchy depth is 15 levels. |
|
Department Code |
No |
Accepts any value. |
|
New Department Name |
No |
Only applicable for Update operation. Must be unique. Special characters not allowed. |
|
Delete |
No |
From the drop-down, select either No or Yes. Default = No |