Add or Edit a Site
Add a Site
- From the Home screen, click Portfolio Manager and the All Locations screen displays.
- Click the Sites tab.
- Click the + Add Site button.
- Complete the fields, see below for the Site Fields.
- Click the Save button.

Edit a Site
- Use the All Locations hierarchy to navigate to the site.
- Click Edit Site and the Edit Site form displays.

- Complete the fields, and see the table below for the Site Fields.
- Click the Save button.
Site Fields
Overview Tab
| Fields | Description |
|---|---|
| Site Name | Enter the name of the site. |
| Site Code | Enter the code of the site. |
| Site Type | Select the site type from the default list. |
| Region | Select the region from the list and, if needed, you can use this to move the site to a different region. |
| Description | Enter the short description of the site. |
| Designate as Campus | If the site is part of a campus, then select Yes. |
Location Tab
| Fields | Description |
|---|---|
| Address 1 | Enter the address of the building. |
| Address 2 | Enter the address of the building. |
| Country | Enter the country of the building and then select the country name from the list. |
| State | Select the state from the list. |
| City | Enter the city of the site. |
| Postal Code | Enter the post code of the site. |
| Time Zone | Select the time zone of the site. |
| Time Format | Select either 12-hr or 24-hr. |
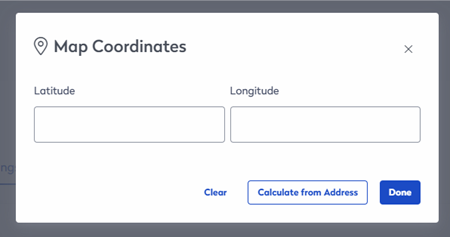
| Map Coordinates |
Your site's map coordinates are taken from the site's address; if you find it is not accurate, then you can enter the latitude and longitude to make an adjustment.
In the Latitude field, enter the latitude and then in the Longitude field, enter longitude. OR Click the Calculate from Address button to caculate the coodinates.
|
Specs Tab
| Fields | Description |
|---|---|
| Ownership | Select either Owned or Leased. |
| Measurement System | Select either Metric or Imperial. |
More Tab
| Fields | Description |
|---|---|
| Operating Hours |
If you want different operating hours for the site, then complete the following:
|

