Eptura for Revit plugin
When you have a floor plan ready for upload, then you can use our Revit plugin to publish the floor plan into Eptura.
Contents
- Prerequisites
- Software Installation and Configuration
- Publishing Floor Plans
- Sign in to Eptura
- Model Requirements
- Configure Model Properties
- Review Spaces
- Publish Floor
- Application Settings
- Troubleshooting and Errors
Prerequisites
- You have access to Eptura.
- You have access to Revit 2021 or newer on the client machine, where you will publish floor plans.
Software Installation and Configuration
Eptura for Revit - Installation
Your Eptura onboarding partner will provide you with the latest Eptura for Revit installer:
- Eptura for Revit 2024 and earlier
- Eptura for Revit 2025
After you have downloaded the plugin, complete the following:
- Run the downloaded installer and follow the instructions provided by the installation wizard.

During installation, it is recommended to accept the default installation location:

- During installation, you will be prompted for the Installation Type.
- If your Eptura implementation includes Eptura Workplace, select the Yes, we are using Eptura Workplace option.
- If your Eptura implementation does not include Eptura Workplace, select the No, we are not using Eptura Workplace option.
- Then click the Next button to proceed.
Publishing Floor Plans
Launch Autodesk Revit and open the model with the floor to publish. The Eptura for Revit menu and ribbon displays.

Sign in to Eptura
- Sign in to Eptura using the Sign In button on the Eptura for Revit ribbon.
- If it is the first time you have signed in, you will be prompted for your email address to sign in to Eptura.

- After providing your email to sign in to Eptura either via SSO or manually.
Sign in with SSO (Single Sign On)
If you sign in with SSO then you will be re-directed to authenticate with your identity provider.

Sign in with Form Authentication (Manually)
Or if you sign in with an email, then you will be redirected to authenticate with Eptura, see Sign in to Eptura - Sign in with Form Authentication (Manually).
After successful sign in, the Eptura for Revit toolbar items will be enabled.

Model Requirements
Revit Models must meet the following minimum requirements to support the Eptura publishing process.
Each floor of the model to be published to Eptura must have:
- A floor plan view containing Revit rooms.
- An area plan view containing the gross area boundaries.
Configure Model Properties
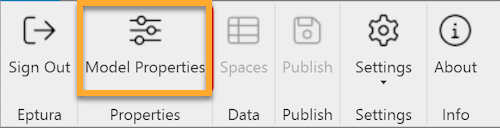
- First, configure the model for publishing.
- From the menu, click Model Properties.
The model properties form allows mapping Revit levels to Eptura floors.

- Select the Eptura Building to associate with the Revit model.
- For each floor plan to be published, select the Revit level and specify the associated Eptura floor.
- When you are finished mapping Revit levels to Eptura floors, click the OK button to save the Model Properties to Eptura.
Review Spaces
After configuring the model properties, verify spaces to be published.
From the ribbon, click the Spaces.

The Spaces form provides a space count and total area of the floor, as well as details of each space, which will be published.
The Spaces command requires that the current view be a Floor Plan or Area Plan.

Publish Floor
From the ribbon, click the Publish button.

All of the default settings in the Publish Floor dialog are correct and will result in a properly published floor plan.
The user will be notified that the publishing process is in progress.

The user will be notified when the publishing process is complete.
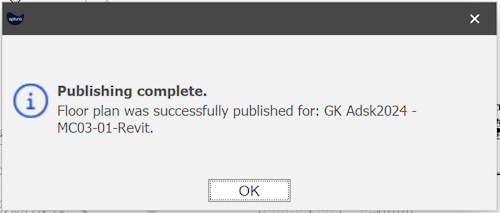
After publishing, the floor plan is available in Eptura.
Application Settings
From the ribbon, click Settings > Application Settings.
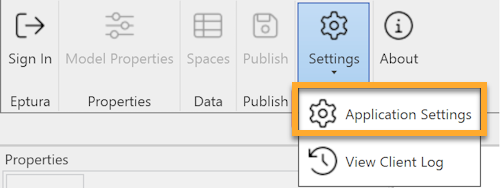
Application Settings includes options to control client and server logging.

Troubleshooting and Errors
If errors occur at any point, details can be found in the View Client Log.
From the ribbon, click Settings > View Client Log.
