Push groups from Okta to Eptura
After a group is created and members are assigned, we provision the group and all users are automatically provisioned.
From the Okta Admin console, complete the following:
- From the menu, select Directory > Groups.
- Click the Add Group button.

- In the Name field, enter the name of the group.
- In the Description field, enter the description.
- Click the Save button.
- From menu, select Applications > Applications.
- From the list, select the SCIM application name.

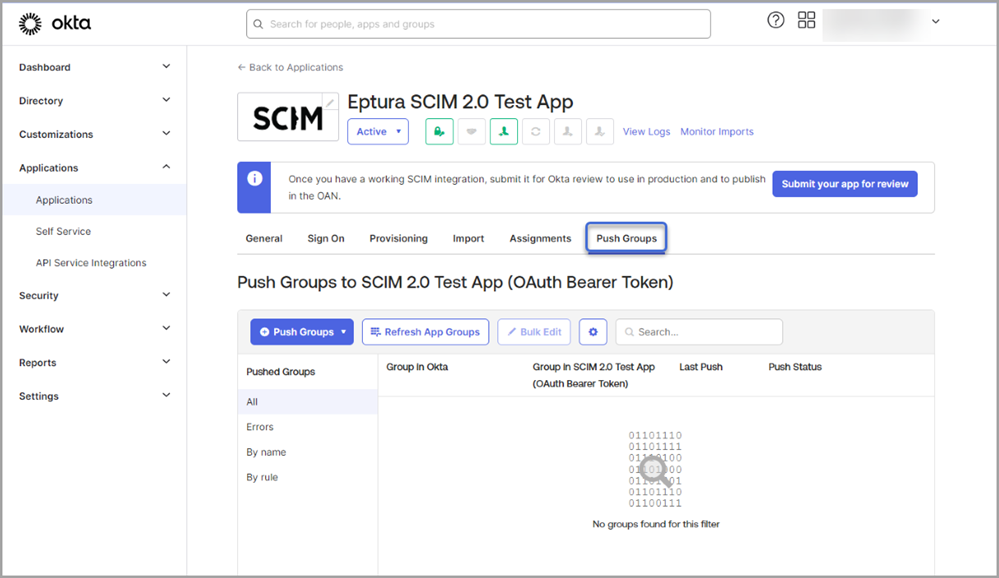
- Click the Push Groups tab.
- From the Push Groups drop-down, select Find groups by name.

- In the group field, enter the name of the group to push.
- If you don't want to map users to the group in Eptura when the group is created, uncheck Push group memberships immediately check box.
- Click the Save button.

The group is listed in the Pushed Groups list.
