Eptura Knowledge Center

Configure SCIM provisioning for Okta

Before you start  


The SCIM provisioning for Okta guide is written for administrators and assumes familiarity with Okta, basic identity management concepts, and the SCIM standard.  

How to configure SCIM provisioning for Okta  


  1. Sign in to Okta with your admin account and open the Okta admin interface. 
  2. Select Applications from the Applications menu on the left.
  3. Click Browse App Catalog on the Applications page.
    scim prov okta 001.png
  4. Search for the integration type - enter ‘SCIM 2.0 Test App Oath Bearer Token’ in the search box and click to select.
    scim prov okta 02.png

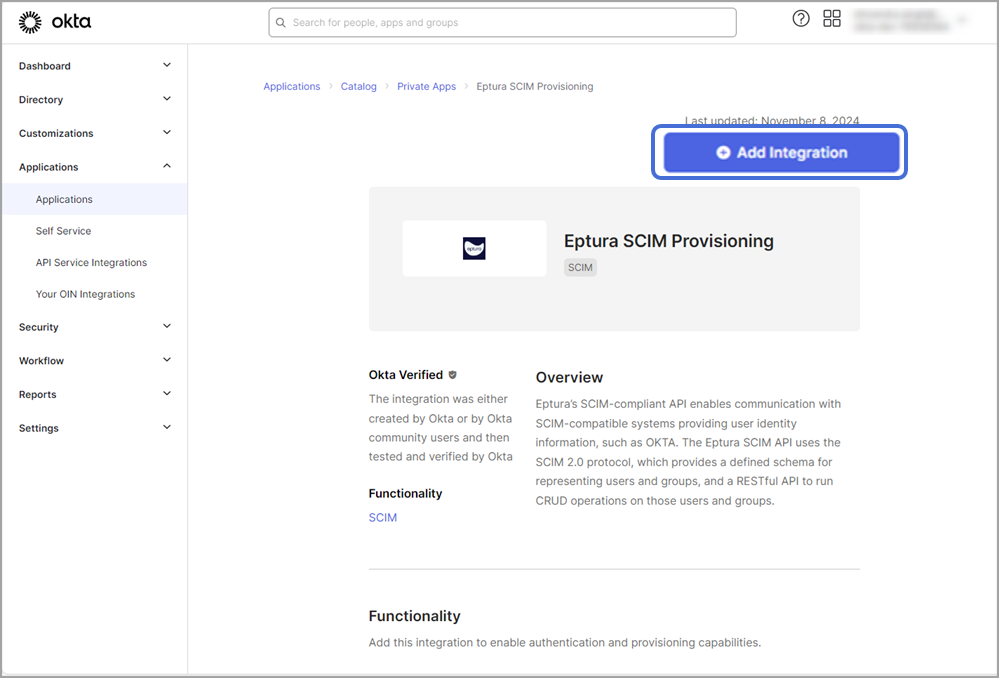
  5. When 'SCIM 2.0 Test App Oath Bearer Token' is selected, click Add Integration to create the new application.
    scim prov okta 03.png

  6. On the 'General Settings' tab of the new application, enter the name for the label that will display under the app on your home page. Click Next.

    scim prov okta 04.png
  7. On the 'Sign-On Options' tab, click Done.
    scim prov okta 05.png

  8. On the Provisioning tab, click Configure API Integration.
    scim prov okta 06.png
    1. Select Enable API Integration
    2. SCIM 2.0 Base Url: Enter the SCIM 2.0 Base URL provided by Eptura.
    3. OAuth Bearer Token: Enter the SCIM secret token generated from the SCIM Token. 
    4. Click Test API Credentials.
      scim prov okta 07a sept 24.png
    5. After a successful verification, click Save.
  9. The Provisioning tab now shows additional options in the menu on the left. Click To App then Edit to enable user operations for your SCIM integrations. 
    scim prov okta 09.png
  10. On the Provisioning tab, scroll down to Attribute Mappings and set the mandatory attributes. Learn moreMandatory and optional attribute mappings with Eptura
    scim prov okta 10a.png
  11. Optional attributes: Set optional attributes if required. Learn moreMandatory and optional attribute mappings with Eptura

The preferredLanguage attribute must support ISO 639-1 format. 

  1. Remove any optional attribute mappings not required by clicking the X to the right. 
Additional attributes

Additional attributes can be added if required.

  1. Click Go to Profile Editor.
    scim prov okta 13.png
  2. Click Add Attribute.
    scim prov okta 14.png
  3. Enter the details for the new attribute and click Save.
    14.2.png
  4. Click Mappings to add mapping for newly added attribute.scim prov okta 14b.png
  5. Map the new SCIM attribute to Okta and click Save Mappings when done.
    scim prov okta 15a.png