Download a Floor Map with Department Occupancy
Using floor map filters to view department occupancy gives you a birds-eye view of both department and occupancy information.
Step 1. Turn on the View Filters
Click the View Filter ![]() icon to display the customize your view form. Then complete the following to display on the floor plan view the occupancy data and then you can download the floor map as an image.
icon to display the customize your view form. Then complete the following to display on the floor plan view the occupancy data and then you can download the floor map as an image.
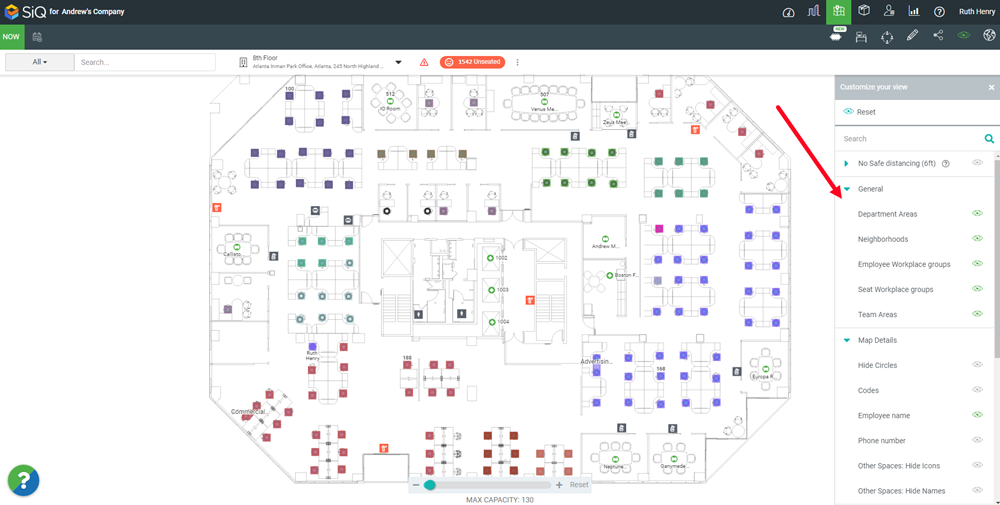
On the floor map, click the Views icon. A panel with view filters displays.
- In the General section, click the Department Areas filter to turn it on.
- In the Map Details section, click the Employee Name filter to turn it on.
When both filters are enabled, you will see department occupancy details appear on the floor map.
Step 2. Download the Floor Map
With view filters enabled, you can download and print the floor plan with department occupancy information.
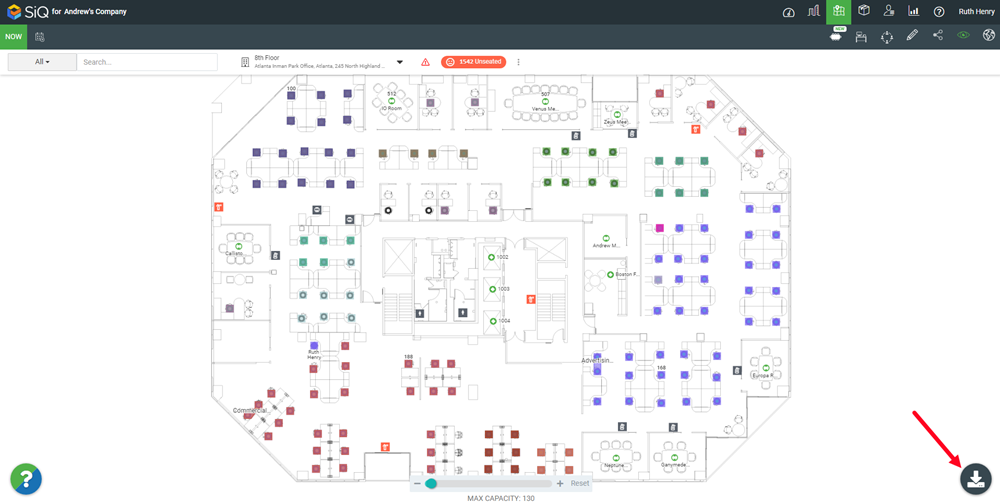
From the View Filter form close the view filters panel by clicking X on the upper-right of the window.
Next, click the Download ![]() icon.
icon.
The Print window displays. You can complete the following:
- Map Elements toggle on or off - A list of map elements appears on the left-hand side where you can click on the eye icon
 to toggle that element on or off.
 - Numbers - The numbers next to each map element let you change the size of every matching map element on the map.
- Preview - You can preview your selections within the Print window, so ensure that everything you want to print is within the green border. If needed, click and drag the floor map to adjust the map within the print area.

When you have finished adjusting the floor plan view, click the DOWNLOAD button to export the map as a PNG file.