Tag Spaces
Tagging is a labeling system for entities in Serraview and we recommend that you use these for internal reporting. If you need to tag spaces on a floorplan, for example, a Exiting Soon, Reserved, or Project Space, you can now paint Tags onto the floorplan. If needed the Tags can be erased from the floorplan.
This can be used in View Only mode or the Edit Floor mode.
View Tagged Spaces
From the Spaces module, complete the following:
- Either click the View Only or Edit Floor icon.
- Click the Tags
 icon.
icon. - From the Tags list, click a tag and the spaces with the tags display.
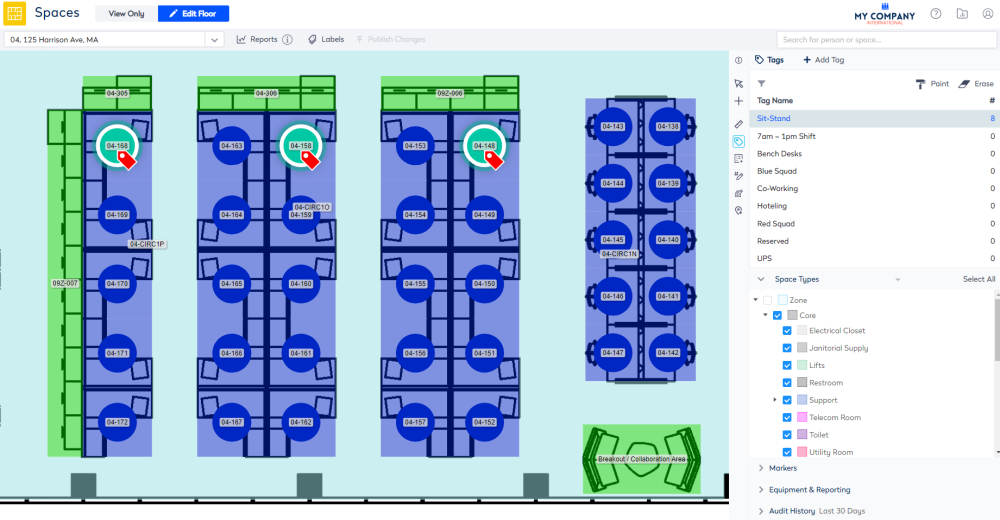
Tag Painting on Spaces
From the Spaces module, complete the following:
- Click the Edit Floor icon.
- Click the Tags icon.
- Click the Paint icon.
- On the floorplan click the space(s) you want tagged.
- Click the Publish Changes button.

Remove Tags from Spaces
If you need to remove the tags.
- Click the Erase icon.
- Then on the floorplan click the tag(s) to remove the tags.
Add Tags
When you are tagging the spaces and need a new tag, you can quickly create a new tag.
From the Tag tool, complete the following:
- Click the + Add Tag button. The Add Tag form displays.
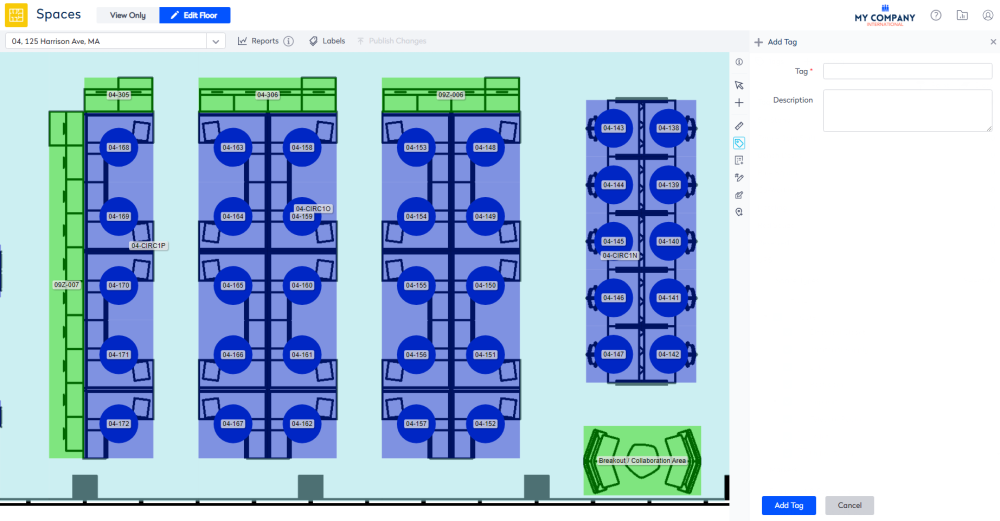
- In the Tag field, enter the tag's name.
- In the Description field, enter a short description.
- For the Color checkbox either: Check the Color checkbox to auto-generated the color for the new tag OR Uncheck the Color checkbox to select the color form the color pallet.
- Click the Add Tag button.
The tag is saved and you can use the tag on the floorplan.
The maintenance of the Tag labels is found in the Configuration, refer to Add, Edit, Delete, Remove, or Merge Tags.